f2k
New Member
- Joined
- Apr 2, 2011
- Messages
- 301
It’s probably about time I get into gear and start building.
Thus, I have set myself a challenge. I’ve got a nice extended Easter Holyday, running all the way to the fifteenth of this month. So, can I complete a full build in that time? Well, we’ll have to see about that, won’t we...?
As I mentioned previously in the “What’s new...†thread, I’ve come across a small stash in my cellar that I had forgotten all about. And one of the kits in that stash was the AH-6A ‘Night Hawk’. Well, that’ll be as good a kit as any, I thought to myself, and so that’s become the object of this challenge.
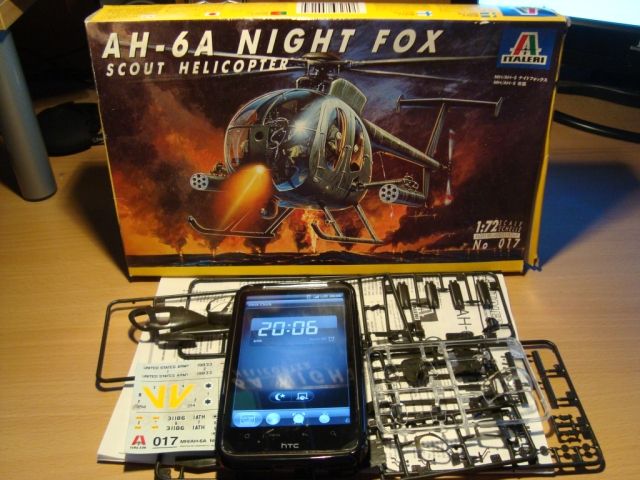
This ‘little bird’ is indeed very tiny. Truth be told, I’m actually not sure if my big clumsy fingers can handle something as small as this. It’s really really small, with a few rather fiddly parts. Oh well, I’ll do my best.
Of course, as usual, I can’t help myself but just have to do some conversion work. So, rather than building it straight OOB, I’ll do a bit of cutting, grinding, and sculpting, turning it into a one-of-a-kind little bird.
Why angry, you might ask? Well, you’ll see... Oh yes, you will see...
Anyway, as for the contents of the box...
I was wondering if I should do a short video review of the kit. But since I won’t build it OOB, I never got around to jury-rigging my old camera up as a video recorder. Oh well, so be it...
Instead, I took a few pictures of the sprues.
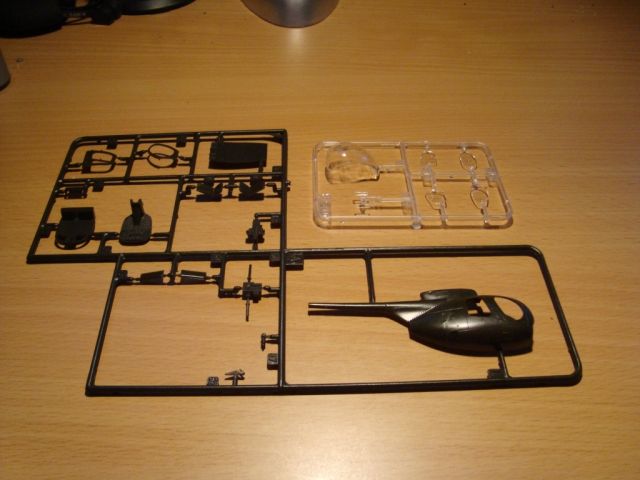
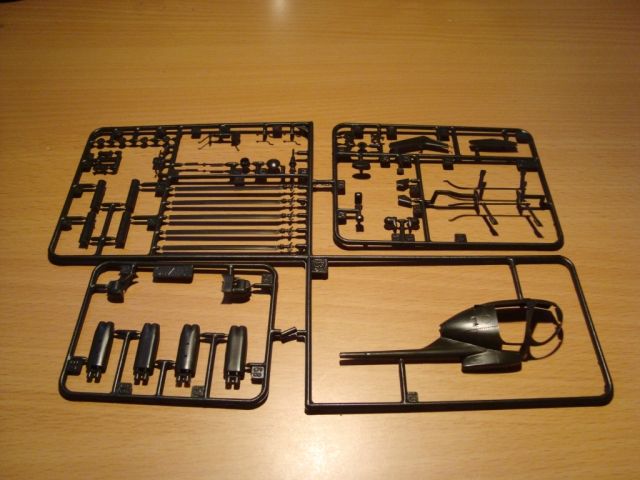
The box contains three small sprues: one in clear plastic with all the glass, including a rather prominent cockpit canopy, and two with the parts needed to build the helicopter itself.
One interesting thing, besides the incredibly tiny parts, is the fact that only the left-hand doors are separate on the sprue. The right-hand doors are moulded into the right half of the fuselage so if you intended to have all doors open you’ll have to do a bit of careful cutting.
As for the details, the fuselage seem nicely detailed with engraved lines and some tiny tiny tiny rivets
The cockpit, on the other hand, seems rather underwhelming. Few details, seats with no seatbelts and no real distinguishing features and a flight console that’s adequate bot nothing to write home about.
Honestly, I don’t know so much about this particular chopper so I can’t say for sure how it ought to look. However, comparing with alternative kits, most in larger scales, it does seem that the cockpit is somewhat lacking. I might just attempt to rectify that as I go along...
Finally, there are some really basic instructions and some decals. The kit contains options for three variants: U.S: Special Forces in the Arabian Gulf (overall Olive Drab), Israeli airforce in South Lebanon (overall Tan), and the Japanese Army in Hokkaido (three-tone green/brown/black camouflage).
The instructions, while basic, are good enough to easily build one of these, although it did take me a few read-throughs to figure out which option-parts was to be used for which version. In any case, as I mentioned, I’ll build my own version so it doesn’t really matter that much.
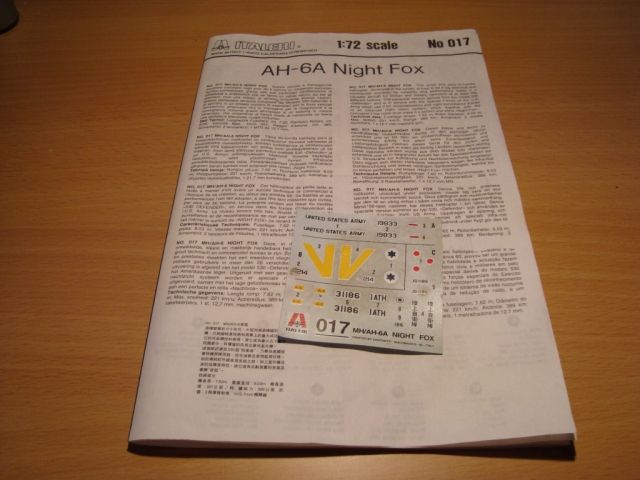
You might notice that the instructions and decals are looking rather grimy. That's due to a fire we had in the cellar a few years ago. While my room wasn't directly affected, there was a fair bit of water and soot damage, so it's no surprice that the papers are a bit dirty.


