Ember
You can only eat an elephant a mouthful at a time
- Joined
- Nov 1, 2012
- Messages
- 14
Most of my modeling (I use the term fairly loosely) is terrain and scenic work around my slot car track, which has been a work in progress for 3 years or more now. As well as driving cars around the track I use it a lot for photographing the cars in my collection. Trouble is that the toy room in which the track sits is not particularly well lit, and as yet I've not had the opportunity to upgrade the room lighting.
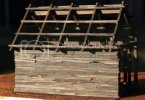
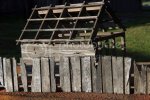
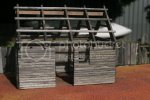
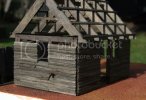
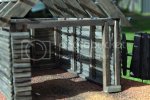
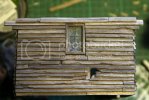
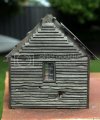
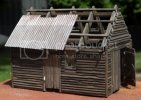
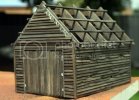
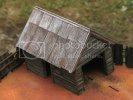
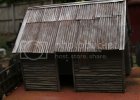
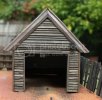
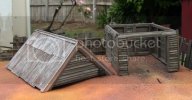
I also had the urge to try to make a building, but there was not any room to place one on the track table. So, I decided to make a stand alone diorama that I could take outside and photograph my cars in natural light. But, what to build? So many magnificent racing cars have started their lives in some bloke's shed in the back yard, this seemed like a good place to begin.
I'd seen people doing builds for model railways and the like with card or styrene and only detailing the outside. But this was to be a photographic set the interior of the shed was as important as the exterior. The only way I could think of to proceed was to work in the same way as a full sized one would be built.
This is very much a "make it up as you go along" build.
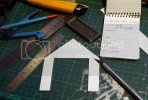
The shed would need to house 1/32 cars. So, I logicked some measurements out based on the 8'x4' 'standard' sheet size.
Testing the build in cardboard seemed like a good idea. This truck was the biggest car I had at the time. A Mustang would fit easily, as would every other car I had on the shelf at the time.
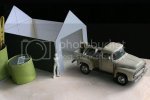
The paint can lid would eventually become a water tank.
Sizes seemed ok. So onward....
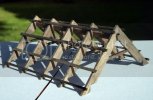
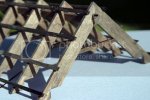
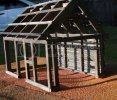
Using the cardboard mockup as a pattern the building frame was cut from 5mm square spruce.
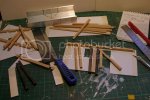
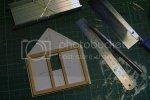
But this was to be an old shed. I couldn't have bright, fresh cut spruce for the frame. What to do?
Once again, let me remind you that I'd not done this sort of thing before. Research indicated that there were various products available for aging wood. But I couldn't obtain any easily, nor within my meager budget. So I experimented around with my artist's acrylics and came up with a recipe that worked to my satisfaction.
Ultra blue deep and raw umber with just a hint of black. I very rarely use black in mixing colours, a leftover from art classes at high school.
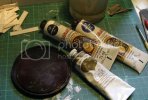
And two very important products.
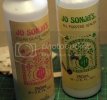
Sorry about the brand advertising. They're just what I had in the cupboard.
Mix roughly and paint on wood
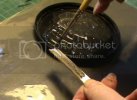
Wait a little and wipe it off...
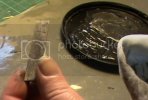
Voila!
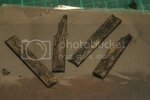
Might be a bit dark, but I can lighten the mix up with more glaze medium. I also made sure I used plenty of sealer when staining balsa.
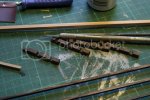
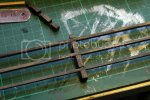
And the results on the spruce
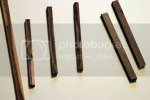
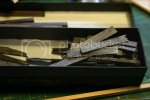
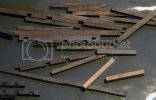
Oh the fun of staining all the pieces of the frame before building could commence.
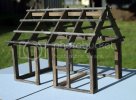
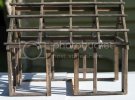
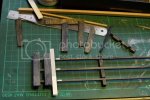
Wall frames glued together....
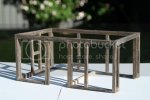
So far so good.
Cheers
Embs
I also had the urge to try to make a building, but there was not any room to place one on the track table. So, I decided to make a stand alone diorama that I could take outside and photograph my cars in natural light. But, what to build? So many magnificent racing cars have started their lives in some bloke's shed in the back yard, this seemed like a good place to begin.
I'd seen people doing builds for model railways and the like with card or styrene and only detailing the outside. But this was to be a photographic set the interior of the shed was as important as the exterior. The only way I could think of to proceed was to work in the same way as a full sized one would be built.
This is very much a "make it up as you go along" build.

The shed would need to house 1/32 cars. So, I logicked some measurements out based on the 8'x4' 'standard' sheet size.
Testing the build in cardboard seemed like a good idea. This truck was the biggest car I had at the time. A Mustang would fit easily, as would every other car I had on the shelf at the time.

The paint can lid would eventually become a water tank.
Sizes seemed ok. So onward....
Using the cardboard mockup as a pattern the building frame was cut from 5mm square spruce.


But this was to be an old shed. I couldn't have bright, fresh cut spruce for the frame. What to do?
Once again, let me remind you that I'd not done this sort of thing before. Research indicated that there were various products available for aging wood. But I couldn't obtain any easily, nor within my meager budget. So I experimented around with my artist's acrylics and came up with a recipe that worked to my satisfaction.
Ultra blue deep and raw umber with just a hint of black. I very rarely use black in mixing colours, a leftover from art classes at high school.

And two very important products.

Sorry about the brand advertising. They're just what I had in the cupboard.
Mix roughly and paint on wood

Wait a little and wipe it off...

Voila!

Might be a bit dark, but I can lighten the mix up with more glaze medium. I also made sure I used plenty of sealer when staining balsa.
And the results on the spruce

Oh the fun of staining all the pieces of the frame before building could commence.

Wall frames glued together....

So far so good.
Cheers
Embs

