Airfix 1/72 MiG-29 Fulcrum new boxing buildup

nicholassagan

sippin on gin + juice
Joined
Dec 28, 2011
Messages
2,013
This might be my bad habits more than anything…I can’t ever just focus on what’s been started already. But since every other project is still in the fiber optic/lighting, painting or detailing phase I’ve just been ITCHING to BUILD something. Unfortunately, even the most simple seeming builds don’t ever end up that way.

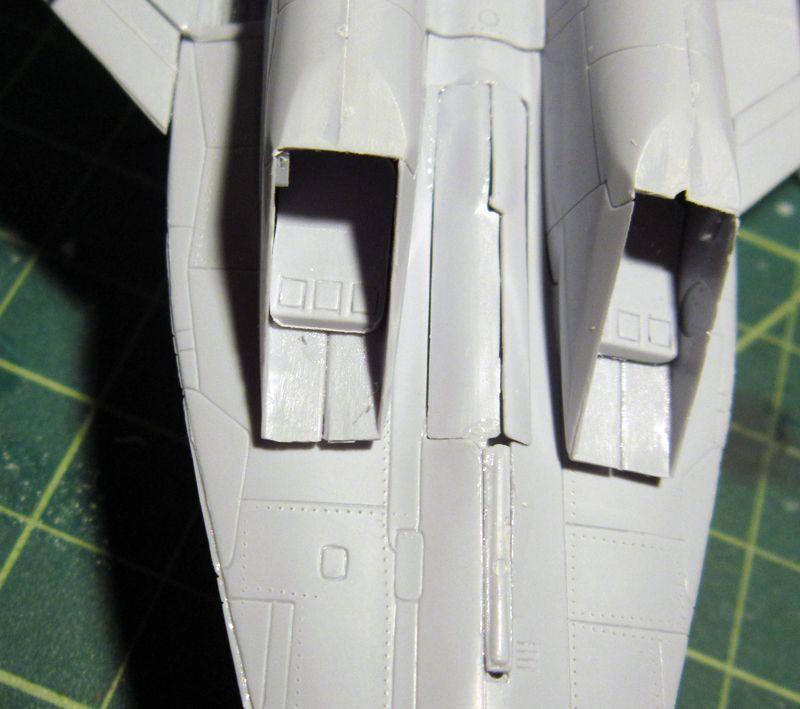
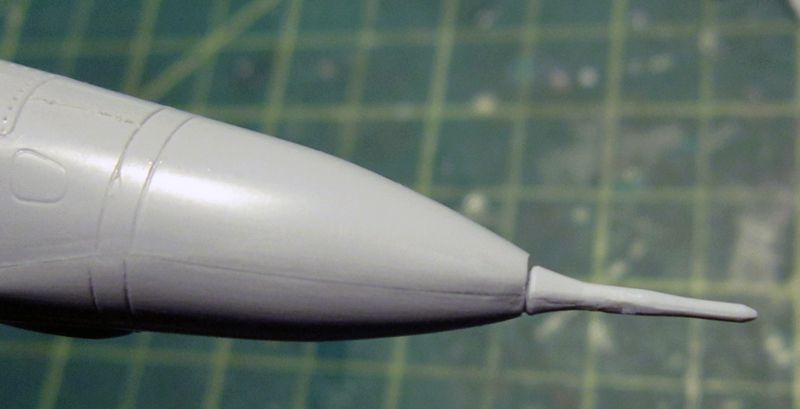
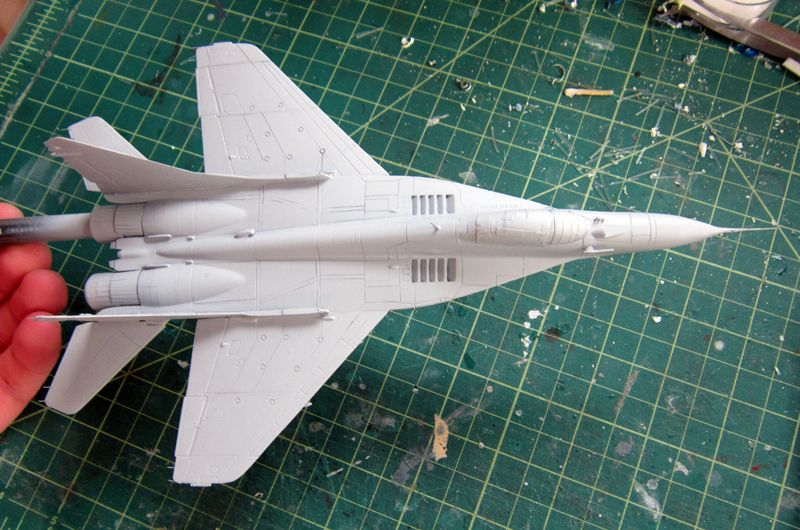
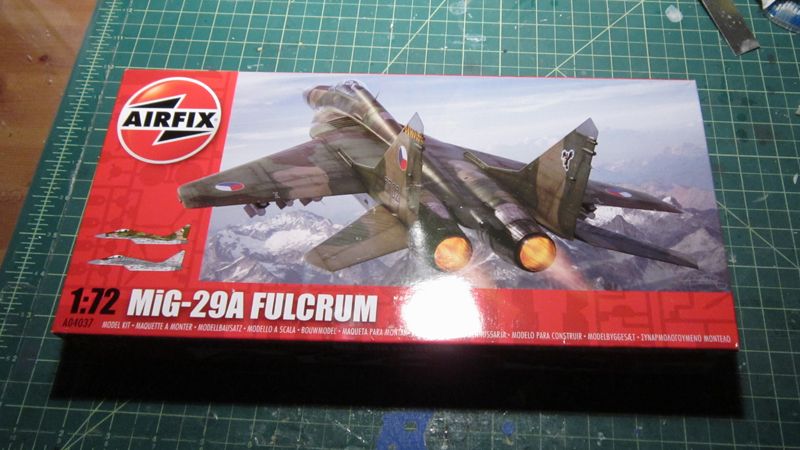
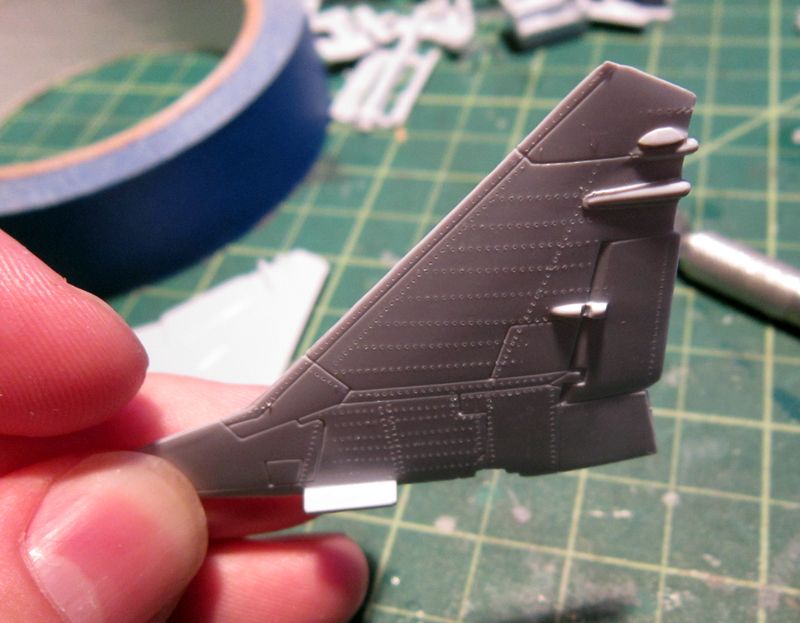
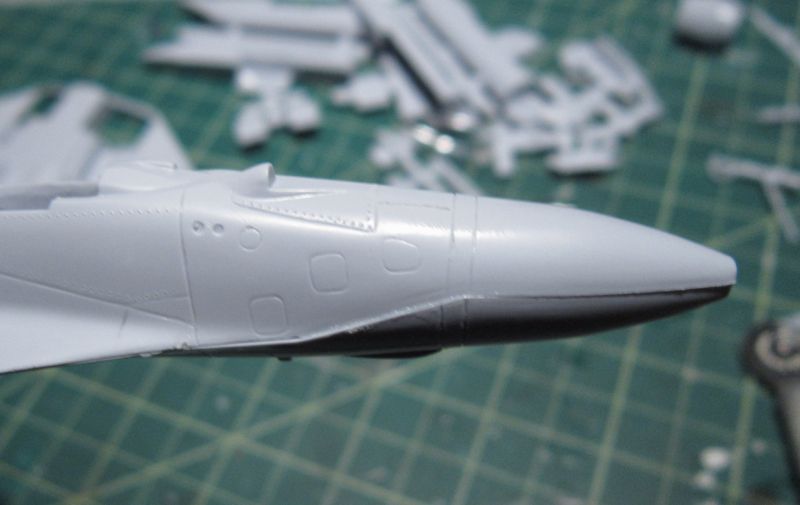
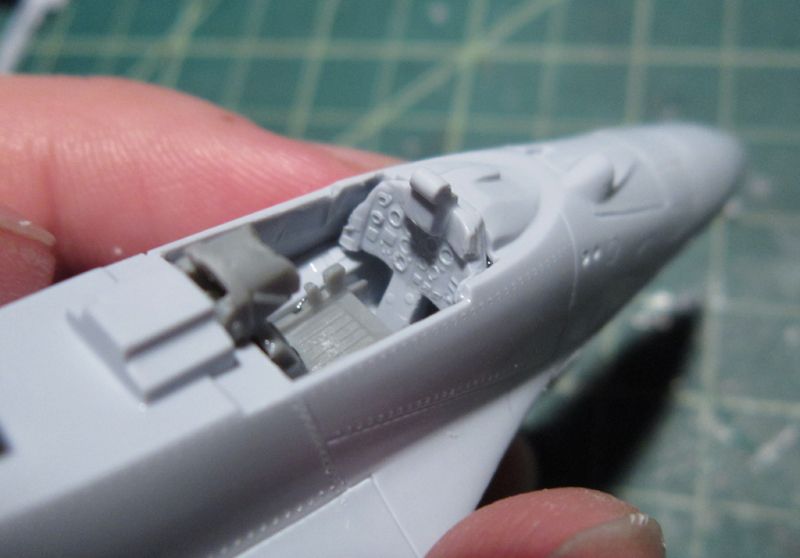
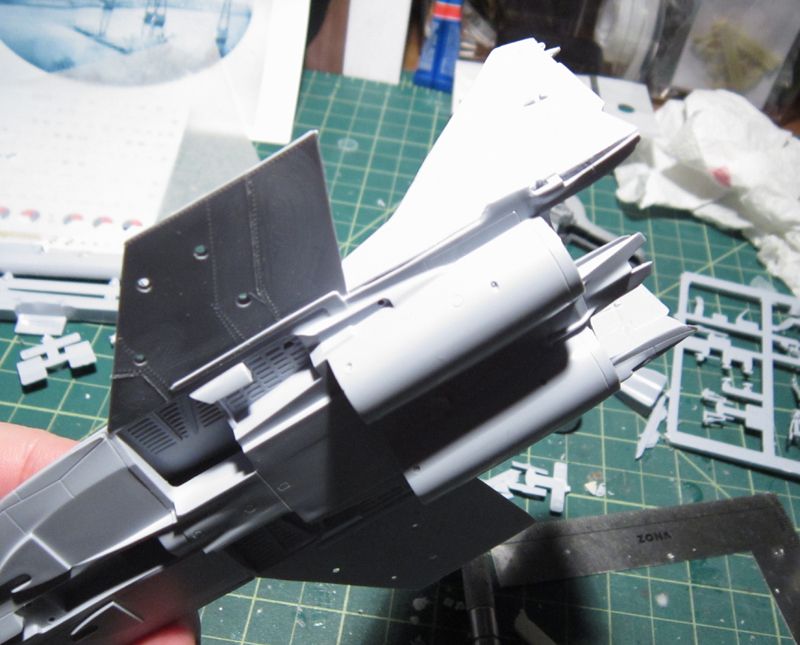
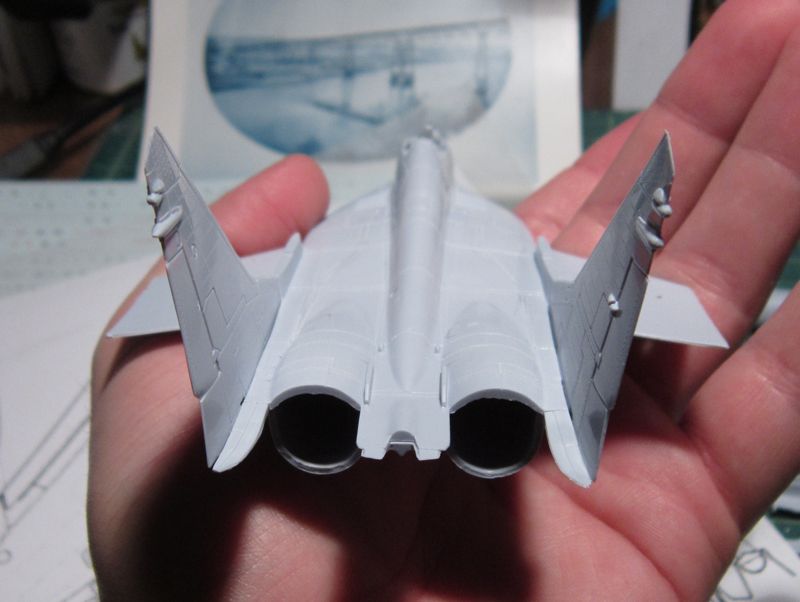
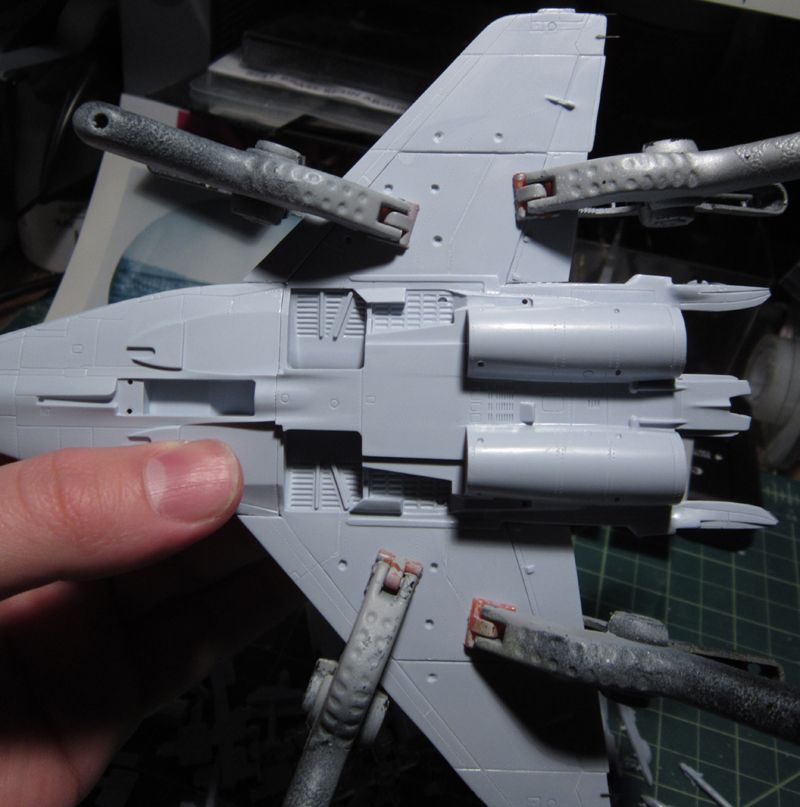
Thus is the case with what arrived at my home yesterday: Airfix’s new boxing of the 1/72 MiG-29 Fulcrum.
afxmig_2622.jpg


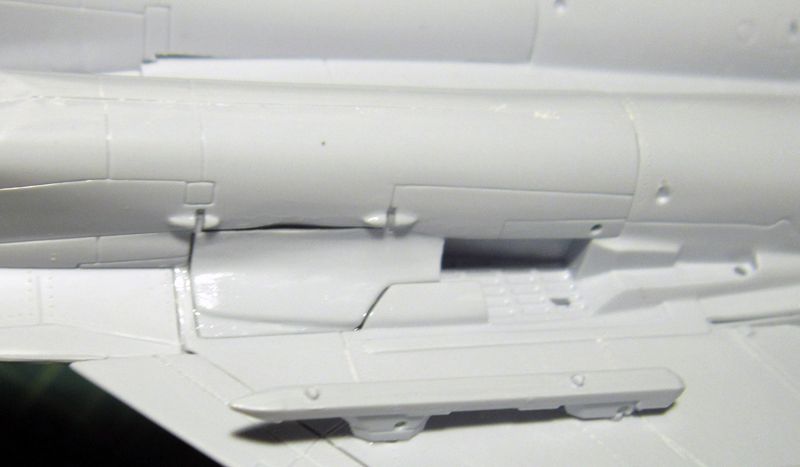
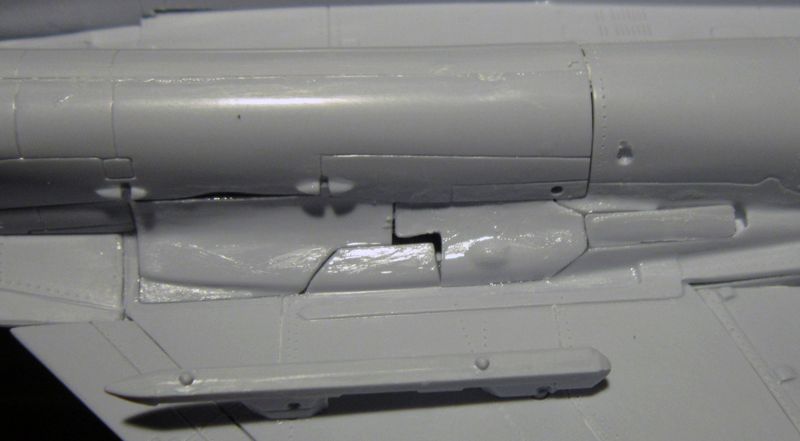
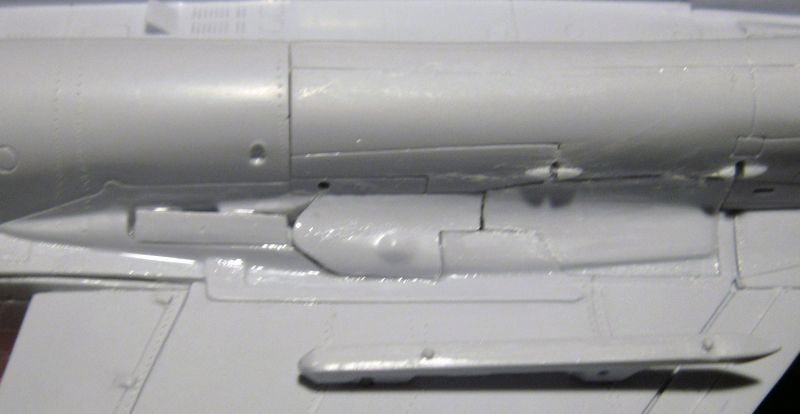
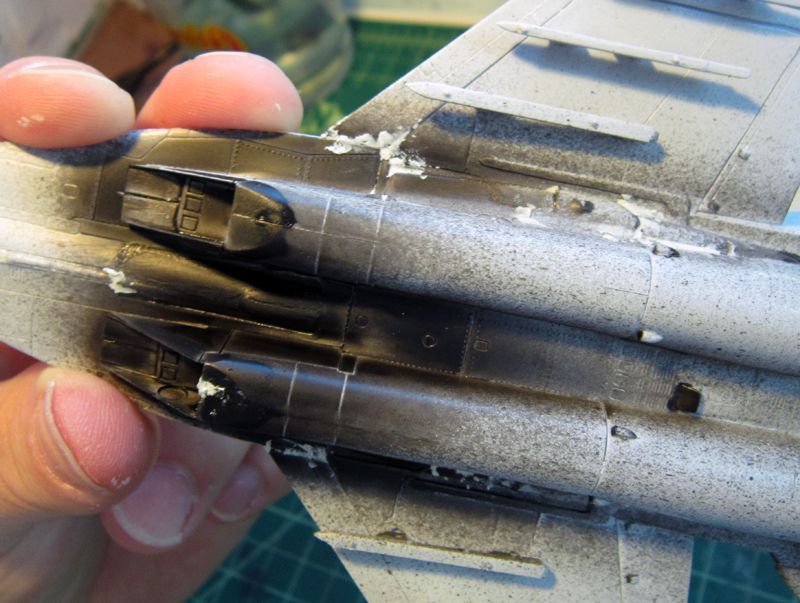
First impressions are that it’s the same old mold (we knew this…) made of the same old Airfix soft plastic. There’s a lot of flash to contend with, especially on the smaller pieces.
afxmig_2625.jpg


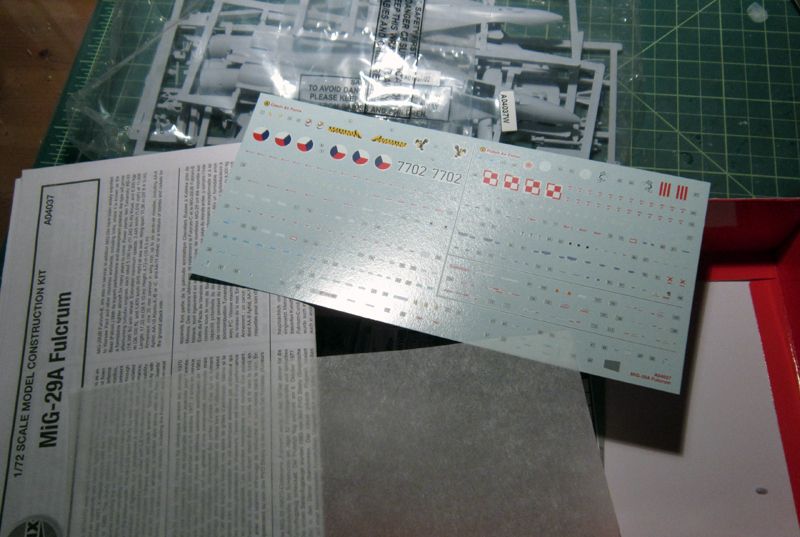
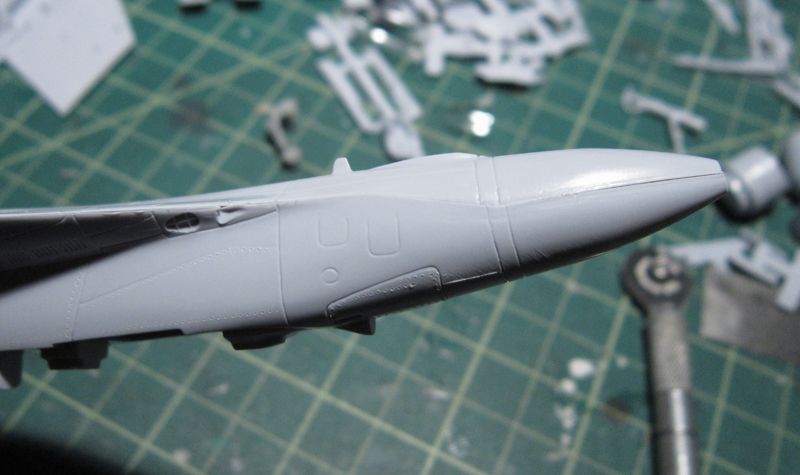
Even though it’s an OOB build there has to be some improvements made. The decal sheet is probably the highlight of the boxing since it has complete markings and stencils for both the Polish and Czech birds. I think I’ll do the Polish gray scheme with the Czech markings…
afxmig_2623.jpg


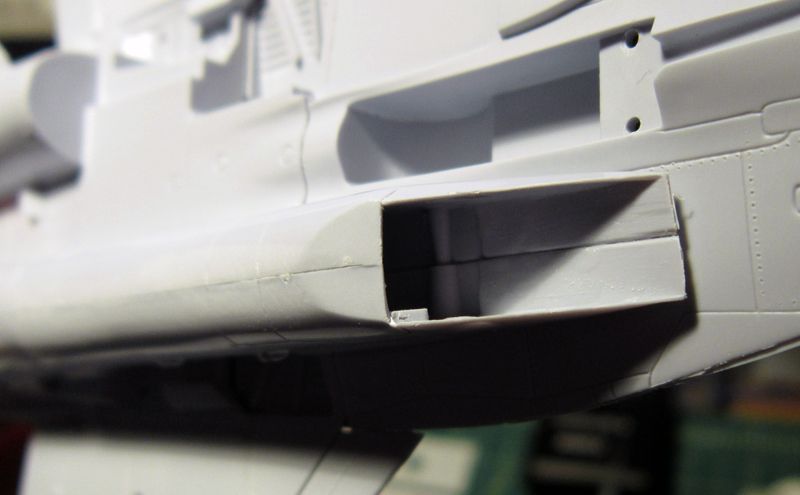
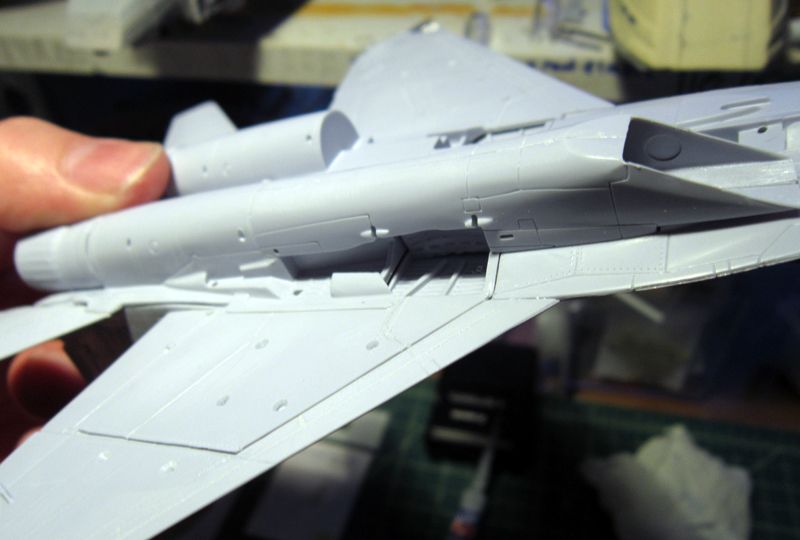
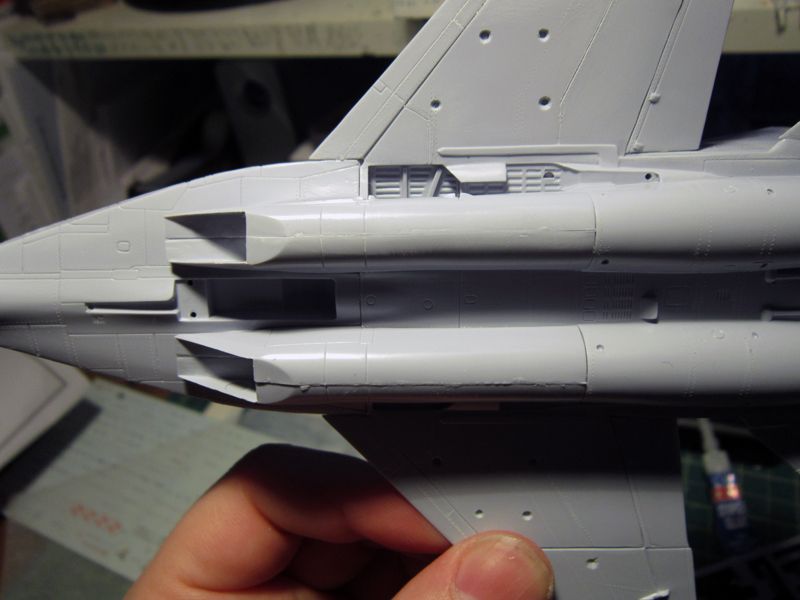
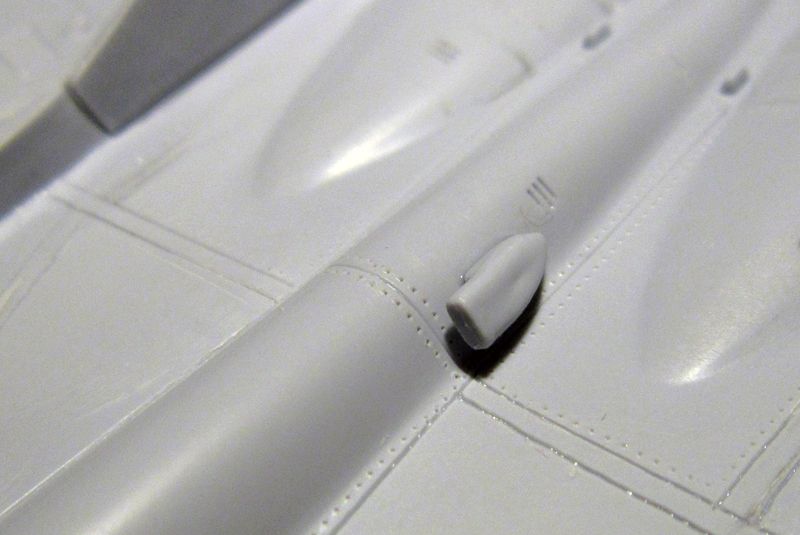
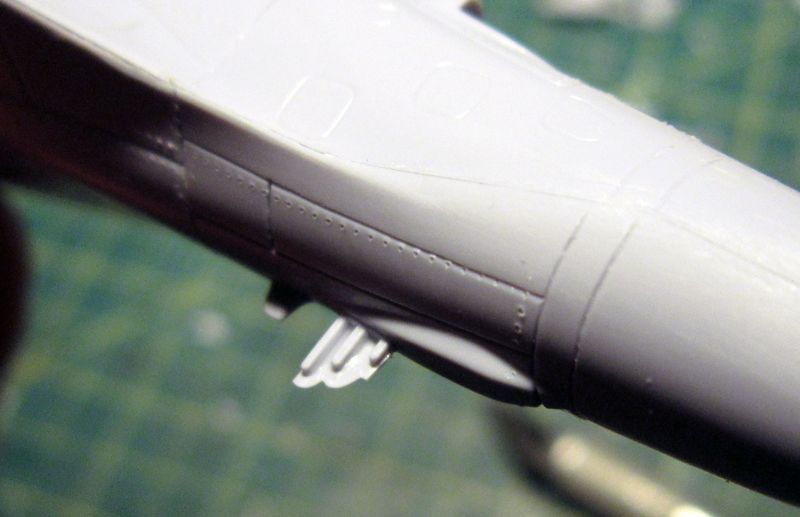
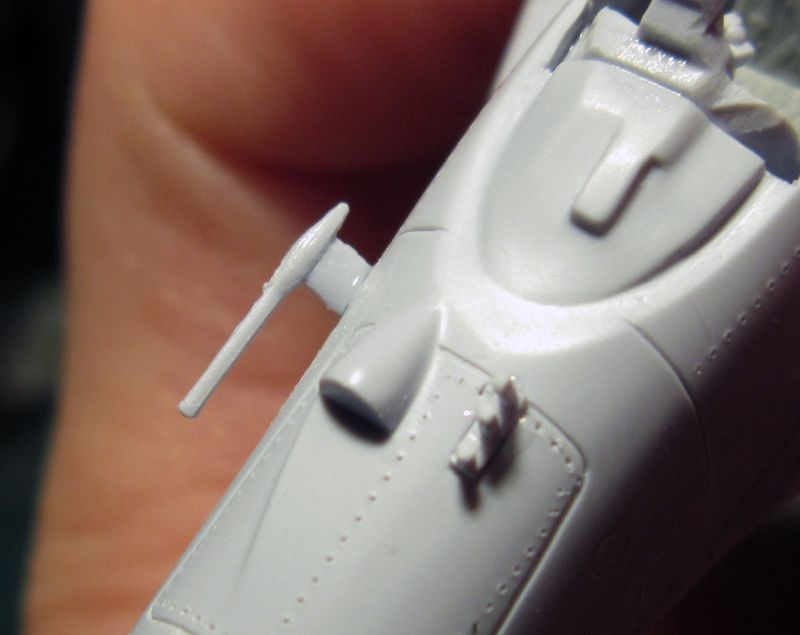
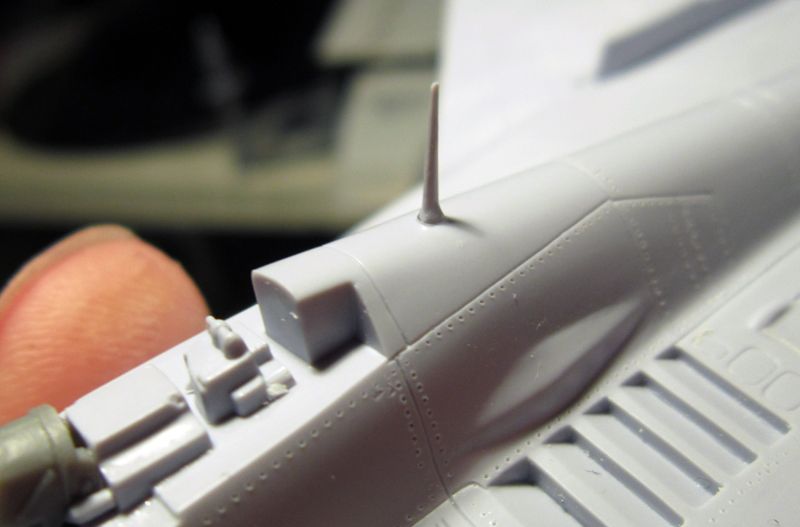
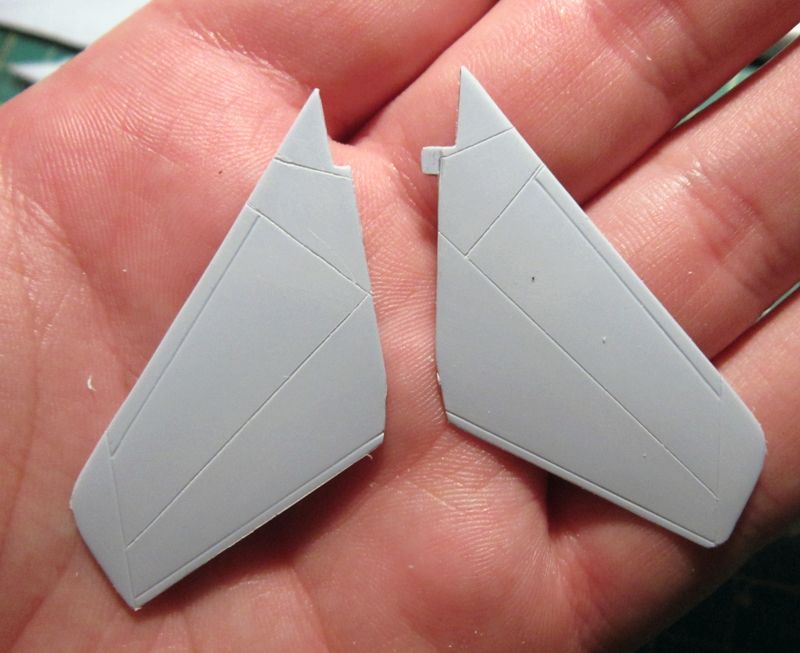
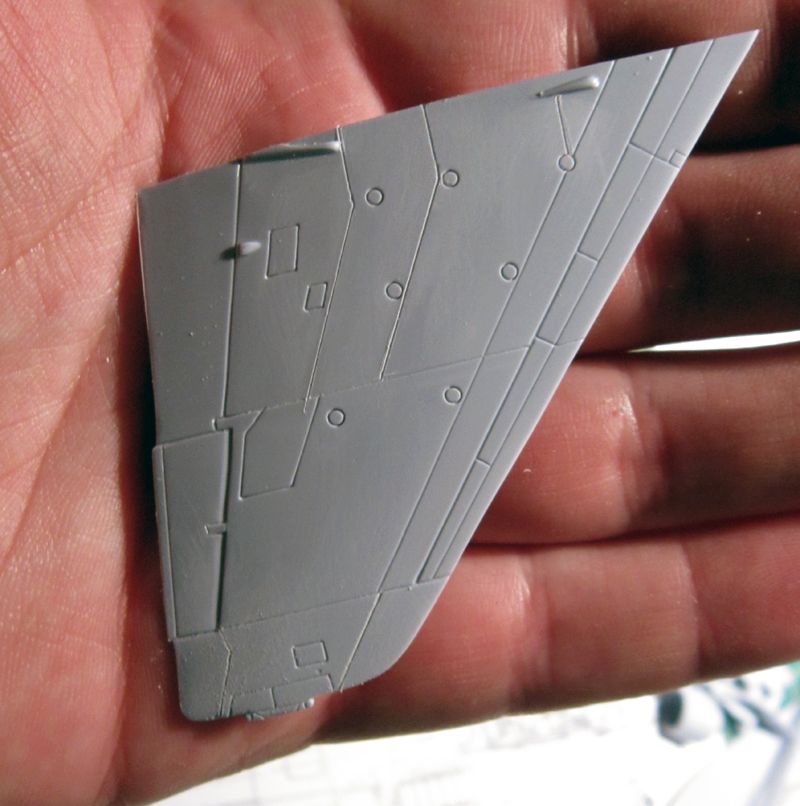
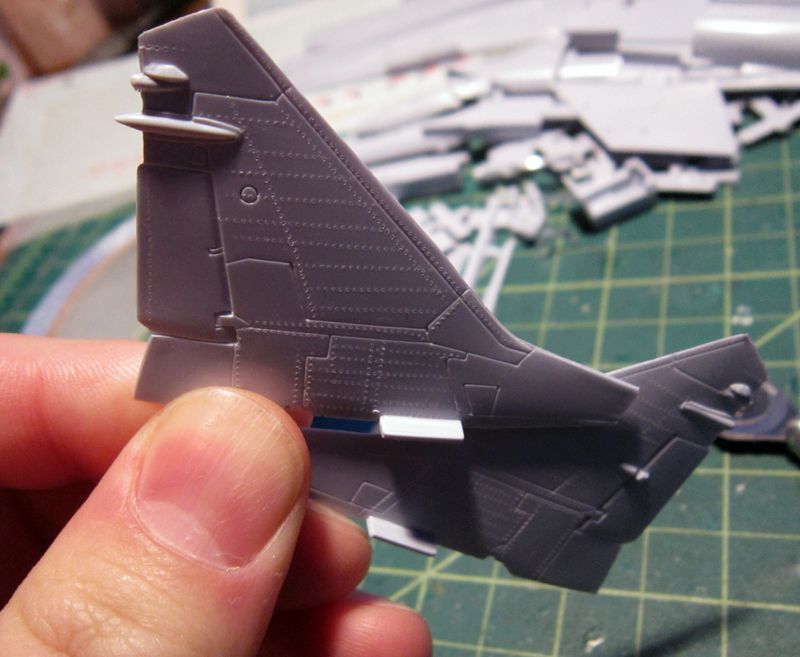
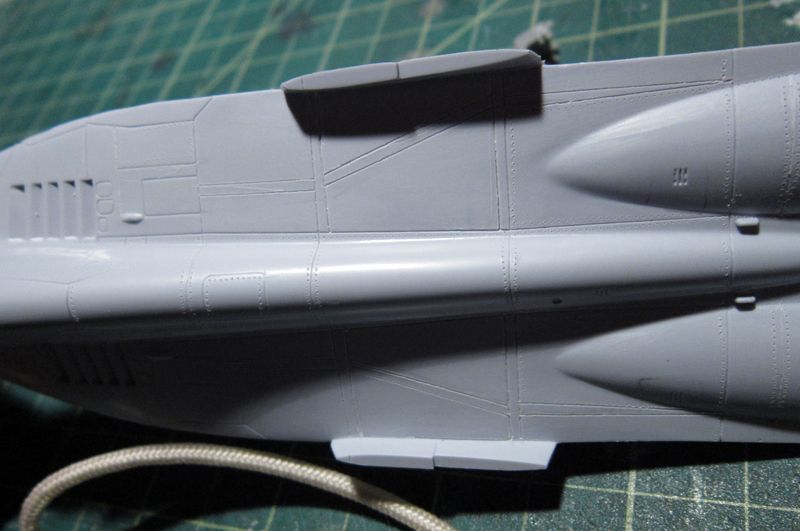
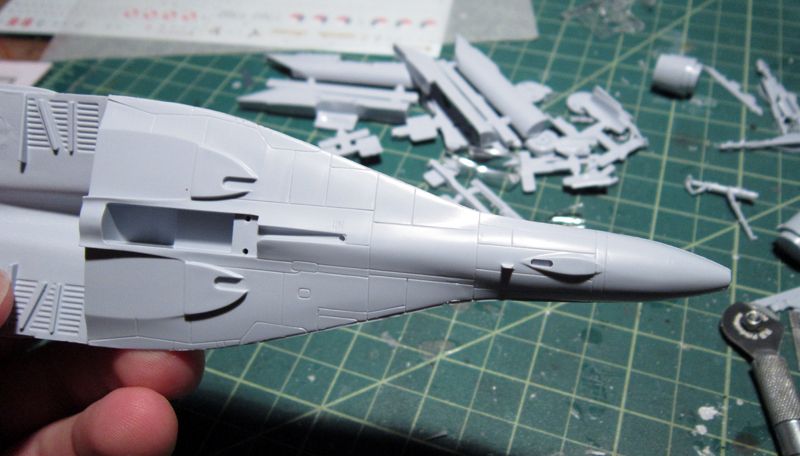
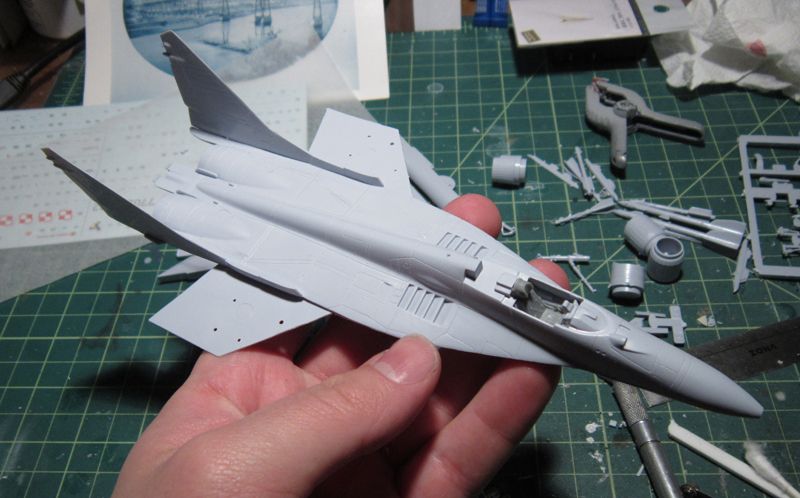
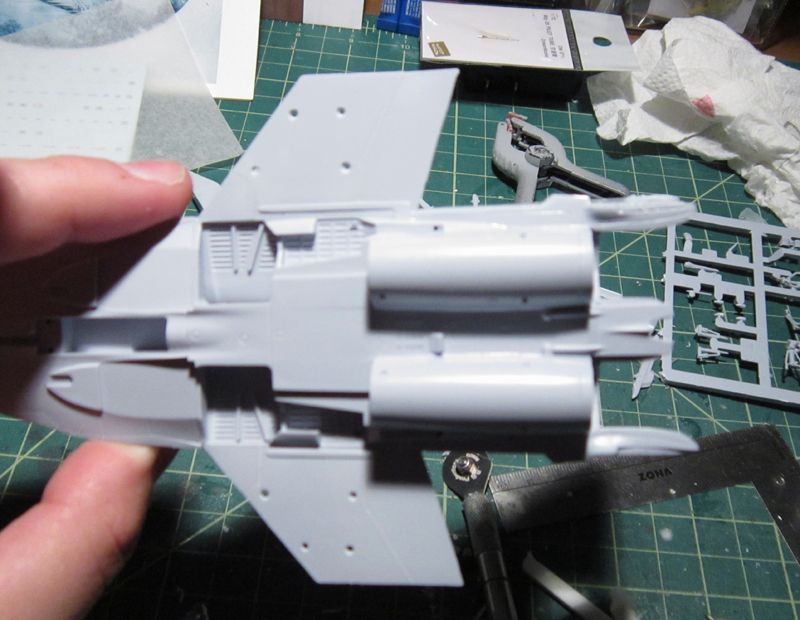
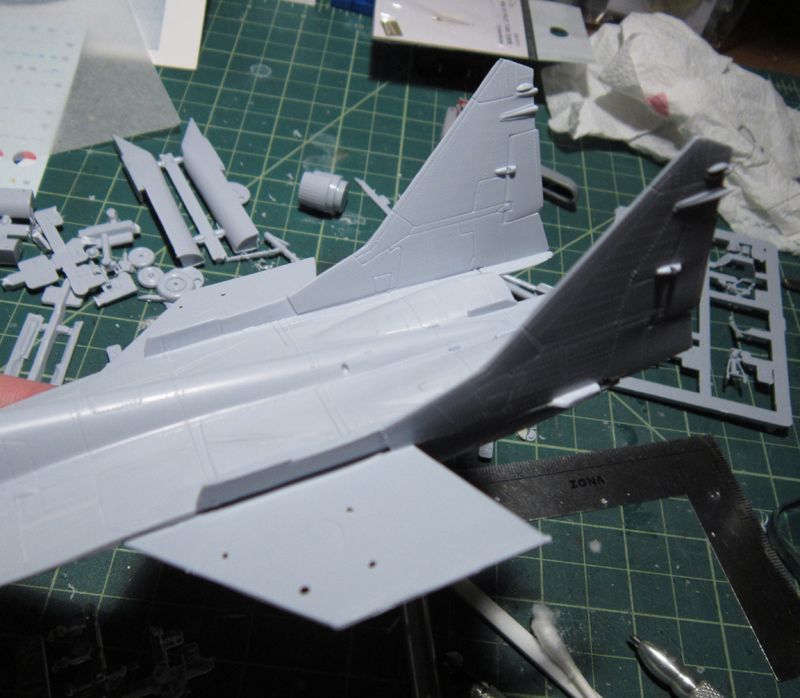
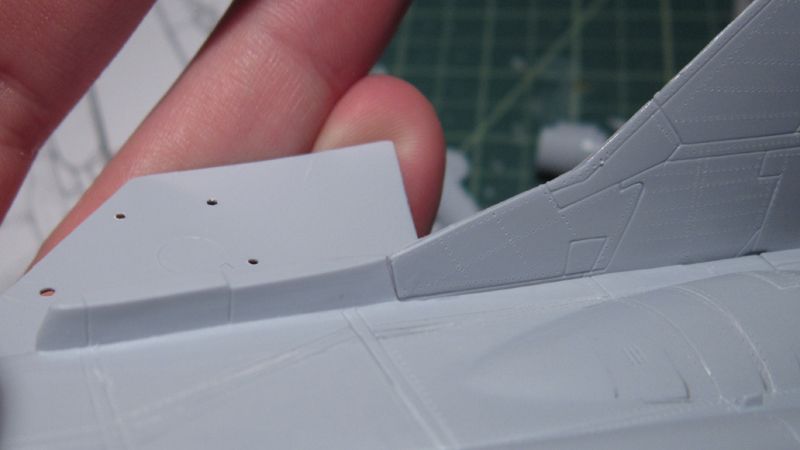
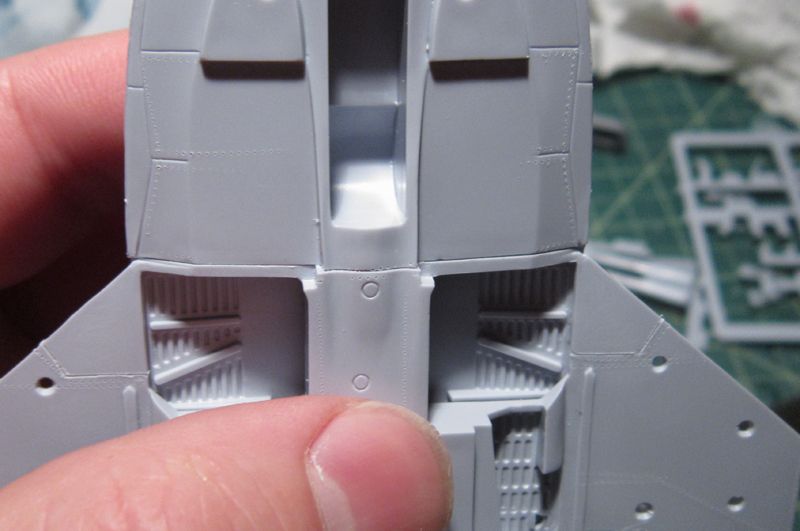
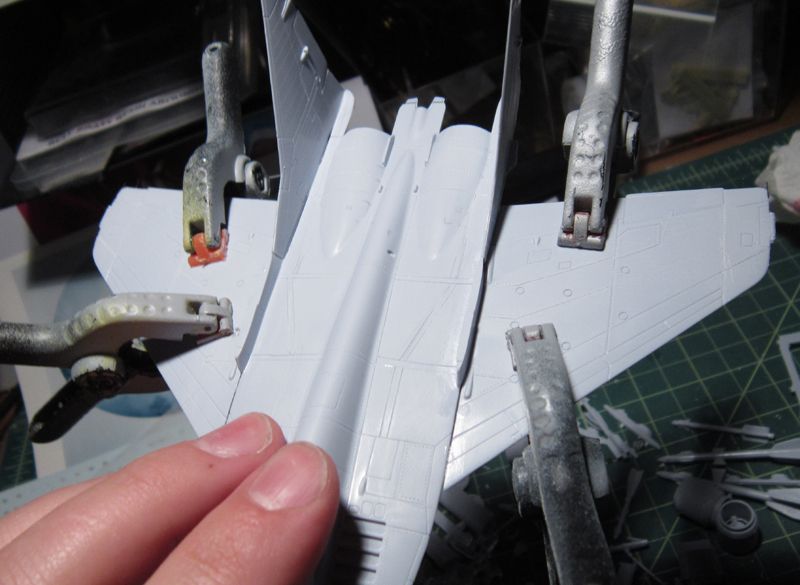
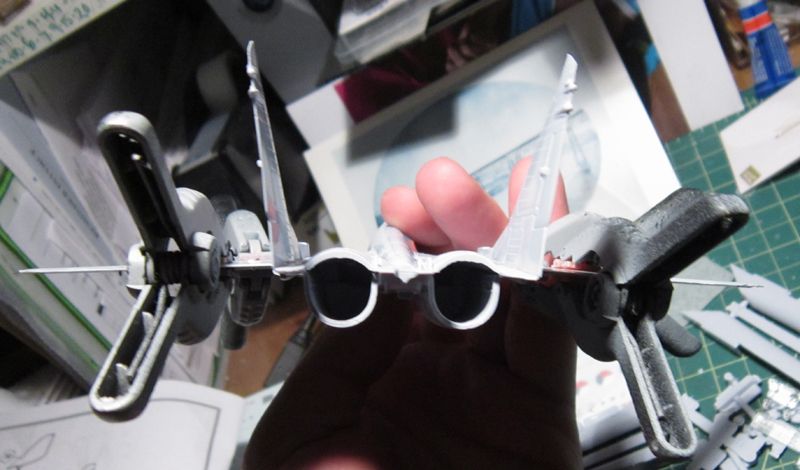
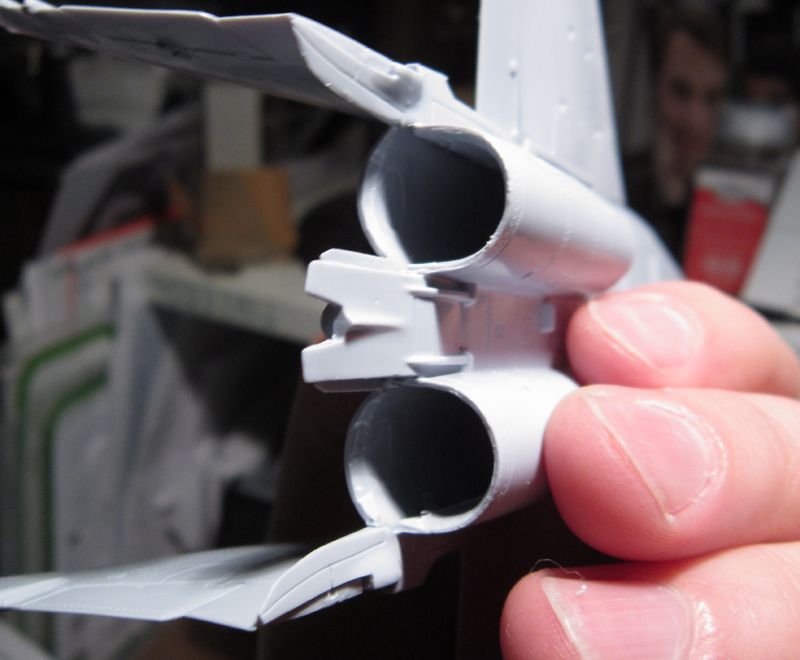
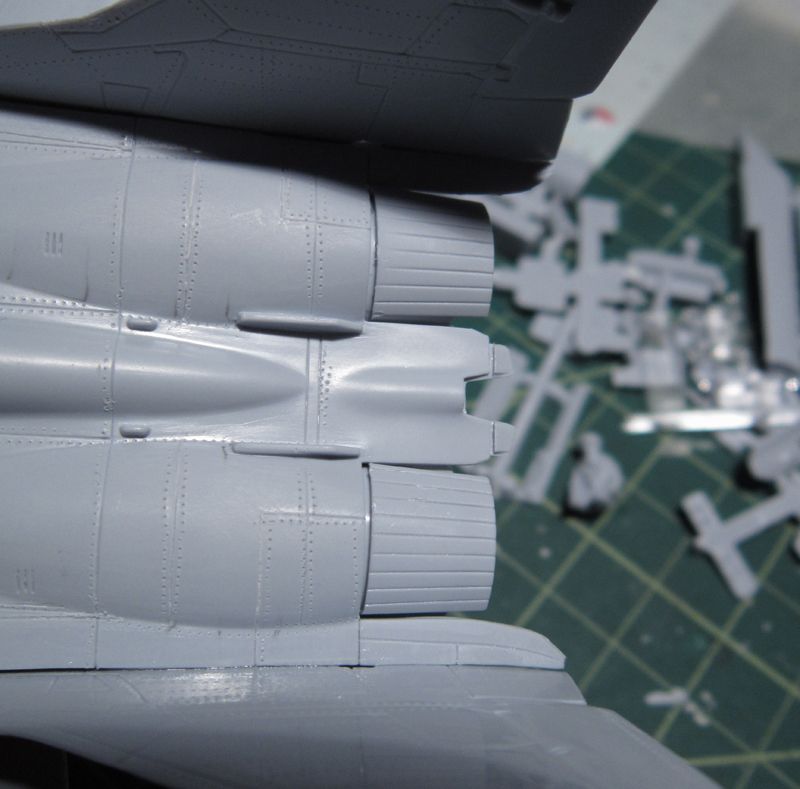
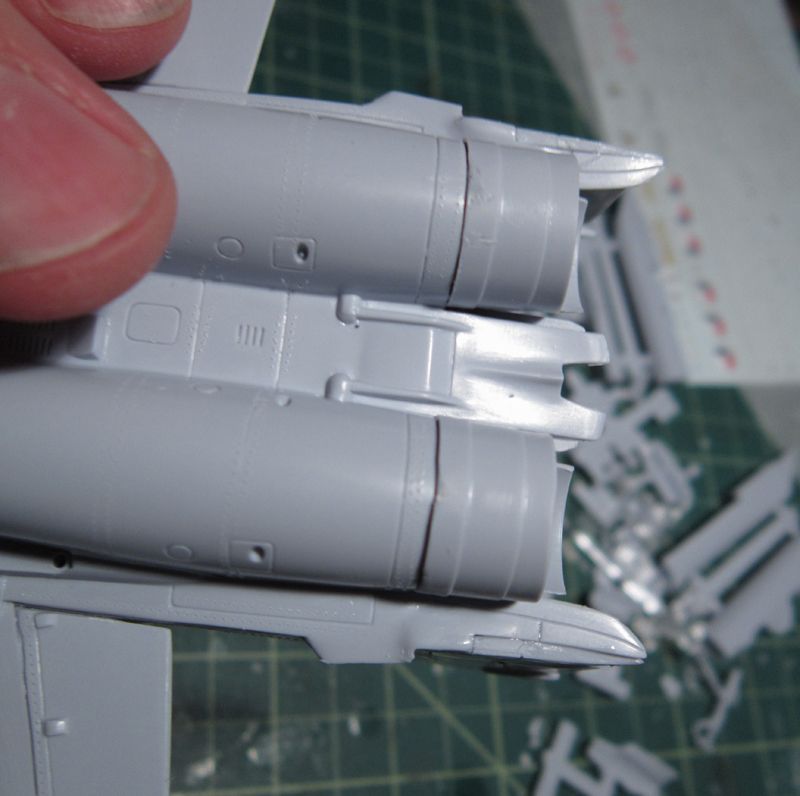
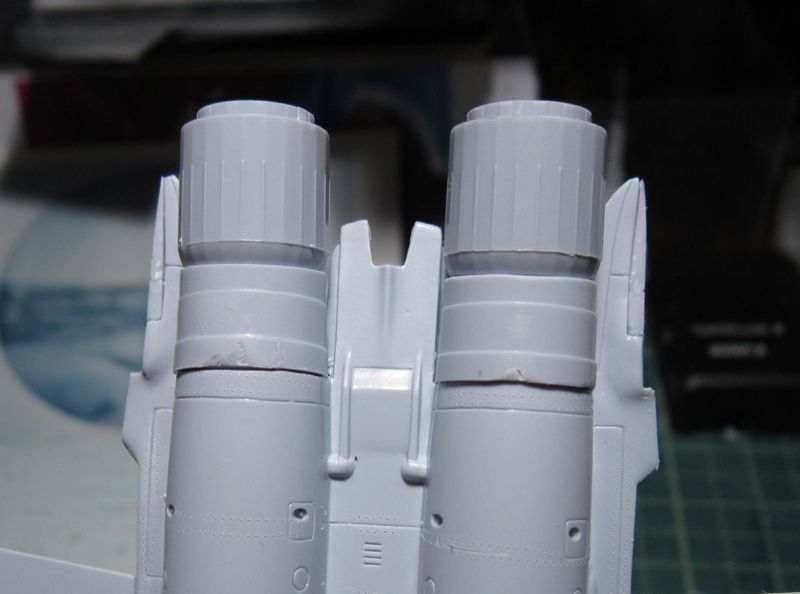
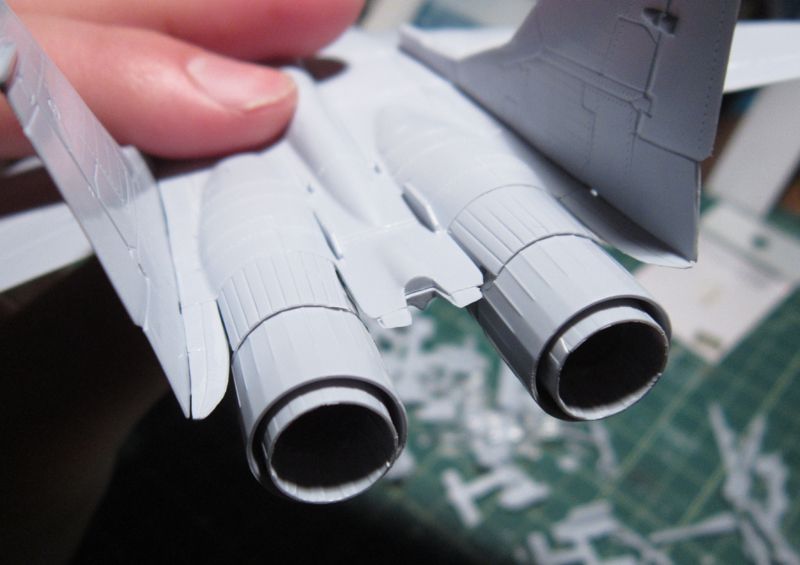
I began by adding more scribed panel lines to the control surfaces. It’s not that the kit is wholly inaccurate (or accurate for that matter) but there are a number of key panel lines that needed to be there. And rivets. It needs rivets. But that's my build bias...

afxmig_2627.jpg

afxmig_2629.jpg

afxmig_2631.jpg

afxmig_2632.jpg


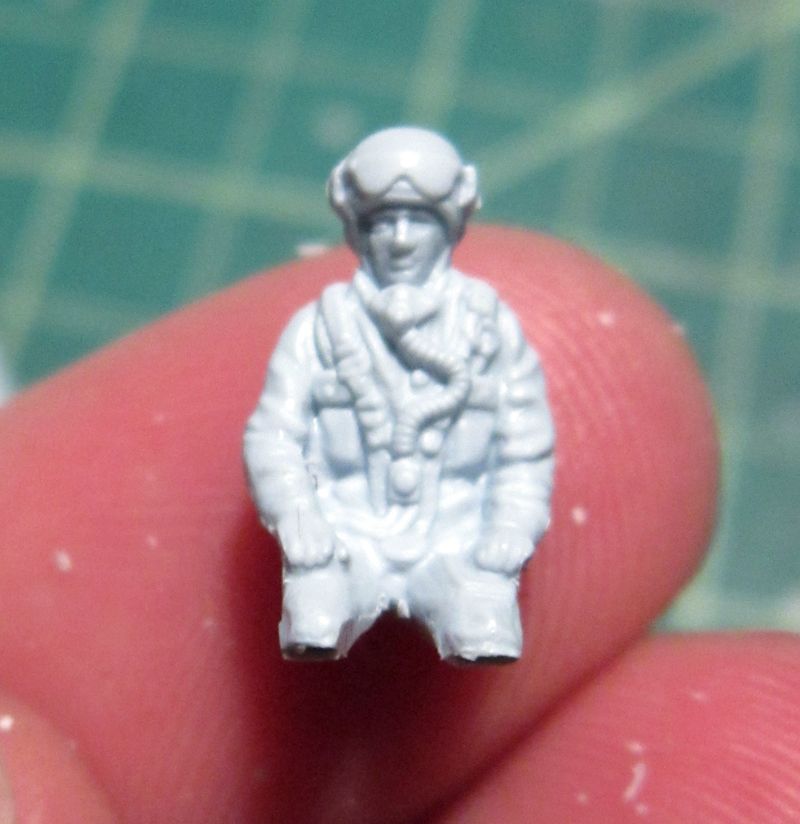
More to come…however I have no agenda or timeline for this other than getting it done. This is also the first Fulcrum kit (proper) that I’ve had my hands and tools on so it’s serving as a practice round for when I get to the Hasegawa and Italeri in 1/72 and the Academy UB and Great Wall Hobby in 1/48.
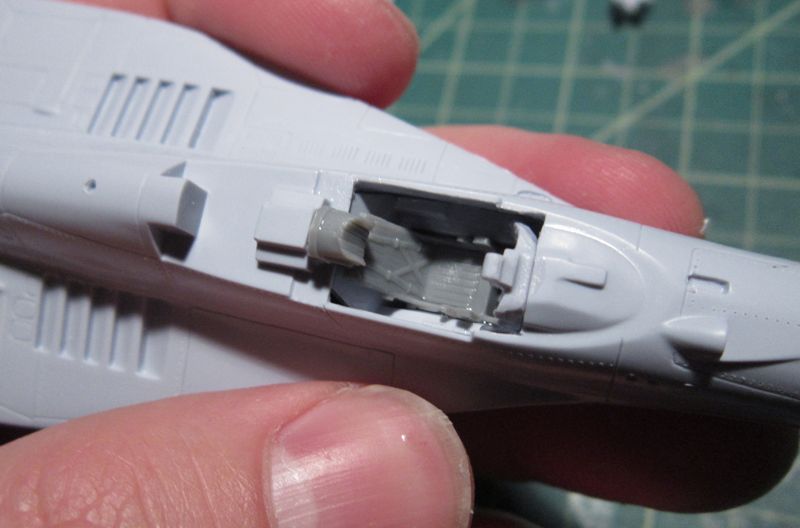
 
That's a lot of rescribing already.
Should pay off when you get around to finishing her, though
 
yeah Q, i hope it'll pay off. airfix plastic is SO soft some of my lines got choppy....
but its actually shaping up ok....
 
A bit more work done in the wee hours of the night…

I finished up the paneling/riveting on the control surfaces and the body (not the intakes yet…). Assembled most of the main fuselage parts.
afxmig_2635.jpg

afxmig_2636.jpg

afxmig_2648.jpg

afxmig_2649.jpg

afxmig_2650.jpg


The seams on the nose section are TERRIBLE…they will require a bit of love.
afxmig_2651.jpg

afxmig_2652.jpg


Cockpit work isn’t too bad. I’m using a leftover seat from a Trumpeter Flanker build…not that it will make much difference with the seated pilot. The instrument panel’s fit is atrocious. I had to shave down not only the bottom “legs” but the sides as well, just to get it to fit. I’ll need to go back in and add a few little details just to fill some gaps, which I was hoping to avoid…but it’s Airfix….so….yeah.
afxmig_2647.jpg

afxmig_2653.jpg

afxmig_2654.jpg


The vertical stabilizers fit really well into there spots and the angle is just right, nice and evenly spread. The seams are nasty there too but luckily the elevators will cover most of it up. The fit up against the chaff dispensers is slightly awkward, too because the front ribs taper off to a point. I had to shave off about .5mm of material on the left stabilizer to get it to fit snug.
afxmig_2655.jpg

afxmig_2656.jpg

afxmig_2657.jpg

afxmig_2658.jpg

afxmig_2659.jpg

afxmig_2663.jpg

afxmig_2664.jpg


There’s also a big seam on the belly between the front and rear lower halves but since most of it will be covered by the intakes I’m leaving it.
afxmig_2660.jpg


The wings go on easily enough with a little bit of sanding on the lower “tabs” that get inserted. The seam along the fuselage is bad, too…big gaps and the little curved parts that are supposed to sit up agains the chaff dispensers doesn’t align properly.
afxmig_2665.jpg

afxmig_2666.jpg

afxmig_2667.jpg


The nozzles are IMHO decent…there’s just a touch of detail I’ll go in and add on the topside covers. The fit is OK…I had to shave a little bit of material out from the fuselage mounting points as well as the inside of the join for the 2 parts. The sprue tabs are a little sloppy…yes I could have cleaned them up or been a bit more careful, but hey…this is practice!
afxmig_2670.jpg

afxmig_2668.jpg

afxmig_2669.jpg

afxmig_2671.jpg

afxmig_2672.jpg
 
Looks like you're doing this old kit some good justice :) ...nice work so far ,I like the rivet detail .

Chris.
 
Those rivets would have driven me nuts. Kudos for doing them.
This build, so far, is giving me flashbacks to my Tomcat from last year's Navy/Marine GB
 
Picking up where I left off I assembled the intakes, which are split down the middle. The actual “tubing” section seam fits pretty well but the alignment on the intakes is nasty. It took some sharp blades and some putty to clean them up. Surprisingly, they attach to the fuselage cleanly leaving minimal gaps at the contact points.

afxmig_2673.jpg

afxmig_2675.jpg

afxmig_2676.jpg

afxmig_2677.jpg

afxmig_2678.jpg

afxmig_2681.jpg


I decided to go with the in-flight configuration so all the gear doors had to be closed. The forward bay doors weren’t too bad in terms of getting them to fit. However, they did need to be glued one corner at a time because there were more or less held in place by pressure. The side gear doors were a bit more complicated as NONE of the parts really fit each other. So there was some trimming and filing and squeezing and gluing but it all seemed to work out ok. There were a couple of open spots here and there but more on that down the line.

afxmig_2688.jpg

afxmig_2693.jpg

afxmig_2695.jpg

afxmig_2696.jpg


There were also a bunch of smaller detail parts that are kind of blah. The intake vents, the antennas and the pitot are all big old blobs of soft plastic. Whatever. Practice build. Pylons, of course, too. The pitot though was bad enough to warrant the use of Dreammodel’s parts…and boy does it make a difference.

afxmig_2686.jpg

afxmig_2689.jpg

afxmig_2691.jpg

afxmig_2700.jpg

afxmig_2699.jpg

afxmig_2702.jpg


Here’s the “down the line” part: Aves. There were just too many little gaps here and there and I needed to blend the new pitot part into the nose so Aves was justly applied to specific locations, including wing gaps and the gear door areas. Not bad.

afxmig_2724.jpg

afxmig_2726.jpg

afxmig_2728.jpg

afxmig_2733.jpg

afxmig_2734.jpg


It was also the time to finish up the cockpit, which I had sprayed some black into. I didn’t want to fuss too much with it so I added a little greeblie behind the headrest and drybrushed the whole thing with silver. The pilot got the most detail. One issue is that with the replacement seat he sat a little too proud and bumped his helmet on the canopy so I had to shave his legs down and use a clamp to squeeze him in. The canopy itself is a thick old bit of clear and takes decently to a couple of coats of Future. The inside seam was painted with desert khaki or some such color….hopefully it’ll look good when the mask comes off…

afxmig_2739.jpg

afxmig_2740.jpg

afxmig_2745.jpg

afxmig_2752.jpg


Lastly, I primed the whole bird with Mr Surfacer 1200 to retain all that rivet detail! Woot! Preshading next!

afxmig_2762.jpg

afxmig_2763.jpg

afxmig_2764.jpg

afxmig_2765.jpg

afxmig_2766.jpg

afxmig_2767.jpg

afxmig_2768.jpg
 
Definitely some work involved to get this one up to par, but you're doing it well
 
Thanks Q!

I'll tell you though....it's extremely difficult to find the "par" in this kit as the new GWH 9-13 is sitting on my desk right next to it....
 
Lots of updates on this guy, too.

Engines: Tamiya Gunmetal and Chrome Silver
afxmig_img_3006.jpg


Preshading
afxmig_img_3077.jpg

afxmig_img_3079.jpg


Underside: Testors Duck Egg Blue
afxmig_img_3091.jpg


Topside: Tamiya XF-18 Medium Blue and xF-19 Sky Grey
afxmig_img_3094.jpg


Vert fin tips: Tamiya X-5 Green
Tips and nose: Montana Light Gray
afxmig_img_3116.jpg

afxmig_img_3119.jpg

afxmig_img_3123.jpg


Most of the decals are kit supplied and MAN!!! Airfix’s new decals are NICE. They’re a little thin but they apply super easily. There are also TONS OF STENCILS!!! Great kit just for the decals alone. The only ones not included, which I cut from an Authentic Decals 9-13 sheet, are the shark mouth, eyes and numbers.

To begin the weathering process I did a sloppy pin wash of MiG Productions neutral wash. Clean up and top coat tonight hopefully and in-studio shots soon!

afxmig_img_3129.jpg

afxmig_img_3130.jpg
 
Alright...since I started this build at the end of April it was technically eligible for the contest...I just chose not to enter it at the time just to avoid pressure of completion. So I PM'ed Scott about moving this over to an entry and he was amicable to the idea. Thus, my entry fee paid and viola. Here's the progress thus far (actually as of this morning). She's actually done and I'll be taking studio pics tomorrow. That's 4 entries done for this year and a 5th nearing completion!!
 
Nice work Nick! Looking forward to seeing the finished product. And way to go supporting the site ;)
 
I was about to congrat you on another super fast build, but well now I can say, nice work on the rivet details, and giving this kit some care!
 
Good looking bird!
I saw a couple of these at an airshow back in '92, and they are BIG!!!!
;D ;D ;D :D ;D :D ;D
 

Latest posts

Back
Top