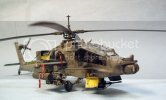
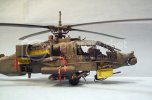
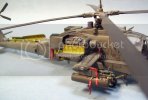
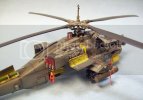
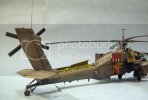
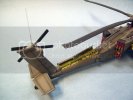
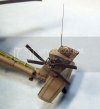
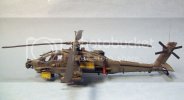
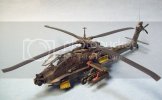
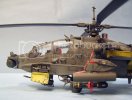
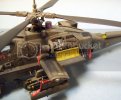
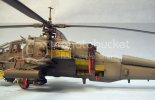
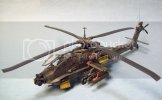
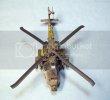
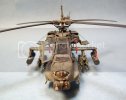
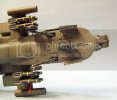
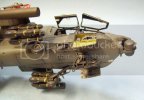
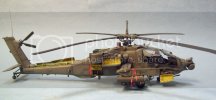
AH-64A "Devils Dance", C Company 1/229 Attack Helicopter Battalion **Finished**

Bulldog 09

New Member
Joined
Aug 14, 2012
Messages
28
Finished this build up yesterday at a little past 4 in the afternoon. This has taken a little over three years to build. It is comprised of parts from four kits (2 Academy, 1 Hasegawa, and 1 HobbyBoss), after market sets from CMK & Eduards, and a total of 1200+ scratch built pieces. None of this would have been possible without the outstanding custom decals from my friend Joseph Osborn and the invaluable technical advice and reference material from my friends John Bernstein, Tony Morgan, and the US Army. So I'll shut up now and post the photos.

Devil Dance
AH-64A 89-0202
C Company, 1/229th Attack Helicopter Battalion aka."Blue Max"

4.jpg

5.jpg

6.jpg

16.jpg

8.jpg

7.jpg

9.jpg

15.jpg

Dave Fassett
 
Thank you all for the outstanding feedback and comments. It was support like this from fellow modelers that helped me through this build and many like it. It also helps to be a little insane to ;D. Thank you all again.

Dave Fassett
 
Damn !!! Thats some fantastic work there . A beautiful piece .....well done :)

Chris.
 
How did you get such a uniform "rainbow" effect on the optics stack next to the rotor ? The purples, greens and yellows are superb
 
Thank you so much Holden and TBadger.

To answer your question TBadger on the "Disco Ball" here is what I did.

I sanded the Eduards PE piece until all of the silver coating was removed and the brass was revealed completely. Then I polished the brass with a piece of fine sandpaper to give it a high shine look, and sprayed a coat of Model Master Acrylic Clear Red over it, let this dry for a day or so. I then cut a piece of clear Mylar film, which was purchased at Hobby Lobby, to fit over the PE piece. I made this a little bigger than the piece to be covered, this allowed me to handle it better. I brushed a coat of future over the PE piece and lay the Mylar over it while it is still wet. Gently press this down and let it set for a while (a day or so).

After this was dry I used a new #11 blade and scored the recesses between each of the lenses on the disco ball. After this was done I brushed another coat of future over it,and let this dry. Finally I trimmed all excess Mylar, folded the piece to shape, and covered it one more time with future. You may have a lense pop off here or there, if this happens just cut a piece of Mylar to the correct size and reattach it with future. That's about it, this method also works on kit supplied "Disco Ball's" to.

Dave Fassett
 
Thank you so much Dave for that great tip, I was wondering how you made look real convincing. I'll remember it when I build my MH-60L.
 
Indeed thank you for the detail tip! I'll be using that soon on a future build!
 
You are very welcome Holden and TBadger. Thank you so much Quaralane and Andrei383 for the great comments and feedback.

Dave Fassett
 
Thank you so much Peppylepugh, I sure hope you are right. I will be entering this build in its first show this weekend.

Dave Fassett
 

Latest posts

Back
Top