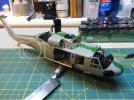
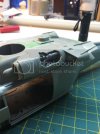
Academy UH-60L "Umbrella"

Feeling the burn and workin hard on getting what I can done so I can complete the full interior and set it aside so I can dedicate my efforts to a beaten and battered exterior :)

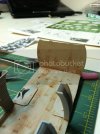
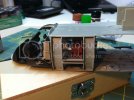
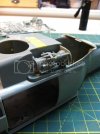
Painstakingly painted around the belts to make the gunners seats a matte red
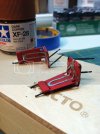
image-40.jpg

Decided to make this a rogue unit chopper that didn't have the resources for cleaning and maintenance, so it's mighty rusty and grimy
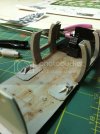
image-41.jpg
image-42.jpg
Decided to not use the fuel bladder and mount some weapons to the rear wall and perhaps make a shelf unit to take some floor space

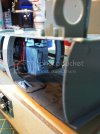
The ceiling is done, just need to drybrush the controls at the front
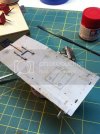
image-43.jpg

I figure another 2-3 hours of work and all the pieces will come together this evening before bed ;) too hot in my loft area for building right now though
 
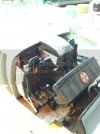
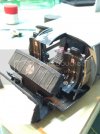
Interior unit completed.... My goal for the long weekend is achieved :). Not perfect and there's some finger smudges, but it's about completion. 3/4 of this unit won't be seen or will be obscured by windows
image-44.jpg
image-47.jpg
image-45.jpg
image-46.jpg

Now some rest and paper planning for the exterior
 
LOL!! - moist emergency farts


I don't think so!!!! ;)


"please insert the letter M" I must have missed that episode of Sesame Street!!! ::)
 
the interior looks great TBadger! if the work is this good inside, the exterior will look amazing when finished!
 
Got the motor set in
image-50.jpg
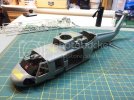
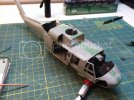
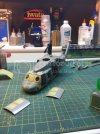
Test fitting the fuselage and now the ordeal of picking out the damage and planning my steel patch plates plus aluminum can parts to simulate dents and such
image-49.jpg
 
Thank for showing this build and your insights. Those academy or MRC kits are top notch with the Eduard upgrades. I appreciate the pics because it helps me to decide to buy one in the future. :D
 
I just can't comment on the M. E. F.'s.

Excellent work on this. Gonna look good.
 
Thank you all for the encouragement :) I'm mapping out where patch plates are going to be riveted and where tears have happened, plus getting one of the door rigged on a hinge. Furthermore, researching exactly how to weather this beast
 
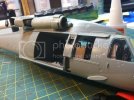
Quick update: mated up the fuselage and glue it in place as well as removed the "drivers side" door so it can be hinged. All I can say is that I have a ton of filling and sanding to get this seam under control...once the seam is cleaned I have just around 200 pieces of PE to lay...battle damage to add and then it's to paint
 
image-54.jpg
Hoping to have the exterior complete and primed within a week...then the masking and hairspray and rusting ....blahhhhh
 
It's been sanded down....that was tough to get smooth and flat....lots of Squadron Putty
image-55.jpg
 
image_zpsb07ed9f8.jpg
Put in some work tonight fellas.....
image_zps1663a02f.jpg
you can see some of the claw marked battled damage and bullet dents I put in with a Dremel
image_zps2a8c7e98.jpg
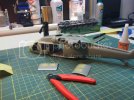
These new Xurons have been a godsend....they cut so much more easily and cleanly
image_zps54487d97.jpg
This is my idea for a quick "ventilation" mod that had to be employed because of the debris getting packed in....or just a plain, Hey the engine blew and we installed a new one.

Looking for some more input on damages and such before this Pig goes to Primer :)
 
LOL...Now we talking!! Cut cut cut!!! ;D I can hear the compressor now!!! ;)
 

Latest posts

Back
Top