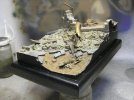
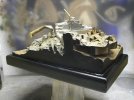
A small dio for a krote

Ludo W.

New Member
Joined
Oct 30, 2011
Messages
22
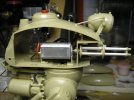
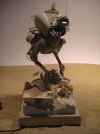
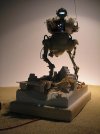
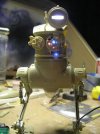
Hey there, I started a few weeks ago on a on a Krote kit from Maschinen Krieger. First I didn't had a diorama for it in mind at all, but when I was building this kit I couldn't resist to add some leds to give it some special effects. The only problem was, there was no room inside this model to hide the batteries. So it needed a base to solve the problem.
S.F.3.D.-Original-Krote-017.jpgS.F.3.D.-Original-Krote-018.jpg
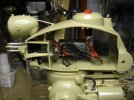
Oh, and I added a small electric motor for the gatling gun that can be activated by pushing the red buttom on top of the head.
When I was constructing I,ve putted some masking tape on the inside of the head light so it won't be sprayed with the paintjob, I still have to figure out on how to protect the rest of the lights.
S.F.3.D.-Original-Krote-019.jpgFBW-07-10-2011-005.jpgS.F.3.D.-Original-Krote-022.jpgS.F.3.D.-Original-Krote-027.jpg
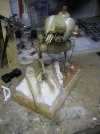
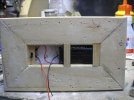
I've used a wooden canvas frame as a base. The inside is hollow so the battery holder fits in there, it still has to be mounted togetter with an on/off switch. The wiring goes from the legs trough the hull inside the head of the Krote.
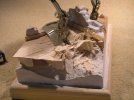
S.F.3.D.-Original-Krote-025.jpgS.F.3.D.-Original-Krote-026.jpg
I still need to do some fine detailing on the diorama. The Krote itself needs some extras to, like some bumper stickers or a foxtail on the antenna. Well I'll come up with something. Cheers!
 
Very cool ;D I love it .The lights and spinning gun will take it to a whole other level . As for masking the lights ,why dont you use some liquid maskol ,just paint it on and peel off after you're done ;)

Chris.
 
Thanks guys for the reactions. That's a good one Chris, I've never worked with liquid maskol before but I'll give it a try. Cheers!
 
The motor wasn't included, but the kit had an option to install a motor and came with two mounts. I didn't had the exact motor that was prescribed so I adapted it a bit to make it fit.
 
Hello everyone! Thanks fot the reactions.
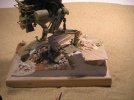
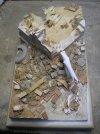
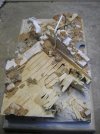
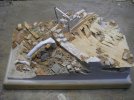
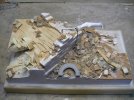
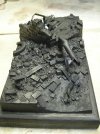
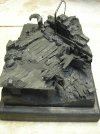
Today I gave the building process of the diorama it's finishing touch by adding the last details. I'm pretty satisfied myself about the result, the use of materials was an experiment so I didn't know the outcome. The bricks I used for this dio are a found at a jumble sale, got a shoebox full of it. I can build a small castle of it when I would get really bored... Anyway, here is an overview of the diorama.
S.F.3.D.-Original-Krote-028.jpgS.F.3.D.-Original-Krote-029.jpg S.F.3.D.-Original-Krote-030.jpgS.F.3.D.-Original-Krote-031.jpg
S.F.3.D.-Original-Krote-032.jpg
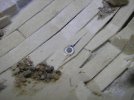
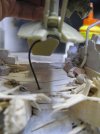
Here you see one of the two small pipes that must guide the wiring from the Krote to the hollow space inside the base. I could have drilled those holes but was afraid that I would damage the diorama too much.
S.F.3.D.-Original-Krote-033.jpg
And of course here you see the battery pack together with the on/off switch. Its easy accessible from the bottom to change the batteries.
S.F.3.D.-Original-Krote-034.jpg
The final connection from the Krote to the battery will come in the last stage when the paintjob is done.
S.F.3.D.-Original-Krote-035.jpg
S.F.3.D.-Original-Krote-036.jpg

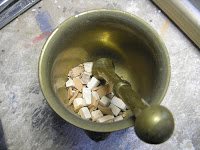
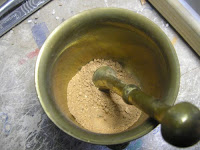
To fill up all the open narrow spaces between the rubble I've used the same material as the rubble itself. I put it in a mortar and pulvered it to powder.
S.F.3.D.-Original-Krote-037.jpg
S.F.3.D.-Original-Krote-038.jpg

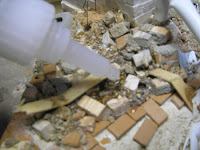
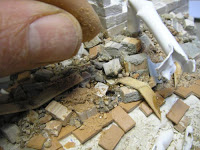
After that I dripped very thin superglue in the narrow spaces and then scatter the pulvered powder over it, but with care so it looks realistic and doesn't cover everything.
S.F.3.D.-Original-Krote-039.jpgS.F.3.D.-Original-Krote-040.jpg
And finally a layer of primer. Man! I can't wait to start painting this baby!
Well... Thanks for reading and 'till next time. Cheers!
 
Dude that's pretty awesome, love the way the optics look all lit up. The only thing I might suggest is muting them a slight bit, just so they don't outshine the amazing detail work you've done on the model itself.
 
Excellent dio! You have some nice techniques, and it's a great setting for the Kröte.
 
Thanks for the reactions, @ Cave_Dweller: after a good weathering session it would be probably solved. ;D
 
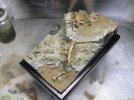
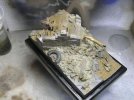
Hello everyone, here's a quick update of my krote dio project. I've done some basic tones and pigments trying to give it a dusty look. I am thinking to add some yellowish epoxy in the front as a pool of water leaking out of the sewer pipe at the bottom, but I'm not sure if I will do that. I don't want to mess up the dio, so I will do some experiments with it before I'll add the water. Here are some pics to give an idea, enjoy!
S.F.3.D.-Original-Krote-044.jpg
S.F.3.D.-Original-Krote-042.jpg
S.F.3.D.-Original-Krote-041.jpg
S.F.3.D.-Original-Krote-043.jpg
Thanks again for reading and 'till next time.
 
Thanks! For the great reactions, I'll try to make a post about the paintjob of the krote soon. ;D
 
Love it, it looks fantastic, can't wait to see this finished, very inspiring
 

Latest posts

Back
Top