Jqaprilia4601
New Member
- Joined
- Feb 4, 2014
- Messages
- 66
Good day gents....
After getting some insparation from a fellow modler on this forum, decided to give this a go build something els.
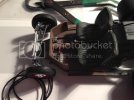
I had on old TYROL 6 wheel F1 car that was a bit worse for wear, decided to strip out the motor, weels and rear wing and craft them onto a 1966 BEETLE. ;D ;D can only be fun!!!!
Kit comes from TAMIYA in 1/24 scale...

Kit unpacked..

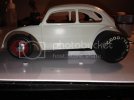
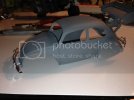
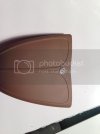
Unmolested body..

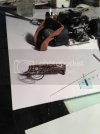
Some of the parts....

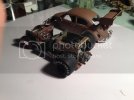
Just a line up..

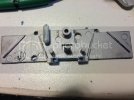
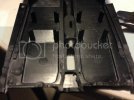
some work to be done here...

but looking soooooooo cool.... ;D

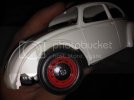
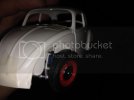
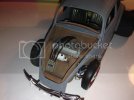
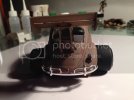
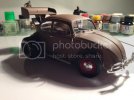
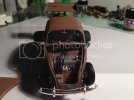
Trimming done on the front fenders..test fit of the bonnet and wing on the back..

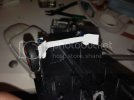
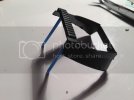
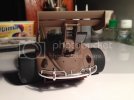
back wing fitted....


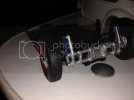
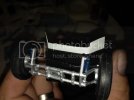
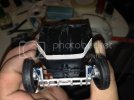
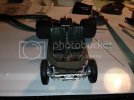
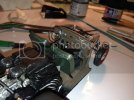
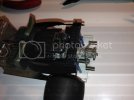
front suspention assembly started

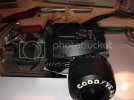
Some trimming to lower the front suspention..


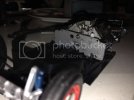
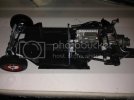
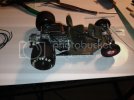
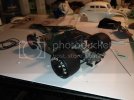
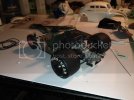
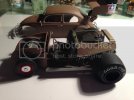
Dremmeled of all the parts from the chassis that I did not need..

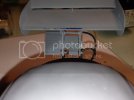
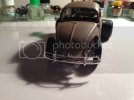
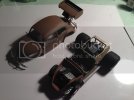
End of day...dry fitting the body to the chassis to make plan for fabricating the new rear end..



love this look!!!!! ;D ;D ;D


Thats it for now folkes.
thanks for looking.
Cioa Cioa.. ;D
After getting some insparation from a fellow modler on this forum, decided to give this a go build something els.
I had on old TYROL 6 wheel F1 car that was a bit worse for wear, decided to strip out the motor, weels and rear wing and craft them onto a 1966 BEETLE. ;D ;D can only be fun!!!!
Kit comes from TAMIYA in 1/24 scale...

Kit unpacked..

Unmolested body..

Some of the parts....

Just a line up..

some work to be done here...

but looking soooooooo cool.... ;D

Trimming done on the front fenders..test fit of the bonnet and wing on the back..

back wing fitted....


front suspention assembly started

Some trimming to lower the front suspention..


Dremmeled of all the parts from the chassis that I did not need..

End of day...dry fitting the body to the chassis to make plan for fabricating the new rear end..


love this look!!!!! ;D ;D ;D


Thats it for now folkes.
thanks for looking.
Cioa Cioa.. ;D

