1937 Ford Pickup Ratrod

Drpepeprz

New Member
Joined
Apr 8, 2013
Messages
274
Hey guys!

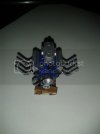
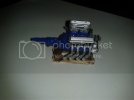
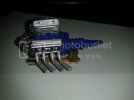
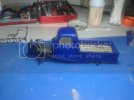
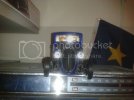
I've started woring on this ratrod, I wanted to put one of the 427 competion engone in it but, since the kit comes with a clean looking rod engone already i decided to use the 427 to fill empty space in the truck's box

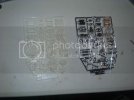
I'm making this model with no chrome, since I intended to use this as my engine i stripped the whole sprue in bleach (after/before)
2013-05-04100453_zps00a3927e.jpg

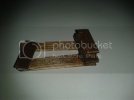
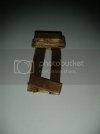
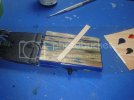
made a rack out of coffee stir sticks
2013-05-04170631_zpse21967ff.jpg

aged it with an oil stain wash
2013-05-05161457_zps47b2e97d.jpg

2013-05-05161518_zpse1765dec.jpg

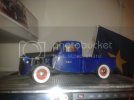
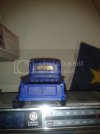
And VOILÀ!!
2013-05-05161326_zpsd375bbba.jpg

2013-05-05161347_zpsb71632a3.jpg

2013-05-05161418_zpsf1a1a566.jpg
 
Great start fella............love the little engine stand ;D, good too see another 427 engine in use...........thats what i`m fitting in the `Project X` build..........following this one ;)
 
TY!
I did look at your post and notice the engine earlier today :D

I hope this build goes well, I love real RR and this is my first time building one!
 
Take a pinvise and a drill bit and drill out the end of the headers rather than the plastic end, will add a little more realism to it.
 
No worries about this build turning out ok.....................it`ll be absolutely fine buddy ;), agree with ECH about drilling out the pipes...................just start off with a small 0.5mm drill bit to make the centralising hole and then gradually increase untill you get the size your happy with...great work tho Jeff and keep it up ;D
 
Elm City Hobbies said:
Take a pinvise and a drill bit and drill out the end of the headers rather than the plastic end, will add a little more realism to it.

yeah i taught about that but dont have a pinvise yet, i'll have one soon enough !! ;D
 
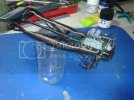
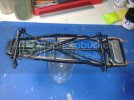
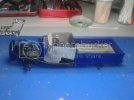
little update, i finished putting the frame, suspension and motor together...

2013-05-06143458_zps5c2a1f80.jpg

Paint still need touching up, i stipped all the chrome, so far the only chrome i plan on using is on the hubcaps and i might even go with stainless steal

The gray parts on the engine are only vallejo grey base, I'm debating between leaving them as is or a flat black, Opinions?

2013-05-06143515_zpsbc77859f.jpg

The front-end was a bit of a pain, that what made me want to buy the glue loops!
 
Update!

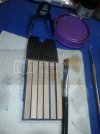
instead of using the decals for the bed, i opted for stir sticks

2013-05-07134858_zps371fcfec.jpg

Aged using a coffee wash of my own concotion and some paint drops

2013-05-07135706_zps6e302406.jpg
 
Been crazy busy!!

Finaly had time to work on the blue monster today, things are comnig along ;D

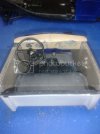
Worked on the interior and assembled the box

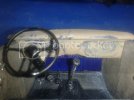
I used the hairspray method on the dash and pastel do give the whole thing a dusty/old look
2013-05-13211838_zpsd5e1ab8c.jpg

2013-05-13211906_zpsc33c143d.jpg

2013-05-13211935_zps705bc8c2.jpg

2013-05-13211956_zps85c63c3b.jpg


It'll soon be time for some crazy wethering!!!
 
Your use of the hairspray technique worked wonderfully on the interior. Excellent work!
 
here's a rough finish, still needs lots of paint and weathering, waiting for the snail mail to bring in some products!

did textured paint on the hood for a rusty effect, going to paint over it with rust paint
2013-05-26115420_zps7b52f356.jpg

since the headlights are supposed to sit on the fenders and i cut them off, I rigged a "steel pipe" and put them on there
2013-05-26115438_zps335084e6.jpg


Painted the back glass clear orange, didn<t come out as good as i hopped...should<ve used the AB
2013-05-26115457_zpsb5706fbd.jpg
 

Latest posts

Back
Top