texastony1946
Member
- Joined
- Mar 15, 2013
- Messages
- 151
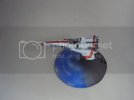
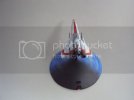
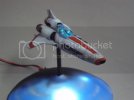
This is my 1/72 scale BSG Viper. It is a small model. It has pretty good detail but not as much as the Finemolds
or Bandai 1/72 scale models. The cockpit is pretty simple and could stand a little more detail. This kit comes
with two complete models. I am going to use the second model with the 1/72 scale Cylon Raider which is coming
out later this summer. Overall this is a nice little kit that requires some patience to build.
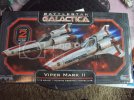
Box art.
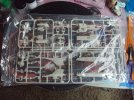
Sprues
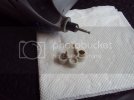
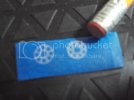
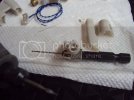
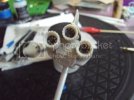
I started with the thrusters. I drilled them out in preparation for lighting.
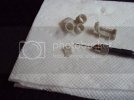
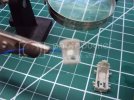
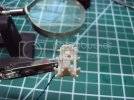
Next I started preparing the cockpit for mounting fiber optics and a SMD led radar screen.
I made thruster nozzle inserts using my Cameo and stencil material. I made two types but ended up using the
first type.
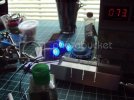
I mounted the SMD led in the radar screen and tested.
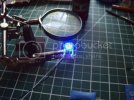
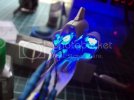
I started working on the thruster leds next.
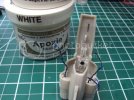
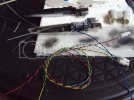
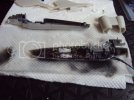
I prepared the pilot for fiber optics in the helmet. For some reason this just doesn't look right.
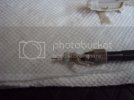
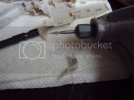
I started working on the base .
Make sure everything is level.
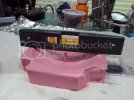
After pouring two part resin, I used a hydrostone piece to give me the correct thickness. This really needs to be
level to insure uniform thickness.
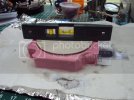
Finished cast.
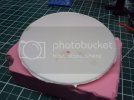
Just need to trim the edge.
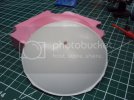
Next I started assembly, priming and pre shading.
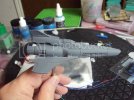
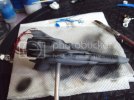
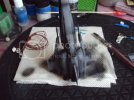
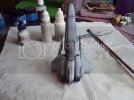
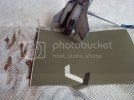
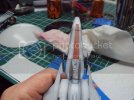
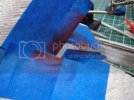
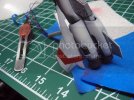
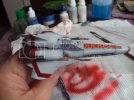
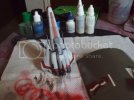
Next I started painting and masking the model. I used mask and stencils I made from the decal sheet using
my Cameo software and cutter.
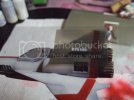
Next I wired and installed micro controller in base.
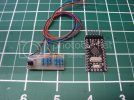
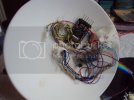
It may look like a rats nest, but there is a method to my madness. I tried to color code all wiring to make
it easier to wire correctly. After all the testing and assembly the red led for the cockpit lights failed. To late
to do anything about this after assembly.
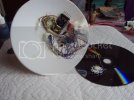
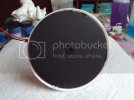
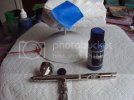
Next I started painting the base.
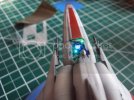
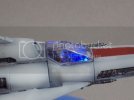
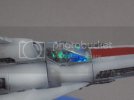
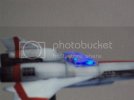
Finished model photos.
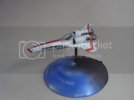
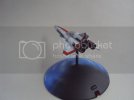
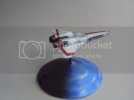
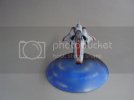
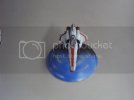
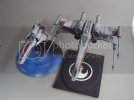
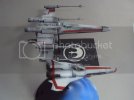
A small model when compared to Finemolds 1/72 scale X-wing.
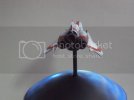
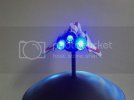
Thanks for viewing.
YOUTUBE Video.
https://www.youtube.com/watch?v=v5txDgHN98c
or Bandai 1/72 scale models. The cockpit is pretty simple and could stand a little more detail. This kit comes
with two complete models. I am going to use the second model with the 1/72 scale Cylon Raider which is coming
out later this summer. Overall this is a nice little kit that requires some patience to build.
Box art.

Sprues

I started with the thrusters. I drilled them out in preparation for lighting.

Next I started preparing the cockpit for mounting fiber optics and a SMD led radar screen.

I made thruster nozzle inserts using my Cameo and stencil material. I made two types but ended up using the
first type.

I mounted the SMD led in the radar screen and tested.


I started working on the thruster leds next.


I prepared the pilot for fiber optics in the helmet. For some reason this just doesn't look right.


I started working on the base .
Make sure everything is level.

After pouring two part resin, I used a hydrostone piece to give me the correct thickness. This really needs to be
level to insure uniform thickness.

Finished cast.

Just need to trim the edge.

Next I started assembly, priming and pre shading.


Next I started painting and masking the model. I used mask and stencils I made from the decal sheet using
my Cameo software and cutter.


Next I wired and installed micro controller in base.

It may look like a rats nest, but there is a method to my madness. I tried to color code all wiring to make
it easier to wire correctly. After all the testing and assembly the red led for the cockpit lights failed. To late
to do anything about this after assembly.


Next I started painting the base.


Finished model photos.


A small model when compared to Finemolds 1/72 scale X-wing.


Thanks for viewing.
YOUTUBE Video.
https://www.youtube.com/watch?v=v5txDgHN98c
