texastony1946
Member
- Joined
- Mar 15, 2013
- Messages
- 151
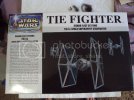
The unmistakable scream of the ion engines and bowtie silhouette make the TIE fighter one of the most
recognizable icons of the Star Wars saga. Built cheaply and in quantities they were almost meant to
be cannon fodder as they charged forward in waves to overwhelm the enemy. The 1/72 scale Finemolds
model captures this in great detail. From the simple design to the lack of a pressurized cockpit this is a
fun model to assemble. As with other Finemolds models a great deal of the detail is hidden as you assemble
the model.
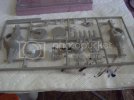
One of the sprues
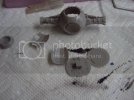
I decided to recast the cockpit in resin to better transmit the interior lighting.
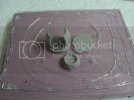
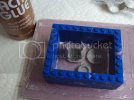
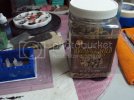
I used dry rice to determine how much silicon to use. It gives a very good volume estimate. You might want to
check with your wife before using the rice.
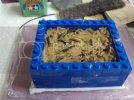
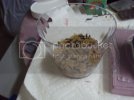
Silicon I used.
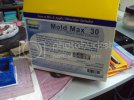
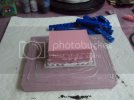
Measures 10 to 1 by weight,
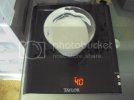
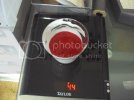
Mold poured.
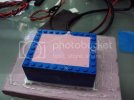
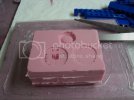
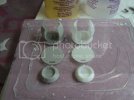
Cast parts referenced to original.
I was going to use fiber optics for the engines, but after trying to bend and fit inside the ball I decided to
use SMD leds instead.
The SMD's come in small, smaller and smallest. Don't sneeze or breathe to hard when trying to solder the smallest
ones. They are easy to lose and can blow away in an instant. You won't be able to fine them if they fall on shag
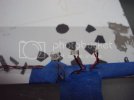
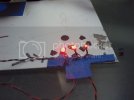
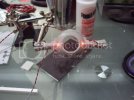
carpet. I used the smallest for the ion engines. I drilled the holes in the cockpit and superglued the SMD in. I
tacked the SMD wires to the back of the cockpit with superglue and used black paint to light block the interior.
I used foil tape to light block the rear portion of the cockpit.
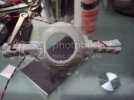
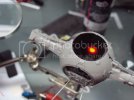
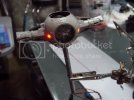
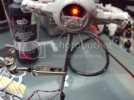
I primed the ball assembly with Badger gray primer. I them did pre shading with black and white primer.
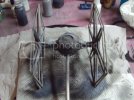
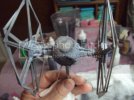
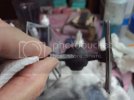
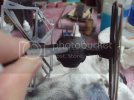
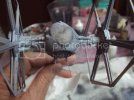
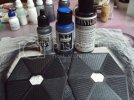
I primed and painted the panels. I used Badger black primer, then painted with Vallejo black metalizer. I used
a blue ghost tint to give a hint of blue to the panels.
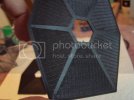
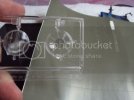
I created paint mask and applied them to the clear parts.
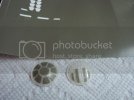
Painted model with final color.
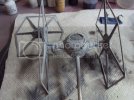
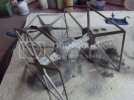
I used a tempera wash to highlight the details.
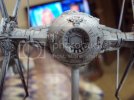
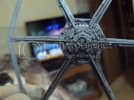
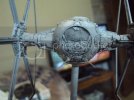
Started building base.
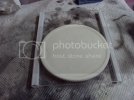
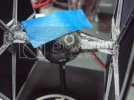
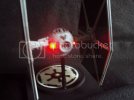
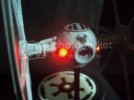
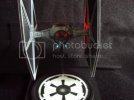
Mounted model to base. I used .025 fiber optics for laser canons. Led was mounted under the base. There is just no room for SMDs in the ball.
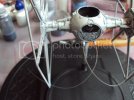
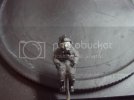
Painted pilot.
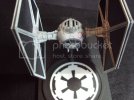
Applied pentagon symbol mask and painted.
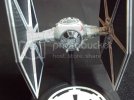
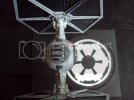
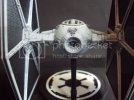
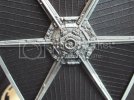
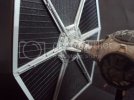
Finished model and still photos.

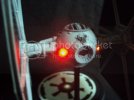


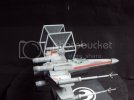
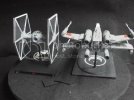
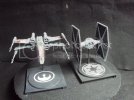
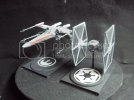
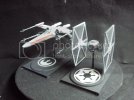
YOUTUBE Video. Thanks for viewing and comments,
https://www.youtube.com/watch?v=sqU-qbLlvf4&list=UUUt0Kw_haG_f8zAXbdybSvg
Added missing JPEGs
recognizable icons of the Star Wars saga. Built cheaply and in quantities they were almost meant to
be cannon fodder as they charged forward in waves to overwhelm the enemy. The 1/72 scale Finemolds
model captures this in great detail. From the simple design to the lack of a pressurized cockpit this is a
fun model to assemble. As with other Finemolds models a great deal of the detail is hidden as you assemble
the model.

One of the sprues

I decided to recast the cockpit in resin to better transmit the interior lighting.


I used dry rice to determine how much silicon to use. It gives a very good volume estimate. You might want to
check with your wife before using the rice.


Silicon I used.

Measures 10 to 1 by weight,


Mold poured.


Cast parts referenced to original.

I was going to use fiber optics for the engines, but after trying to bend and fit inside the ball I decided to
use SMD leds instead.

The SMD's come in small, smaller and smallest. Don't sneeze or breathe to hard when trying to solder the smallest
ones. They are easy to lose and can blow away in an instant. You won't be able to fine them if they fall on shag
carpet. I used the smallest for the ion engines. I drilled the holes in the cockpit and superglued the SMD in. I
tacked the SMD wires to the back of the cockpit with superglue and used black paint to light block the interior.
I used foil tape to light block the rear portion of the cockpit.


I primed the ball assembly with Badger gray primer. I them did pre shading with black and white primer.


I primed and painted the panels. I used Badger black primer, then painted with Vallejo black metalizer. I used
a blue ghost tint to give a hint of blue to the panels.


I created paint mask and applied them to the clear parts.


Painted model with final color.


I used a tempera wash to highlight the details.


Started building base.

Mounted model to base. I used .025 fiber optics for laser canons. Led was mounted under the base. There is just no room for SMDs in the ball.

Painted pilot.

Applied pentagon symbol mask and painted.

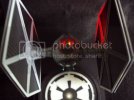
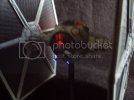
Finished model and still photos.


YOUTUBE Video. Thanks for viewing and comments,
https://www.youtube.com/watch?v=sqU-qbLlvf4&list=UUUt0Kw_haG_f8zAXbdybSvg
Added missing JPEGs


