AJay
New Member
- Joined
- Jul 16, 2012
- Messages
- 142
Hi guys 
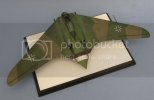
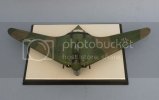
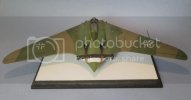
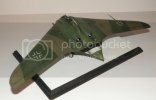
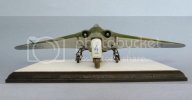
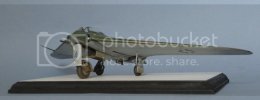
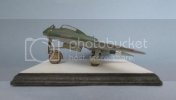
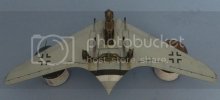
Since I joined I haven't posted much, so here's my Horton build.
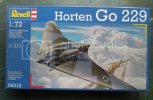
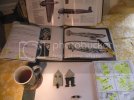
Like most of my builds, it started off with a cup of Earl Grey tea and some research. As these machines were never operational, I have to keep reminding myself that I'm as tethered to the 'authenticity pole' only as much as I want to be. This being said, I don't want to go too crazy. The camo in the books was just to get some ideas...........
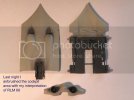
The cockpit assembled, minus the yoke and control panel. I airbrushed it using Tamiya acrylic XF-63 to depict RLM 66.
I haven't done any work on the cockpit details yet......... The 30 mm cannons are quite well depicted for out-of-the-box parts in this scale; even the ammo trays and their contents are visible. It's a shame this won't show on the assembled model. I don't have the right paint on the shelf for the brass shell casings anyway, so just as well...............
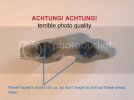
I was being as thorough as time allowed. Thanks to the power of the internet, I viewed photos of a surviving Horton IV and saw the twist drill was needed.
Reading about others' builds, I thought the cockpit would give me the most trouble in this build, but fitting the nose to the fuselage went relatively easily with absolutely no filler required, and with a bit of sanding, all was well!
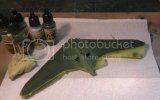
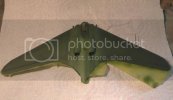
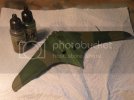
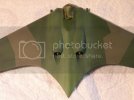
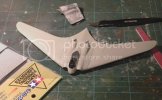
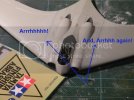
This is not the case with the wings! When I test-fitted them to the fuselage there were two big gaps, so big on one side my cat could have strolled through it with his tail extended.....Okay,okay, it wasn't that bad, but believe me they were big gaps! After too much of my day working with Mr and Mrs Sandpaper, things hadn't improved so feeling pi**ed off I had to bite the bullet and stick them to the fuselage, then fill the enormous gaps with a mix of Tamiya putty and superglue.
More soon....................
Since I joined I haven't posted much, so here's my Horton build.

Like most of my builds, it started off with a cup of Earl Grey tea and some research. As these machines were never operational, I have to keep reminding myself that I'm as tethered to the 'authenticity pole' only as much as I want to be. This being said, I don't want to go too crazy. The camo in the books was just to get some ideas...........

The cockpit assembled, minus the yoke and control panel. I airbrushed it using Tamiya acrylic XF-63 to depict RLM 66.
I haven't done any work on the cockpit details yet......... The 30 mm cannons are quite well depicted for out-of-the-box parts in this scale; even the ammo trays and their contents are visible. It's a shame this won't show on the assembled model. I don't have the right paint on the shelf for the brass shell casings anyway, so just as well...............

I was being as thorough as time allowed. Thanks to the power of the internet, I viewed photos of a surviving Horton IV and saw the twist drill was needed.

Reading about others' builds, I thought the cockpit would give me the most trouble in this build, but fitting the nose to the fuselage went relatively easily with absolutely no filler required, and with a bit of sanding, all was well!
This is not the case with the wings! When I test-fitted them to the fuselage there were two big gaps, so big on one side my cat could have strolled through it with his tail extended.....Okay,okay, it wasn't that bad, but believe me they were big gaps! After too much of my day working with Mr and Mrs Sandpaper, things hadn't improved so feeling pi**ed off I had to bite the bullet and stick them to the fuselage, then fill the enormous gaps with a mix of Tamiya putty and superglue.


More soon....................

