texastony1946
Member
- Joined
- Mar 15, 2013
- Messages
- 151
I have finally finished my Slave1 build. This is a very large model. I didn't realize
how long it would take to build, paint and light. Part of the problem can be attributed
to spending far to much time on Arduino micro-controller programming.
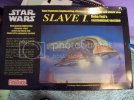
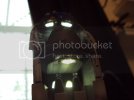
I started working on the cockpit area. This is a model all by itself. Lot's of detail and many opportunities
to light various areas. I started by using my dremel to thin the plastic around the ceiling lighting panels.
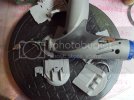
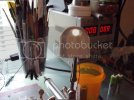
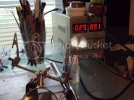
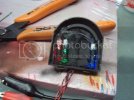
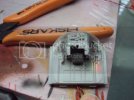
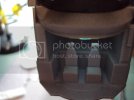
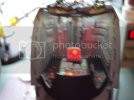
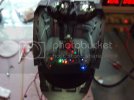
Next I started the assembly process in preparation for primer. There is a very large seam line that
required a great deal of time to fill. I started out using Tamiya super thin and styrene as a filler. I
ended up using Deluxe plastic putty. Everytime you held the piece to tightly the seam popped open
again. I finally finished and started priming.
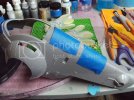
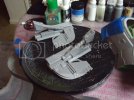
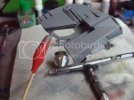
I used my Badger Patriot 105 to shoot the primer. This is a great airbrush for tough jobs. I'm
convinced you could shoot asphalt through this airbrush. I used Badger stynelrez primer. Very
tough primer that sands well.
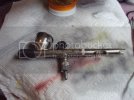
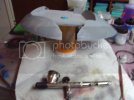
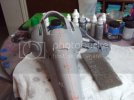
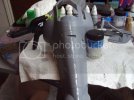
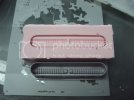
Next I mixed Moldmax 30 to mold the center enine in prep for lighting.
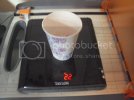
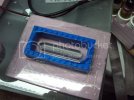
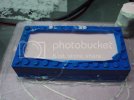
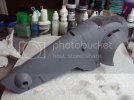
Here is the model after priming. The Badger primer lays down really flat and is tough as nails.
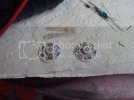
Next I worked on the fiber optics for the weapons.
I installed the tube for mounting to the base using Apoxie sculpt.
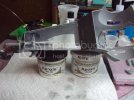
Created another mold for the mines which I didn't add to the model. I did light it after casting
but couldn't really figure out were to add it to the model.
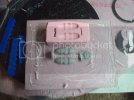
I added casting resin to the engine nozzle and marked and drilled exhaust ports.
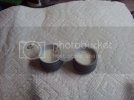
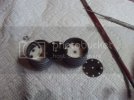
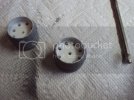
Next I light blocked and tested engine lighting.
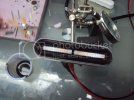
I did preshading which really got covered by the layers of paint I had to use.
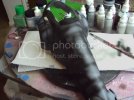
Engines painted and tested. I used stencils I made to add the weathering. I also used these stencils
on the body.
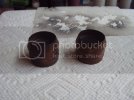
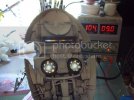
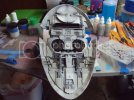
Next I started the painting and weathering process. I used the hairspray technique , but was
disappointed with the results and switched to the stencils to finish the weathering. I used Vallejo
paints and primers that I mixed to try and match the cover art work. I re-scribed all of the panel lines
and used a 0.03mm mechanical pencil to add depth.
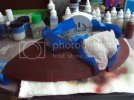
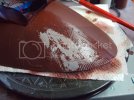
I continued masking and adding color and detail to the model. All of the details were airbrushed with
my Badger Krome.
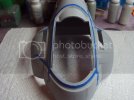
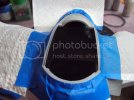
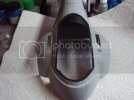
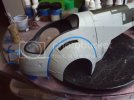
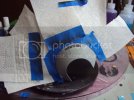
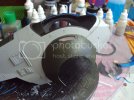
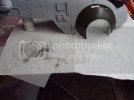
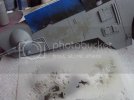
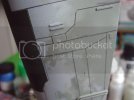
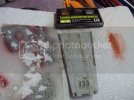
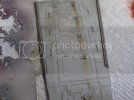
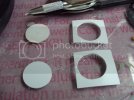
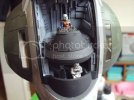
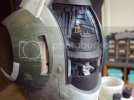
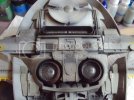
I continued assembling the model. added cockpit. And started working on new LED's for engines.
The next part of this build will require a little bit of a warning. Working with micro controllers is a hobby
in itself and will require a great deal of your modelling time. It has a very steep learning curve and will
cause you sleepless nights trying to figure out coding. So here goes.
"WARNING"
I used the Arduino pro mini to run the programs and power the LED's. I have included some comparison
pictures to illustrate the size of these devices. They will fit in most models and will provide many outputs.
I am still working on the code. I an going to add a 4 color fade for the engines.
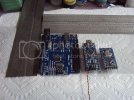
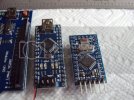
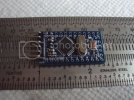
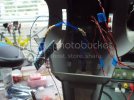
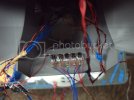
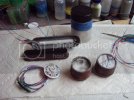
I used high powered RGB LED's for the new engine lights. I used N-channel type Mosfets to handle the higher
current requirements.
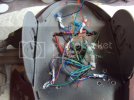
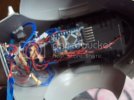
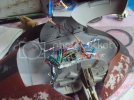
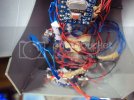
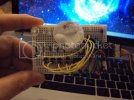
You can use a breadboard to mount and test all of the components required for your circuit. I highly recommend
this step. Be sure and power up all of the components you are going to use to make sure they work properly.
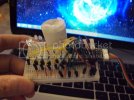
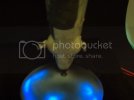
I cast a new base using resin were it could be lighted. I wanted to give it the look of a small planet. I added
four switches to control the cockpit and engine lighting.
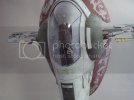
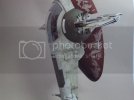
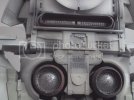
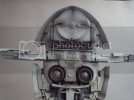
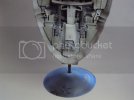
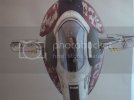
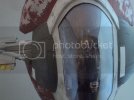
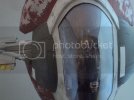
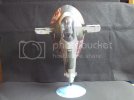
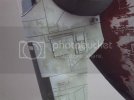
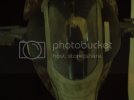
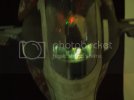
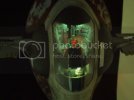
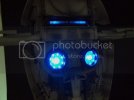
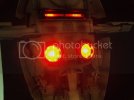
Here are the still photos of the finished model.
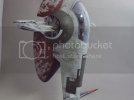
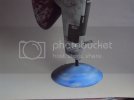
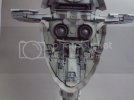
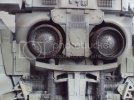
Youtube Video. Thanks for viewing
https://www.youtube.com/watch?v=W_cRaGDNnsI&feature=youtu.be
how long it would take to build, paint and light. Part of the problem can be attributed
to spending far to much time on Arduino micro-controller programming.

I started working on the cockpit area. This is a model all by itself. Lot's of detail and many opportunities
to light various areas. I started by using my dremel to thin the plastic around the ceiling lighting panels.


Next I started the assembly process in preparation for primer. There is a very large seam line that
required a great deal of time to fill. I started out using Tamiya super thin and styrene as a filler. I
ended up using Deluxe plastic putty. Everytime you held the piece to tightly the seam popped open
again. I finally finished and started priming.


I used my Badger Patriot 105 to shoot the primer. This is a great airbrush for tough jobs. I'm
convinced you could shoot asphalt through this airbrush. I used Badger stynelrez primer. Very
tough primer that sands well.


Next I mixed Moldmax 30 to mold the center enine in prep for lighting.


Here is the model after priming. The Badger primer lays down really flat and is tough as nails.

Next I worked on the fiber optics for the weapons.


I installed the tube for mounting to the base using Apoxie sculpt.

Created another mold for the mines which I didn't add to the model. I did light it after casting
but couldn't really figure out were to add it to the model.

I added casting resin to the engine nozzle and marked and drilled exhaust ports.


Next I light blocked and tested engine lighting.

I did preshading which really got covered by the layers of paint I had to use.

Engines painted and tested. I used stencils I made to add the weathering. I also used these stencils
on the body.


Next I started the painting and weathering process. I used the hairspray technique , but was
disappointed with the results and switched to the stencils to finish the weathering. I used Vallejo
paints and primers that I mixed to try and match the cover art work. I re-scribed all of the panel lines
and used a 0.03mm mechanical pencil to add depth.


I continued masking and adding color and detail to the model. All of the details were airbrushed with
my Badger Krome.


I continued assembling the model. added cockpit. And started working on new LED's for engines.


The next part of this build will require a little bit of a warning. Working with micro controllers is a hobby
in itself and will require a great deal of your modelling time. It has a very steep learning curve and will
cause you sleepless nights trying to figure out coding. So here goes.
"WARNING"
I used the Arduino pro mini to run the programs and power the LED's. I have included some comparison
pictures to illustrate the size of these devices. They will fit in most models and will provide many outputs.
I am still working on the code. I an going to add a 4 color fade for the engines.


I used high powered RGB LED's for the new engine lights. I used N-channel type Mosfets to handle the higher
current requirements.


You can use a breadboard to mount and test all of the components required for your circuit. I highly recommend
this step. Be sure and power up all of the components you are going to use to make sure they work properly.


I cast a new base using resin were it could be lighted. I wanted to give it the look of a small planet. I added
four switches to control the cockpit and engine lighting.


Here are the still photos of the finished model.


Youtube Video. Thanks for viewing
https://www.youtube.com/watch?v=W_cRaGDNnsI&feature=youtu.be
