1/48 Mi-24v Hind Super Build

nicholassagan

sippin on gin + juice
Joined
Dec 28, 2011
Messages
2,013
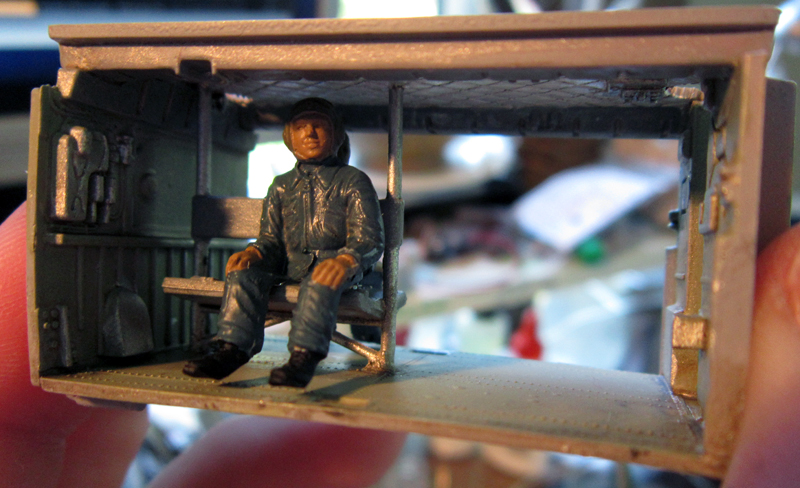
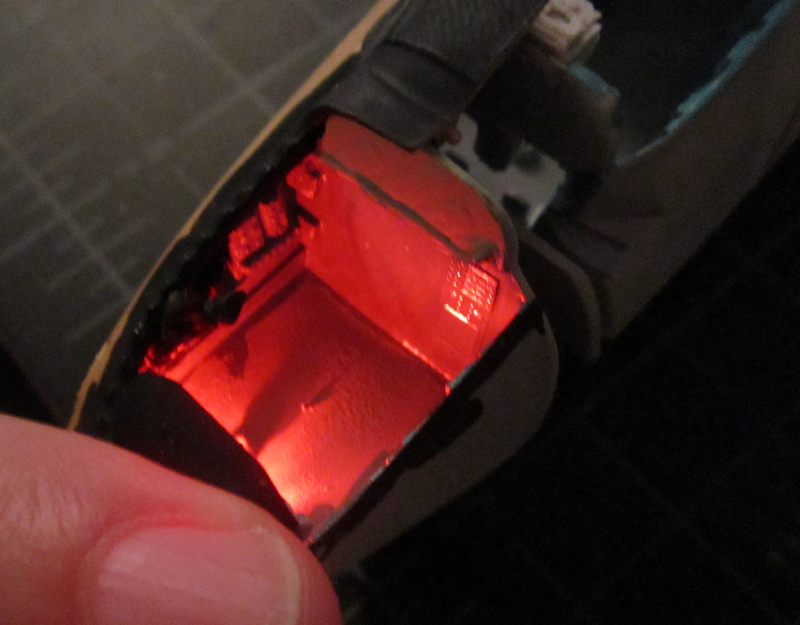
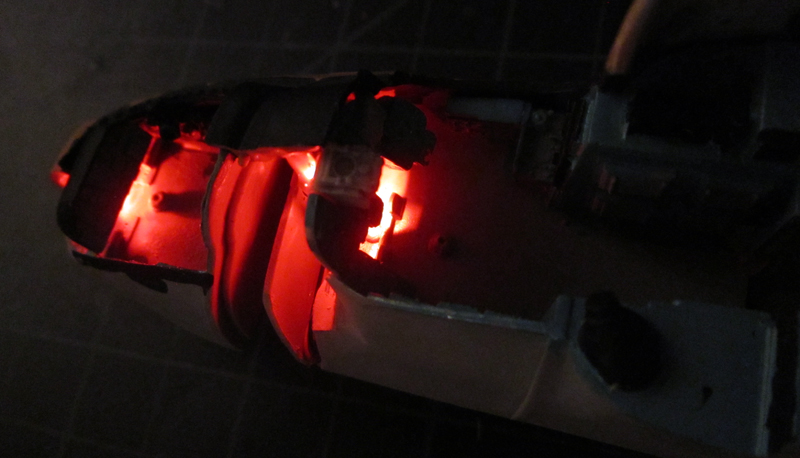
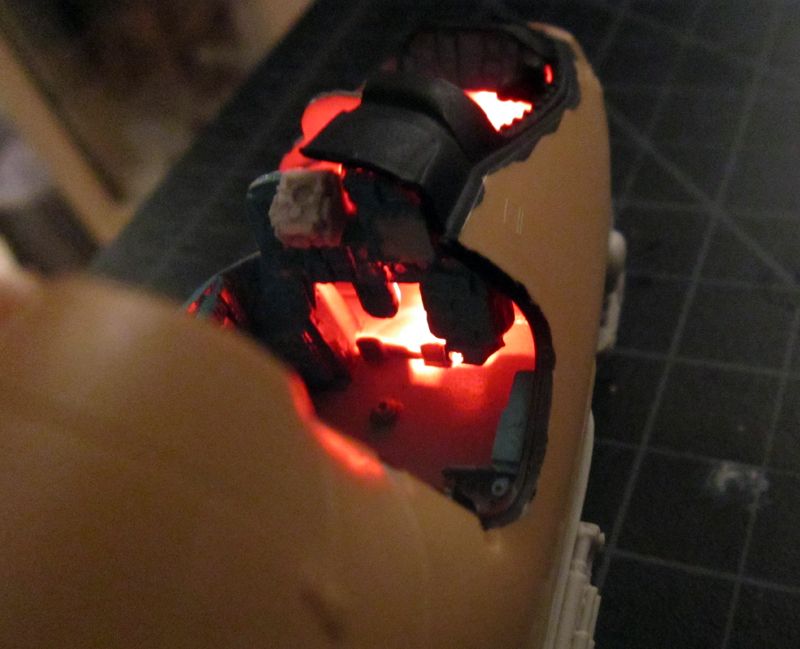
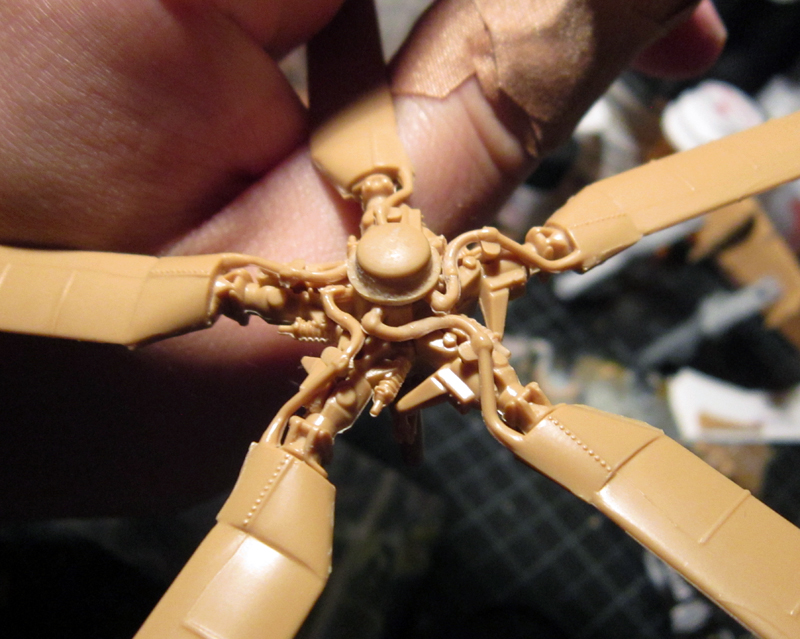
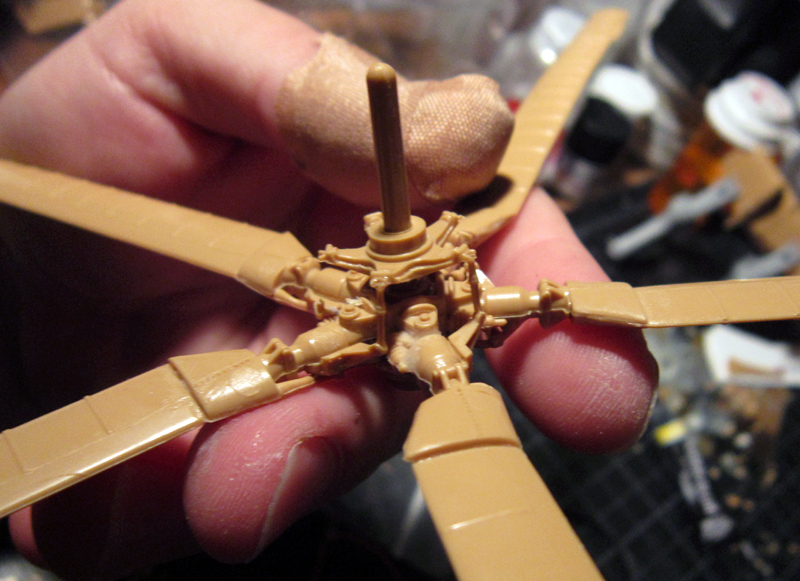
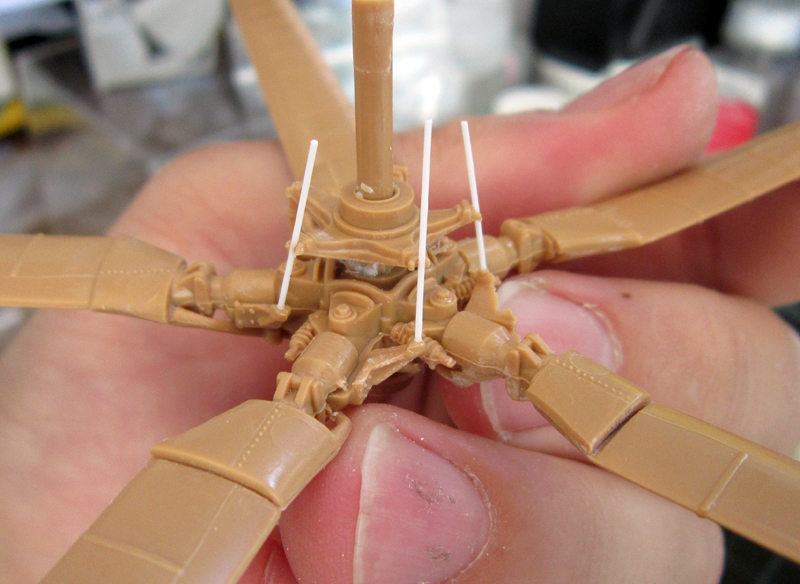
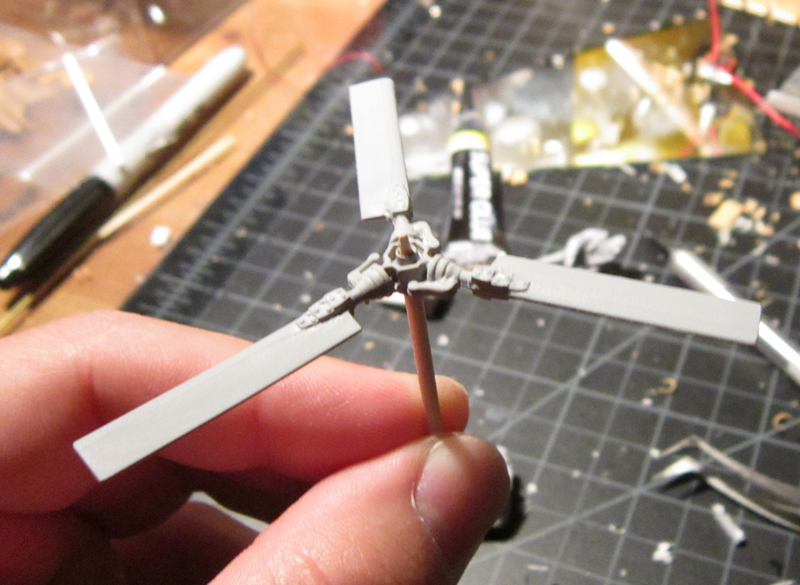
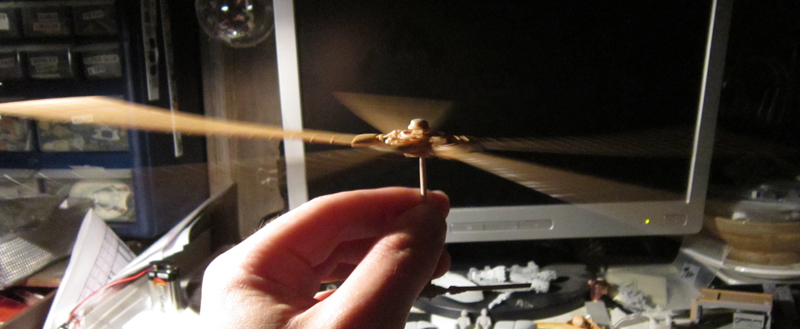
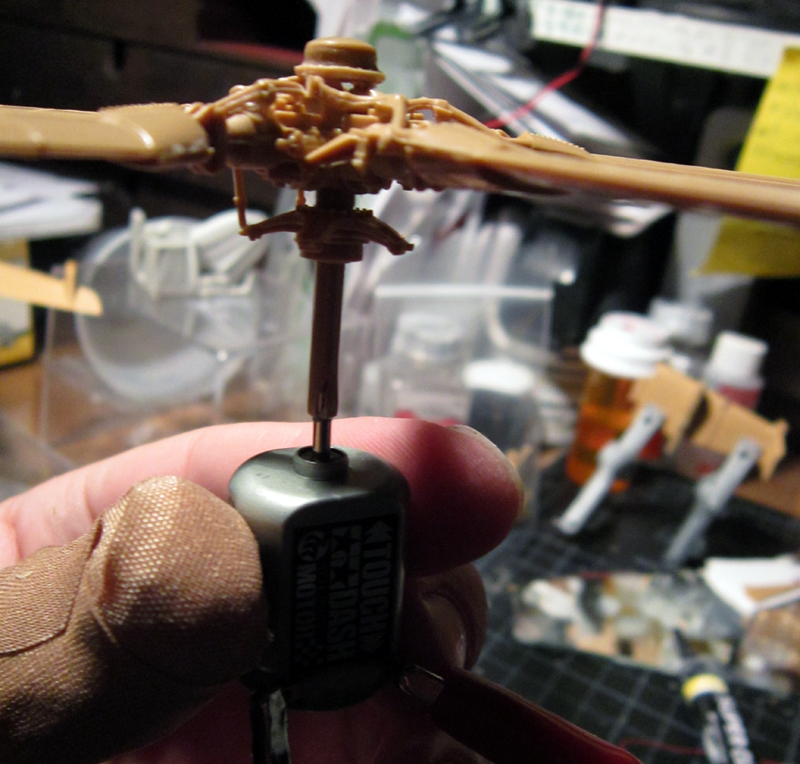
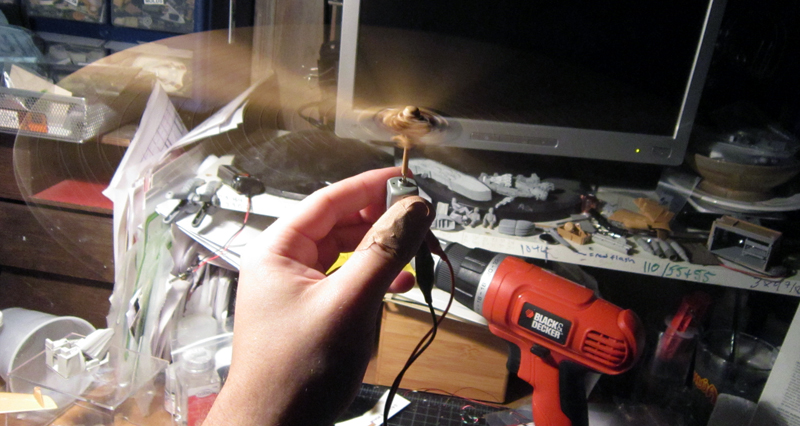
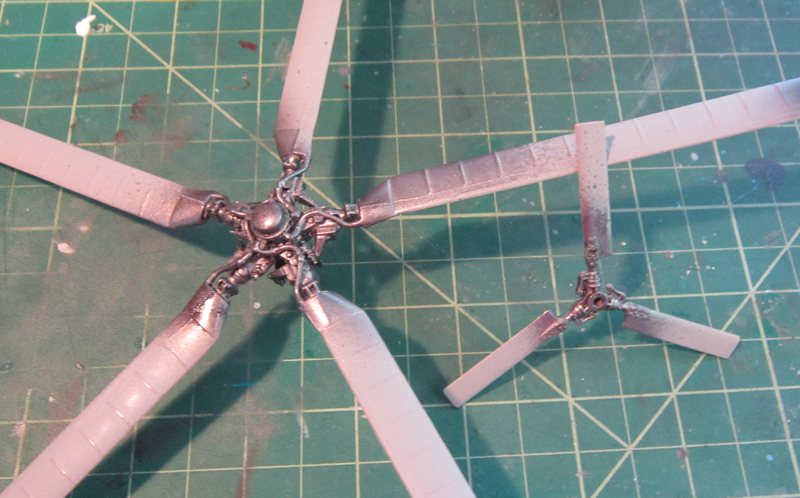
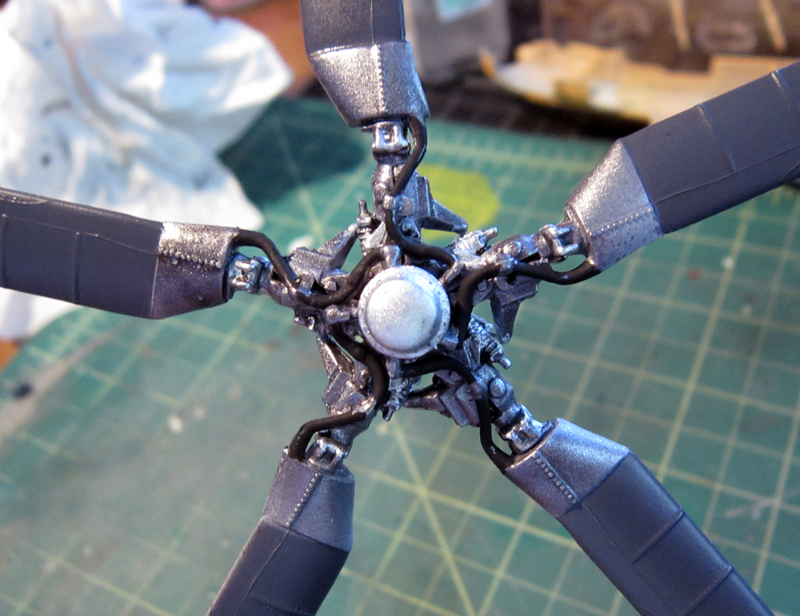
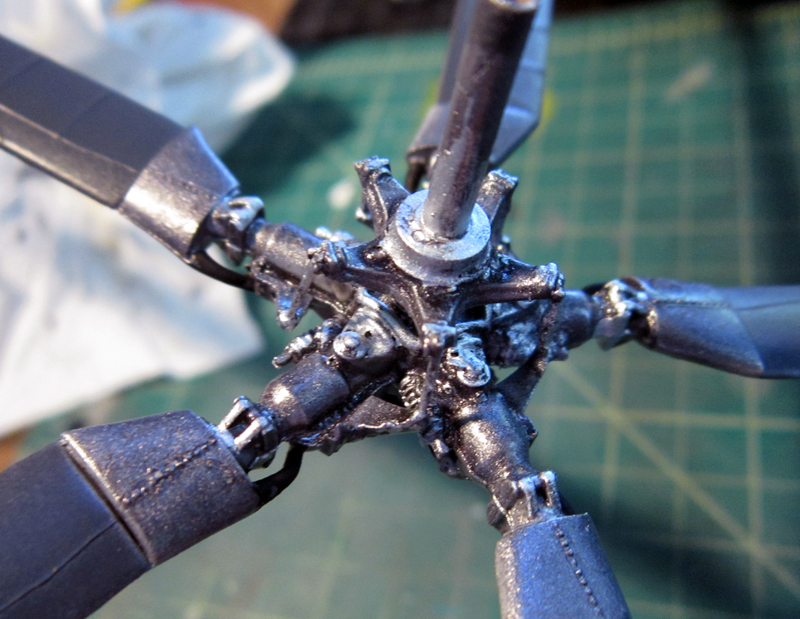
This has been a dream project of mine for the better part of this year. Initially I was thinking about it for the SMA Big Spring Contest but there was too much else going on. But now that my big summer art show is up and the wedding plans are commencing well enough, I’ve dived in a little deeper with this build. My intention is to have full lighting and working rotors (tail, too!)

For starters, here’s my component list:

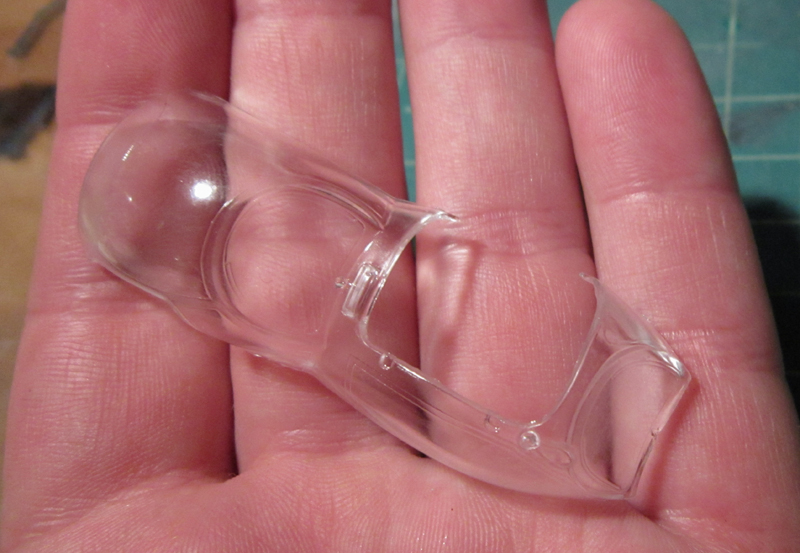
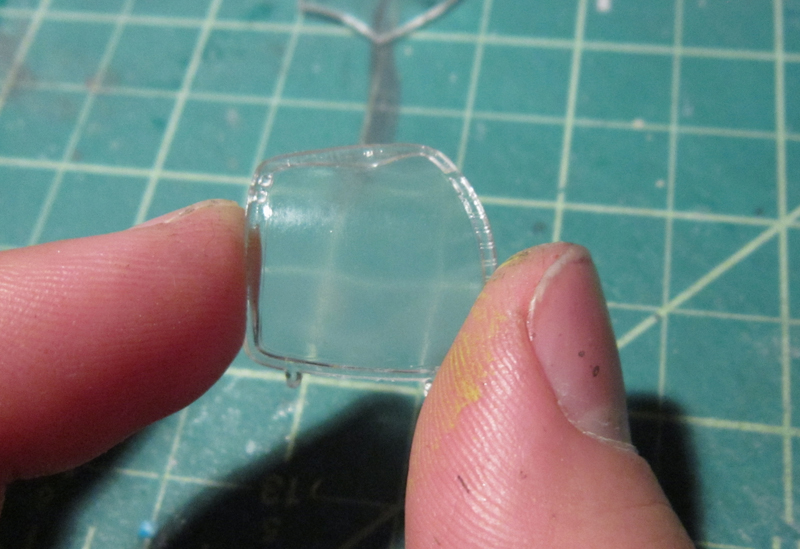
Revellogram 1/48 Mi-24D Hind
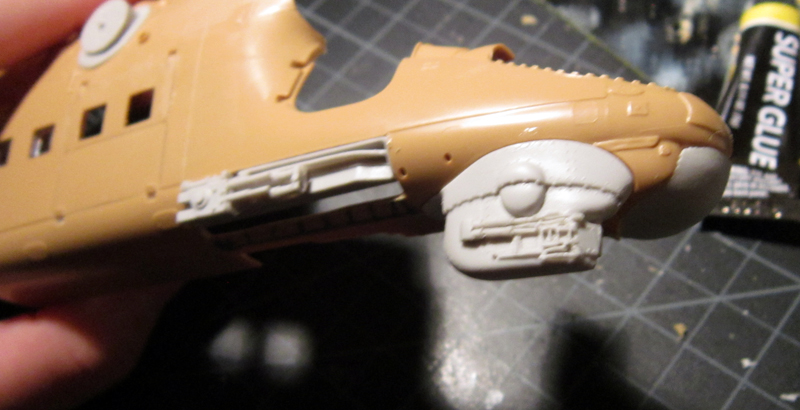
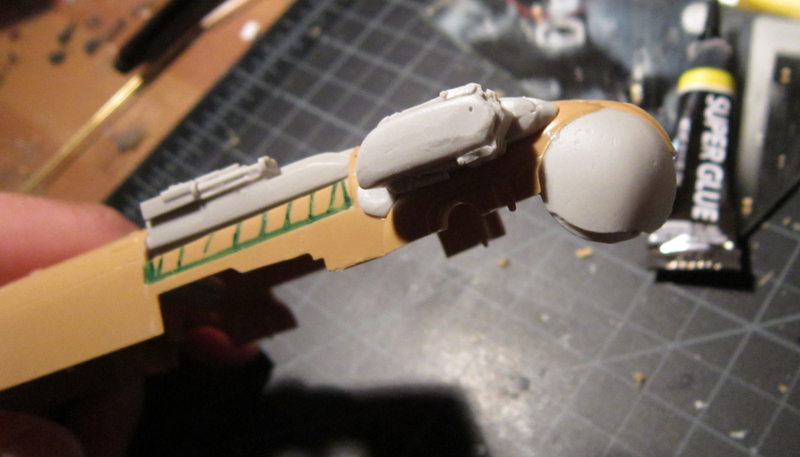
Cobra Hind Gunship conversion set (guns, missiles, etc)
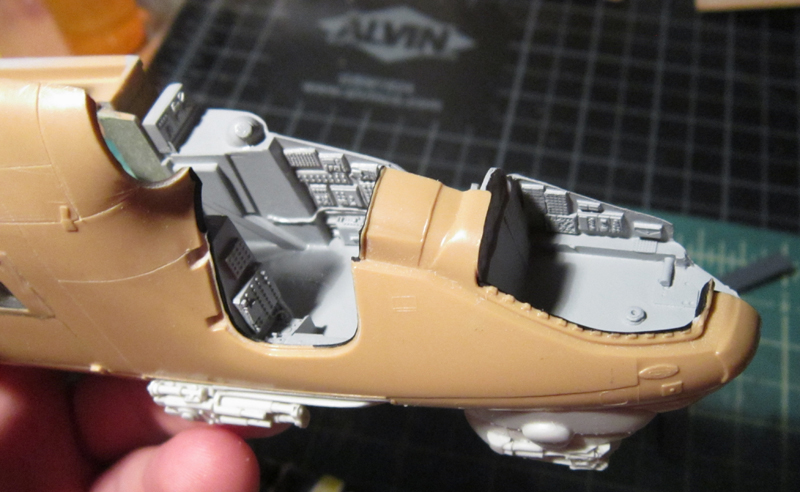
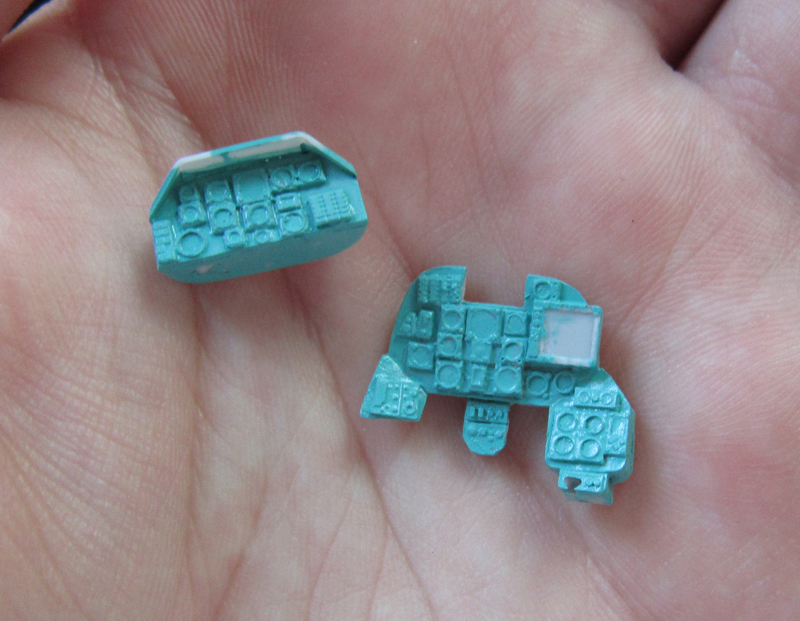
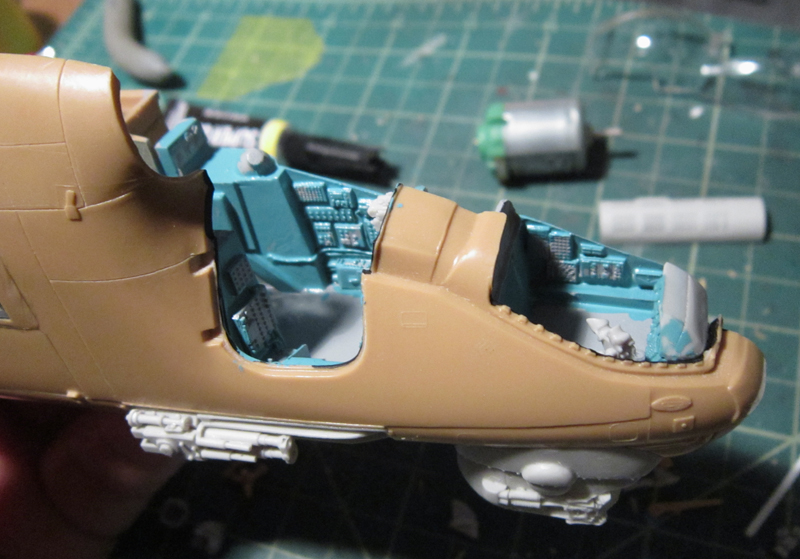
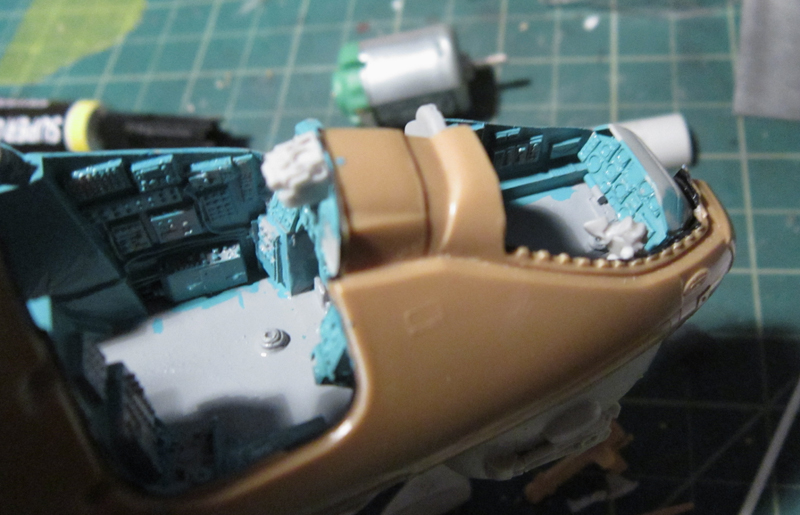
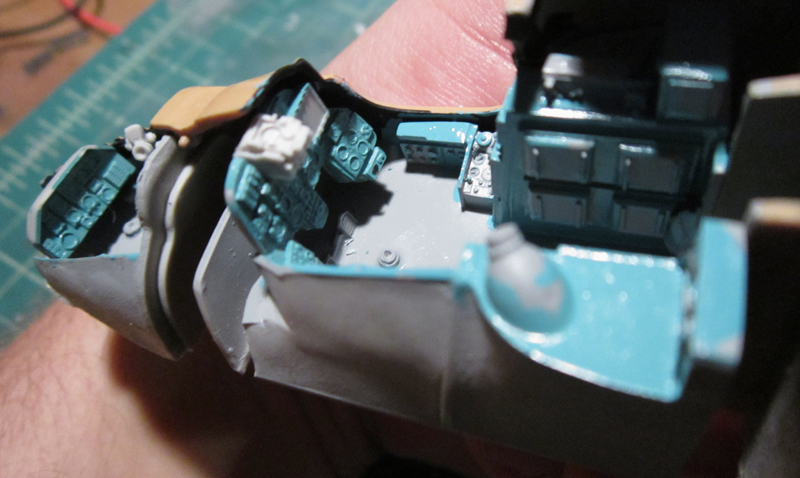
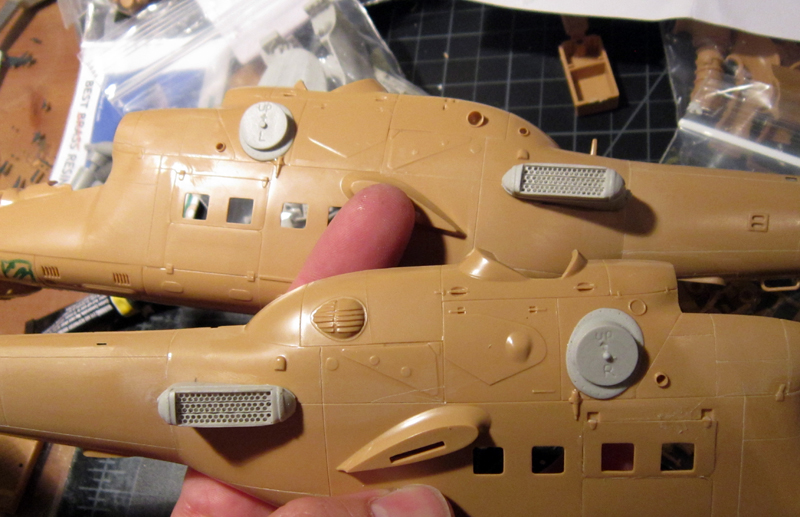
Cobra Mi-24v conversion set (exhausts, cockpit, etc)
Eduard interior PE
Eduard exterior PE
HGW free line rivets
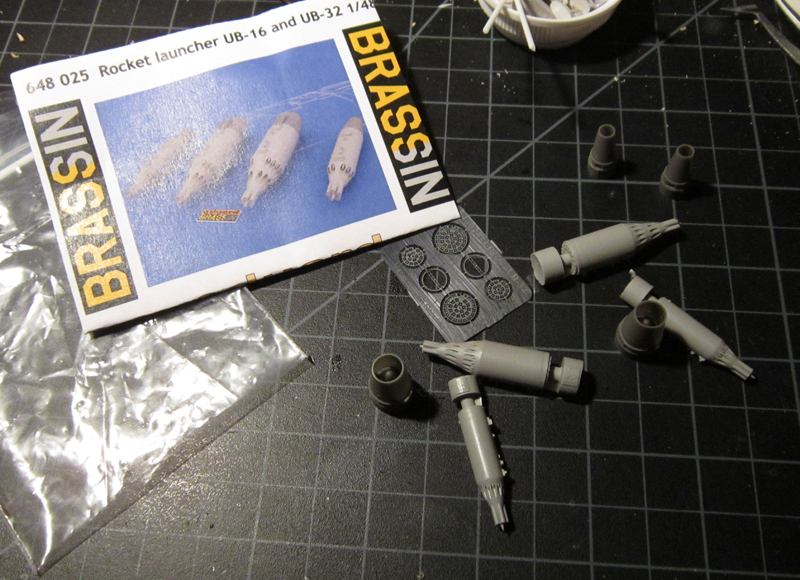
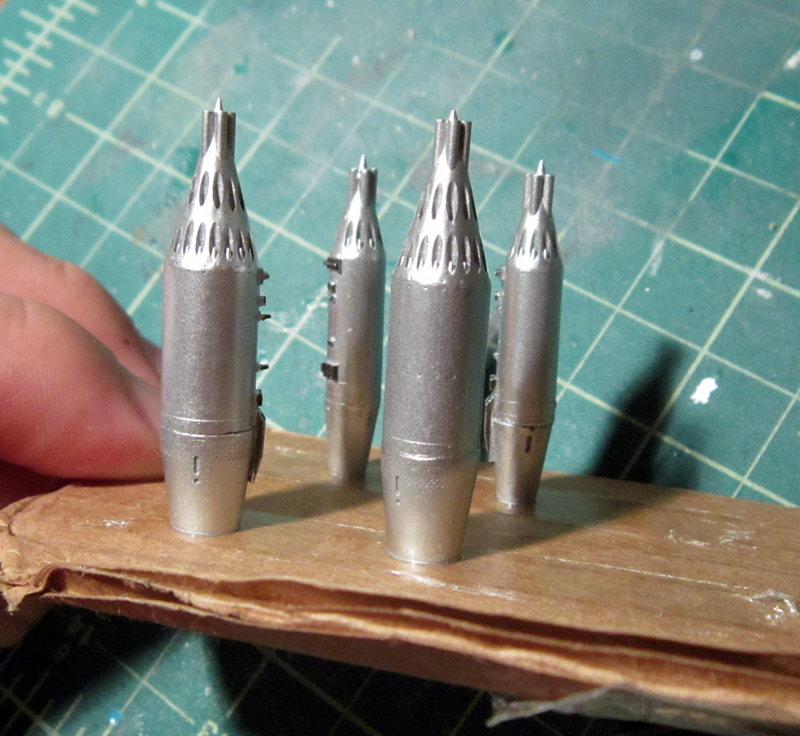
Eduard Brassin Rocketpods
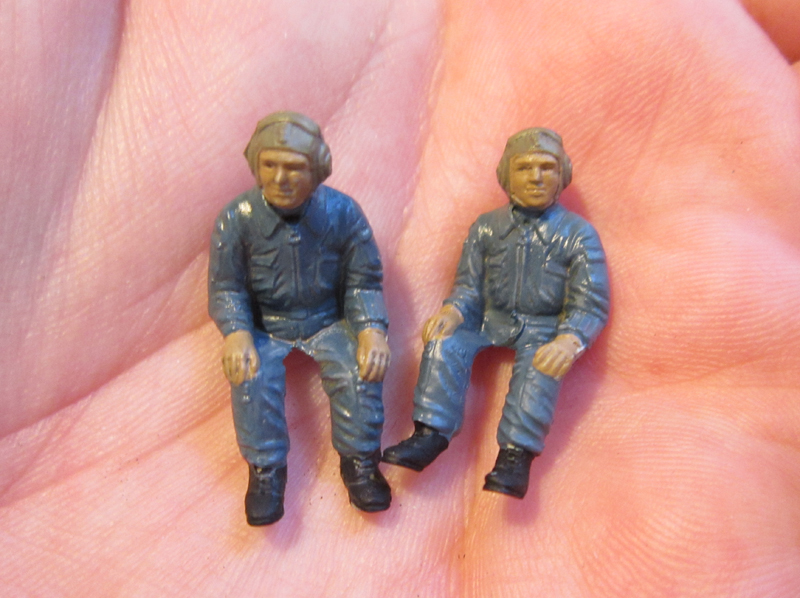
Dreammodel modern Russian pilots
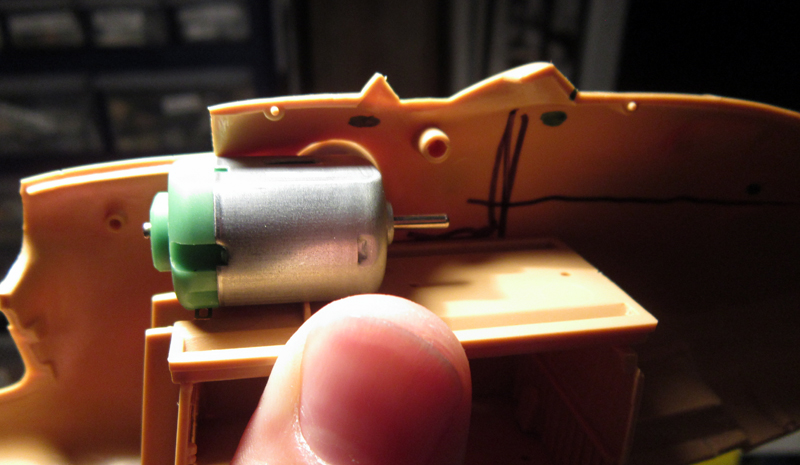
Tamiya Touch/Dash motor
mini-magnets
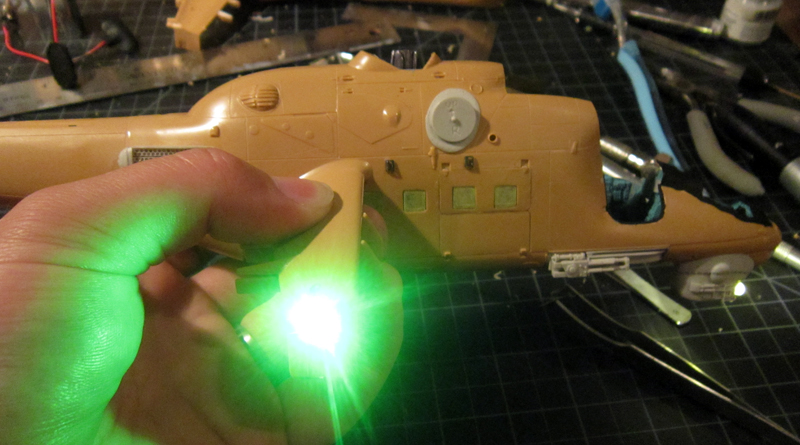
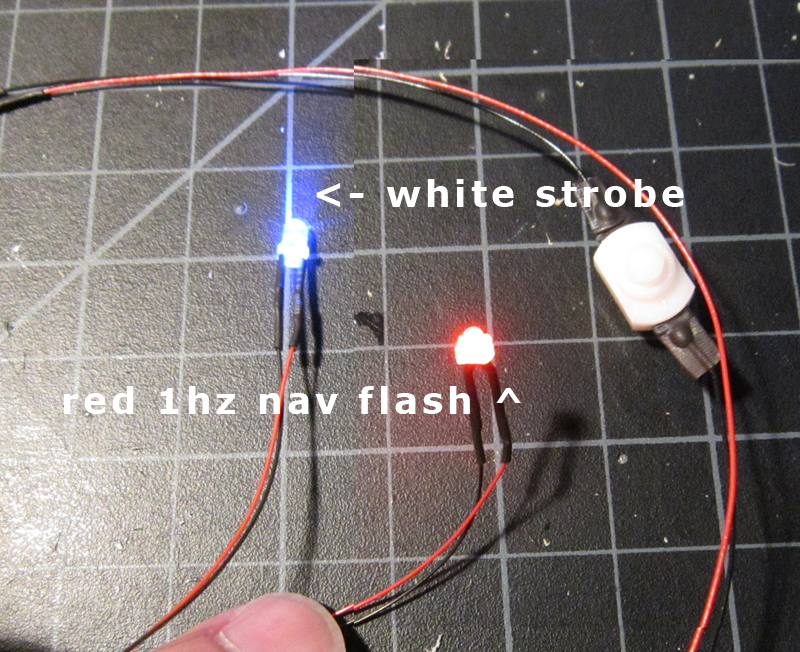
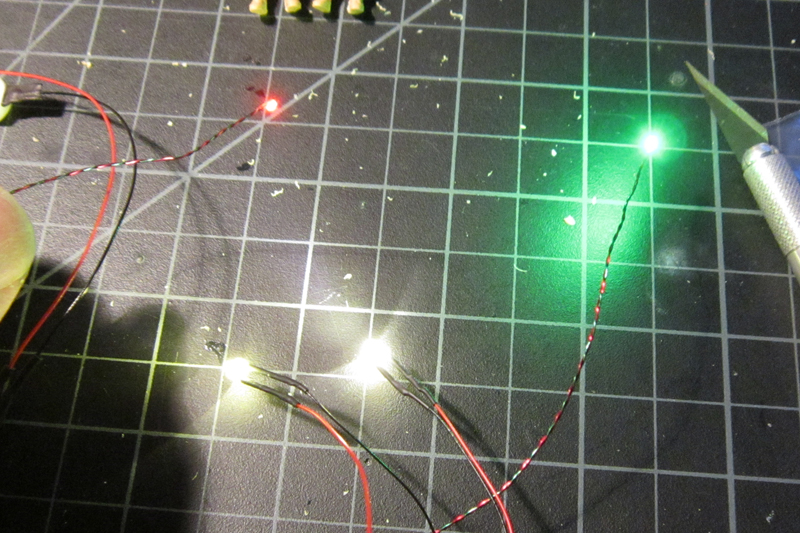
assortment of LEDs (red chips for cockpit, orange for cabin, warm white for spotlights, chip red and green for nav, flash red for beacon and strobe)
HungAero marking decals and Linden Hill stencil decals
Round 2 dome base

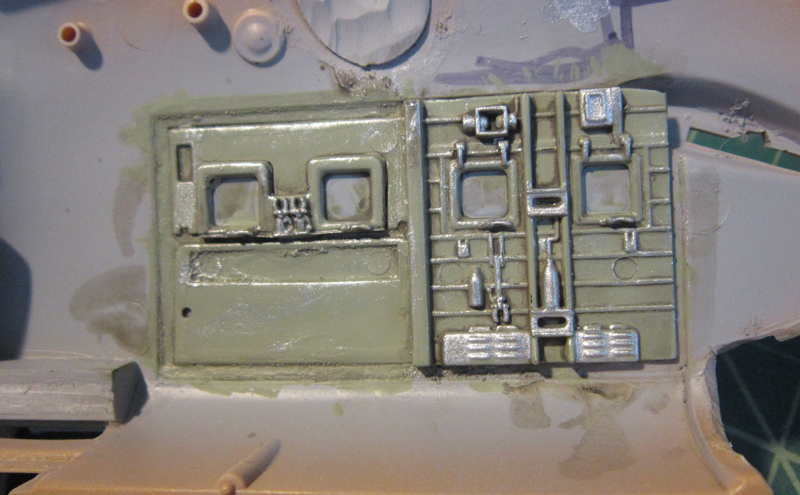
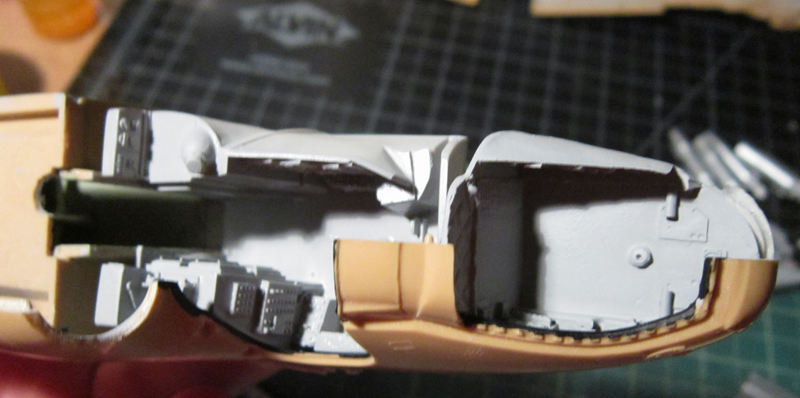
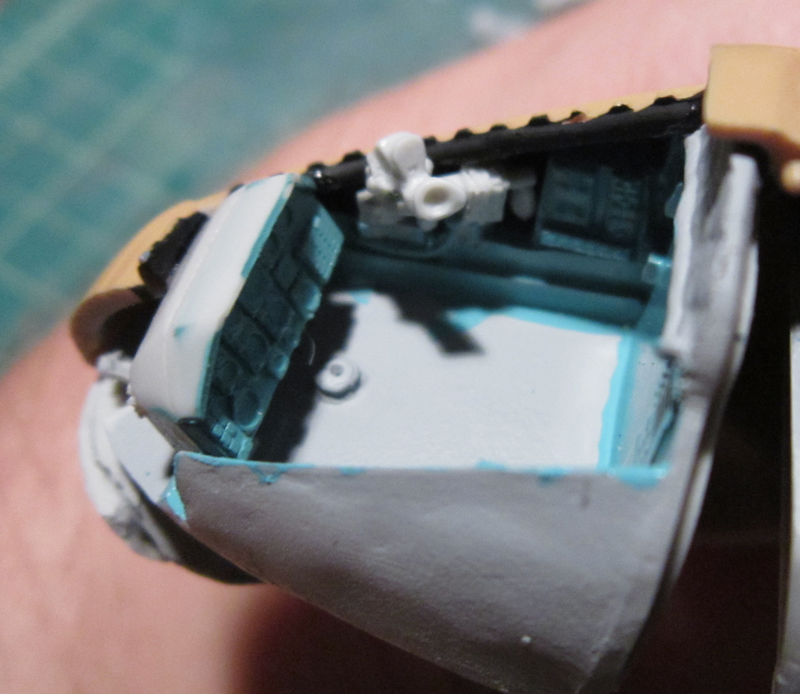
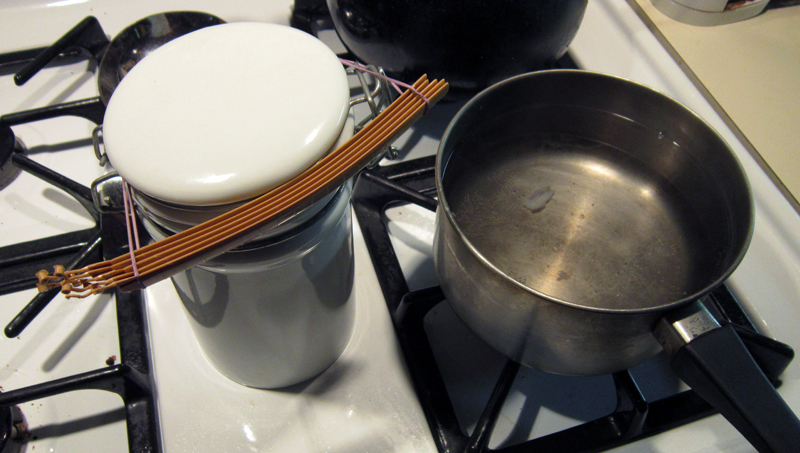
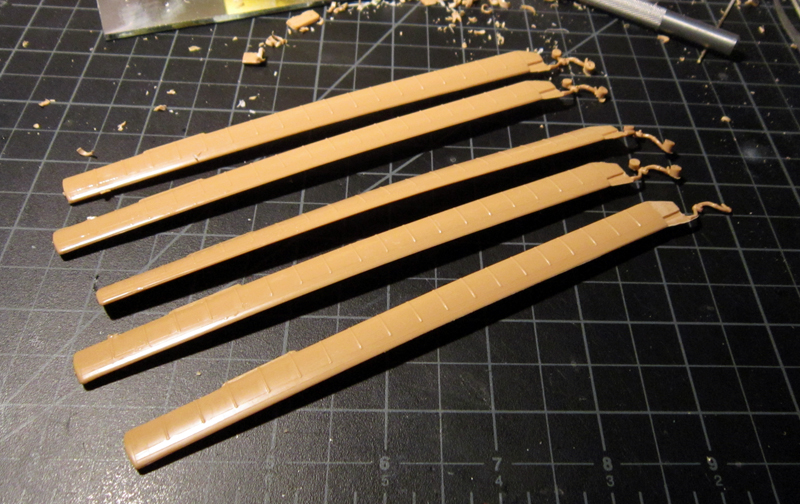
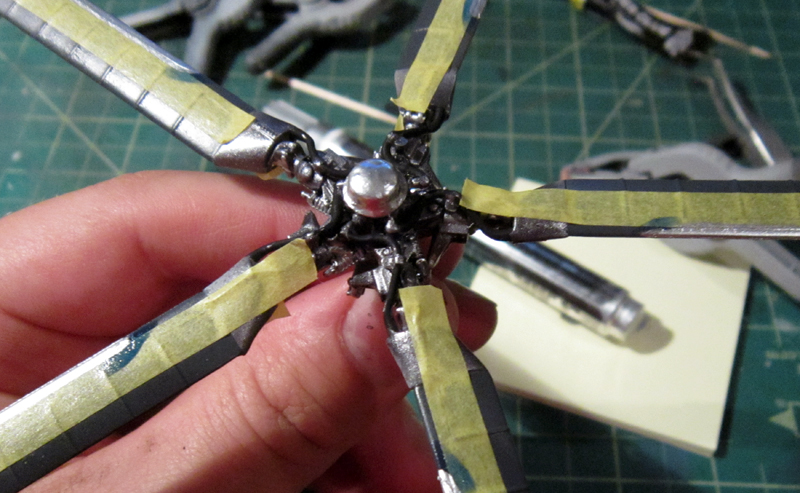
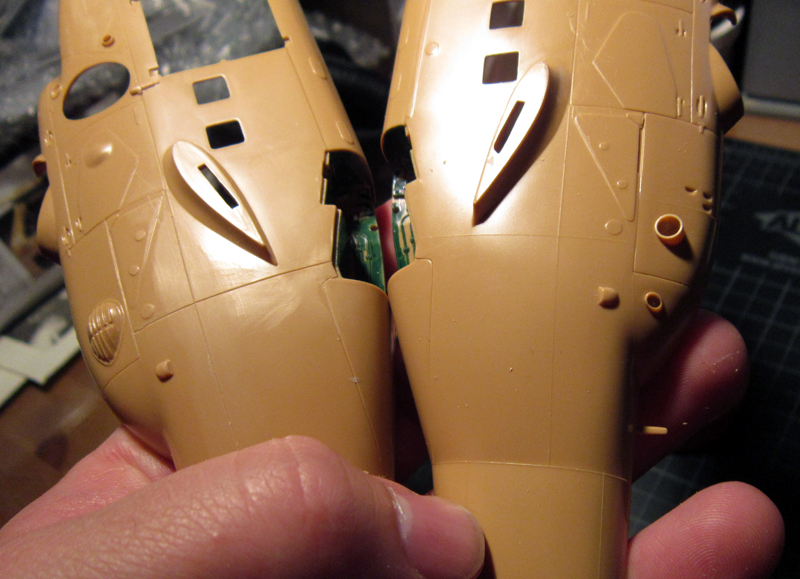
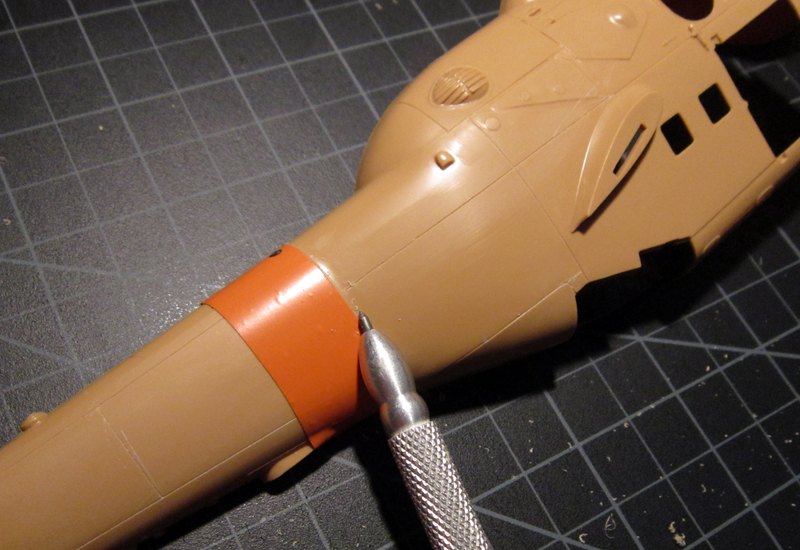
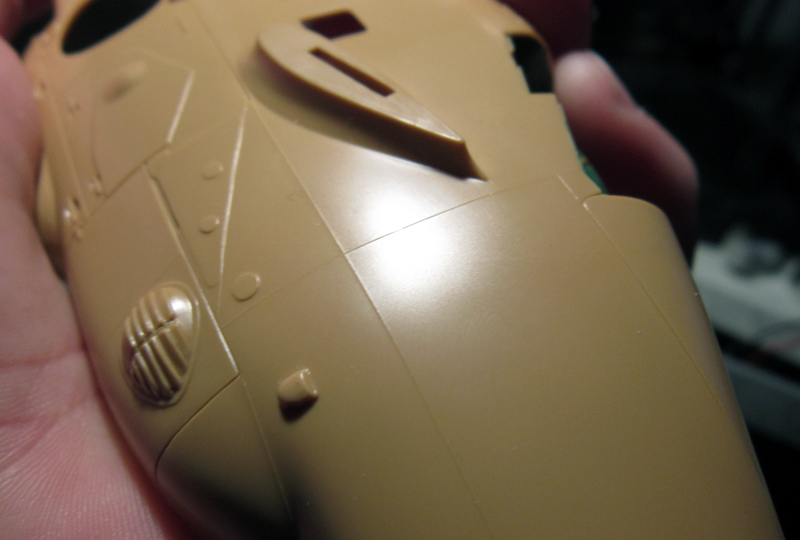
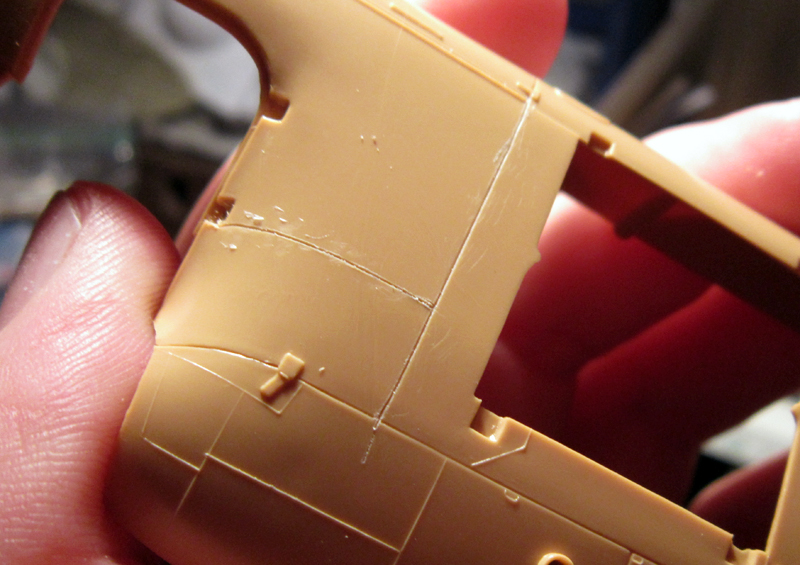
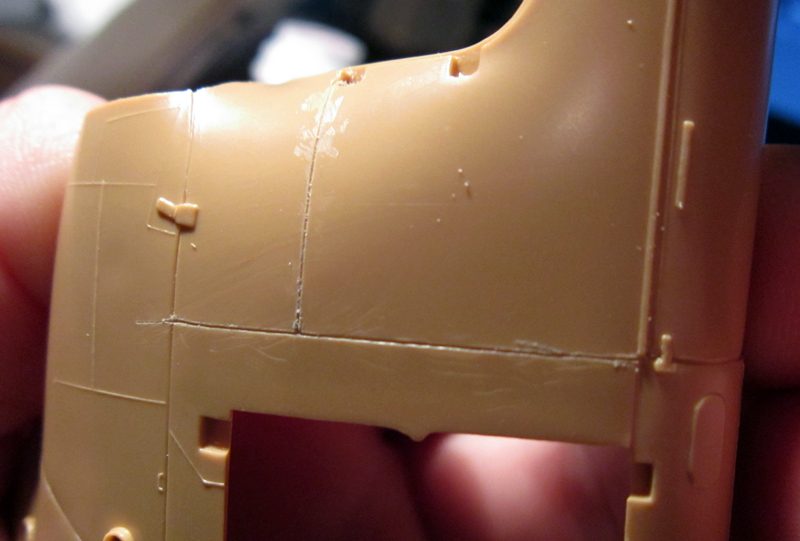
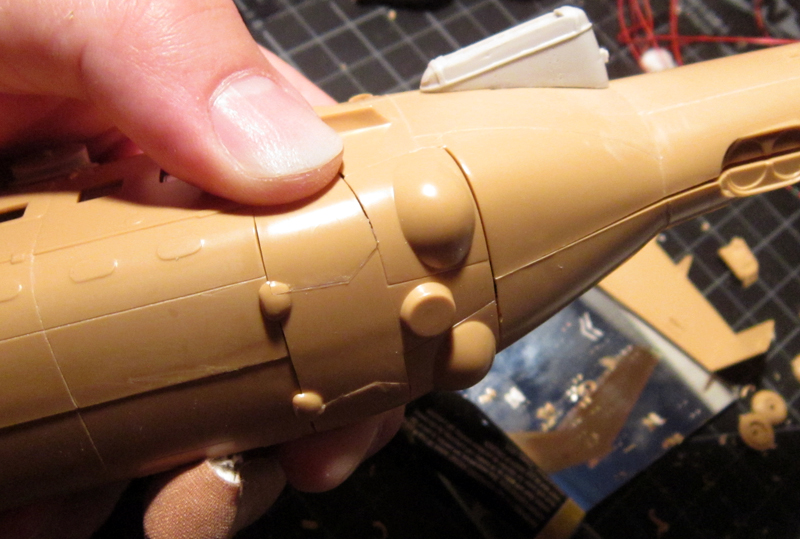
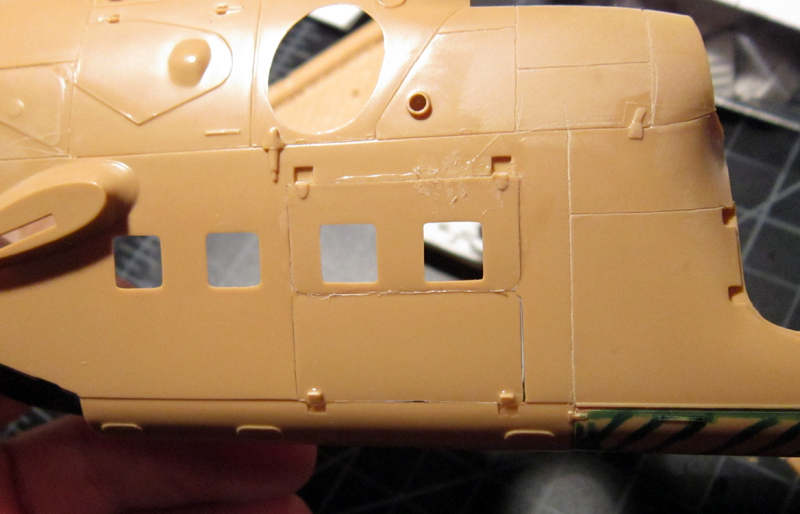
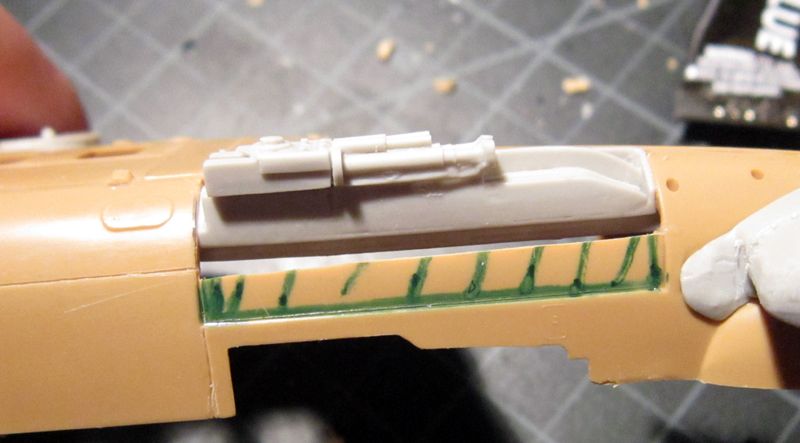
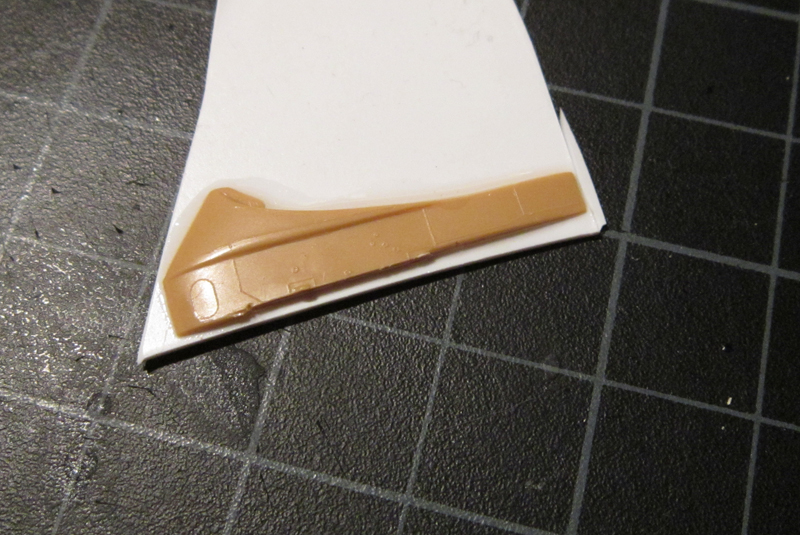
Since all these parts have been sitting around on my bench for months, I’ve been able to do a little bit here and there. The first of the tasks was to sand down and re-scribe all the panel lines. Since I’ll be using HGW rivets and not RB Productions rivet tool, this phase was relatively short. Some of the lines are a little choppy but they will be more smooth later in the build.

scribing_mi24v_img_3662.jpg

scribing_mi24v_img_3661.jpg

scribing_mi24v_img_3655.jpg

scribing_mi24v_img_3654.jpg

scribing_mi24v_img_3653.jpg


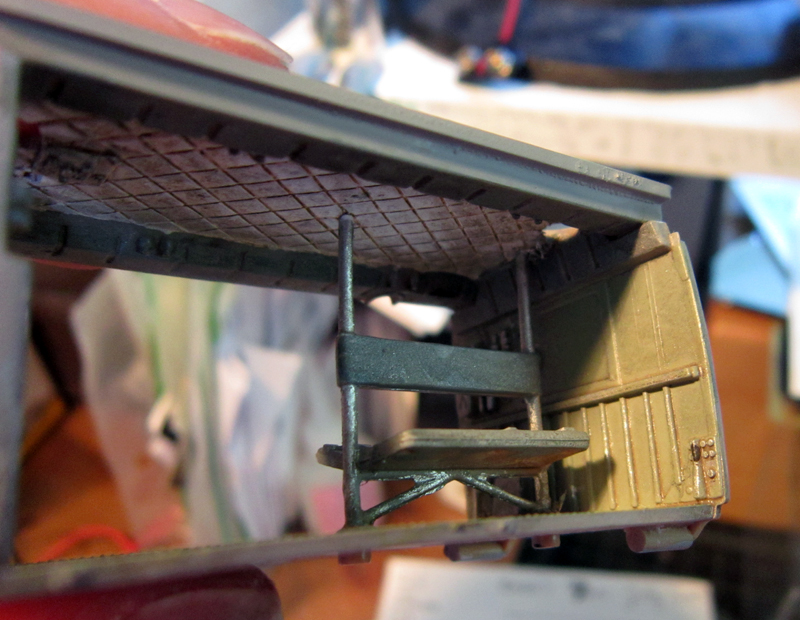
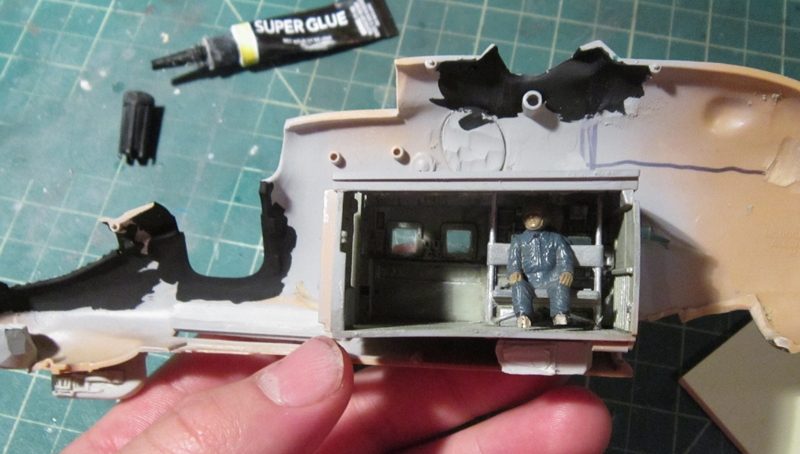
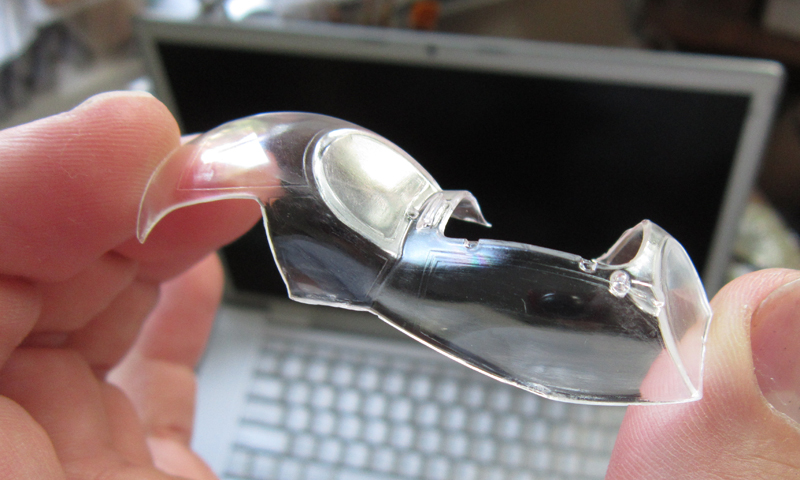
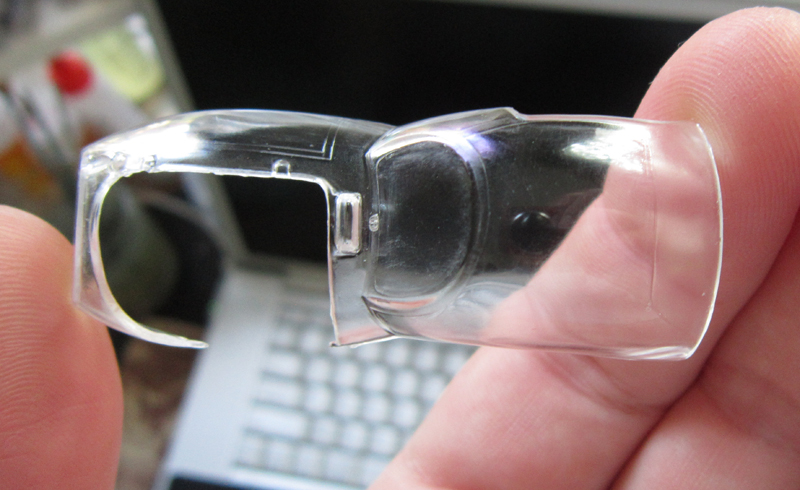
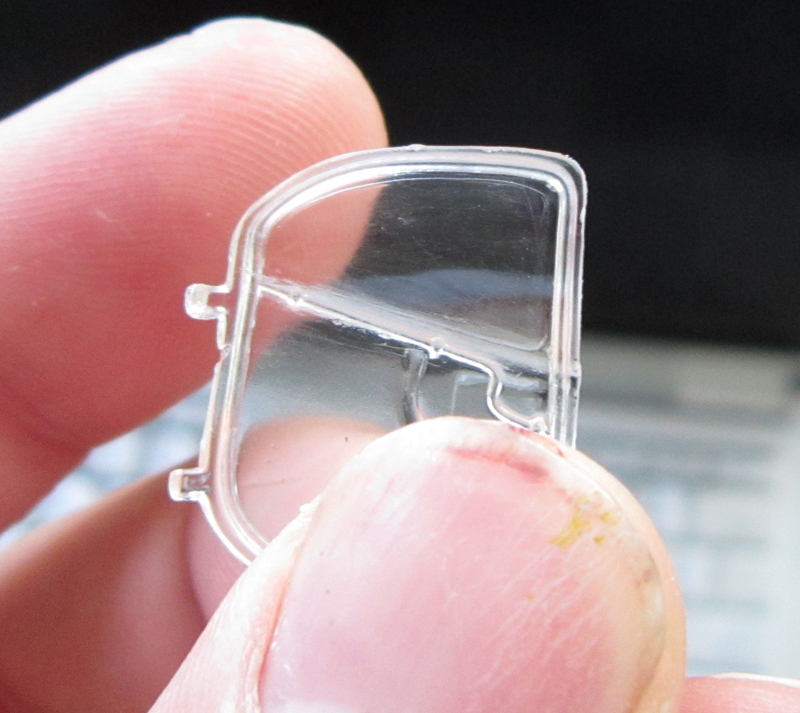
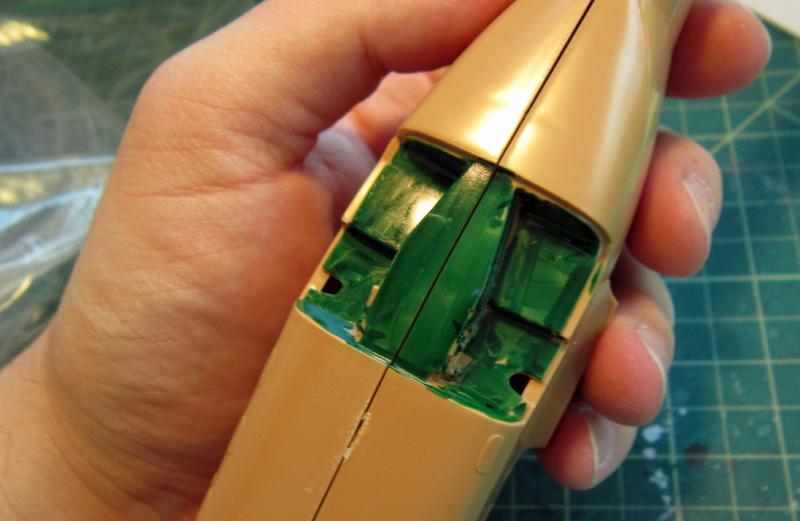
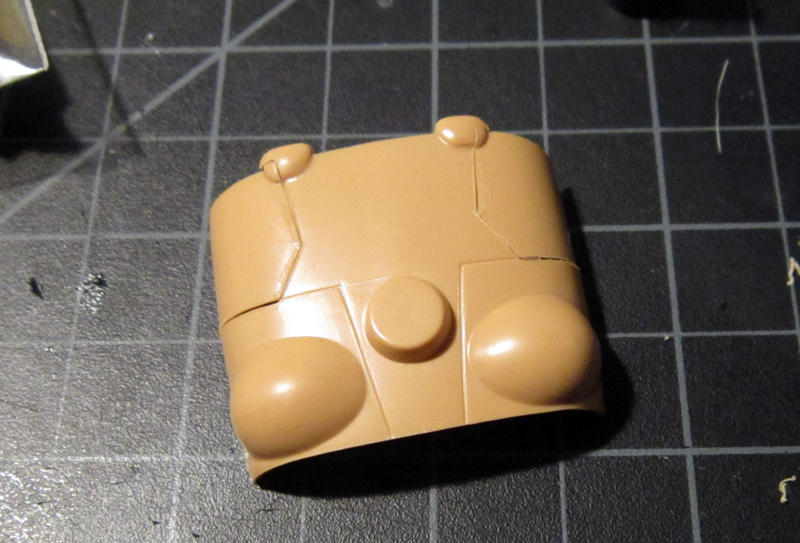
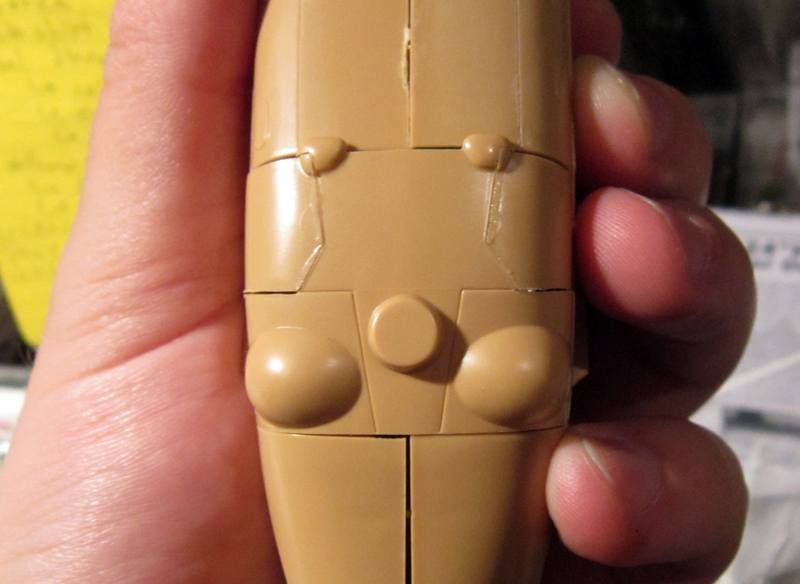
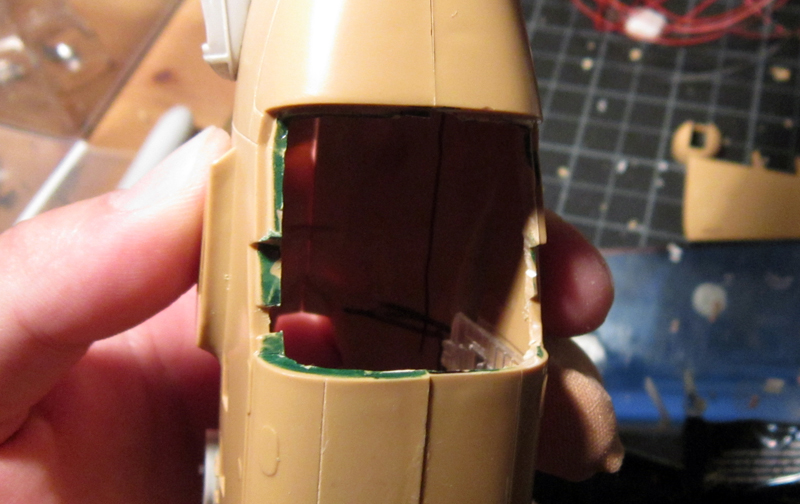
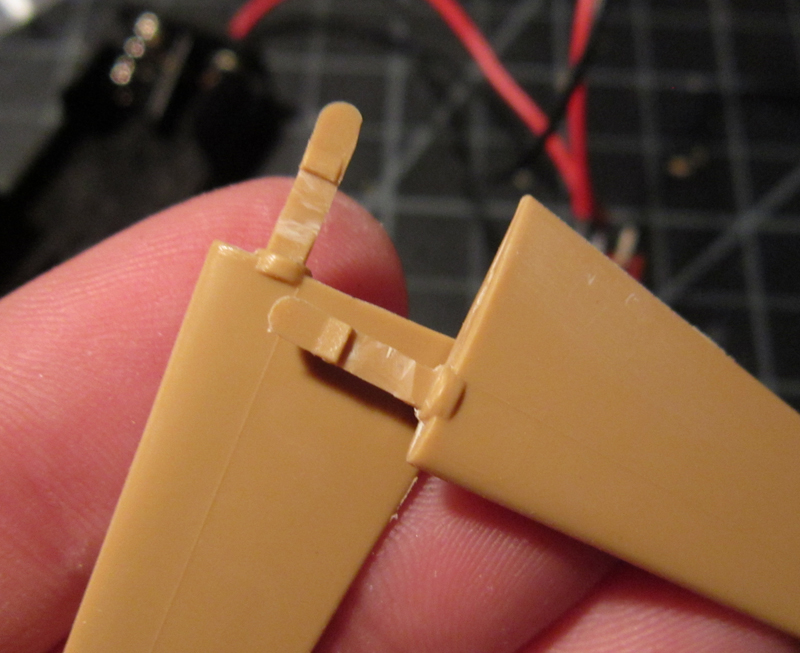
Another big step early on was configuring the battery access compartment and I figured the rear landing gear doors will give me access to the most interior space. A 2x AAA clip will fit well and a 9v battery will fit even better (but just slightly so). Since the kit pieces are in 3 parts they had to be glued together. After some minimal seam filling the whole piece should fit snugly and will be removable via mini-magnets.

battery_mi24v_img_2729.jpg

battery_mi24v_img_3984.jpg

battery_mi24v_img_3985.jpg

battery_mi24v_img_4070.jpg

battery_mi24v_img_4071.jpg


I have plenty more updates to post so I will parse them out as to not crowd it all up front!!!! Just wait until you see the video!!!!
 
Another update!

This build will be in flight so I’ve closed up the cabin doors. They needed just a little bit of shaving to fit snugly and in hindsight (get it? HINDsight??) they could have been shaved a little more as the lips stick out a touch from the main body. However, I can still go in and shave them down.

doors_mi24v_img_3987.jpg


Next up is the process of using Cobra’s parts to build up the gunship conversion. The first step was inserting the heat-dampening exhaust mounts. They fit pretty close to perfectly in the original exhaust openings, only a slight bit of trimming was needed on the bottom edge of the opening. As for the exhausts themselves I opted for the larger fairings. Cobra did a nice job with the detail on these parts. They will also be painted separately and added towards the end of the build. You will also notice that the big chaff dispensers were added at the base of the tail.

engines_mi24v_img_3989.jpg

engines_mi24v_img_4061.jpg


The gunship conversion parts were more or less easy to add in. I did rush a little bit and made the opening for the cannon just a little too large so I will have to use some Aves to fill it in. The sensors fit right into place with minimal seam sanding. The nose plug fits pretty well but is just a touch wide, preventing the two fuselage halves from meeting. A little sanding and a little filler will be necessary there, too. The spotlight on the left side was an easy cut-and-drop piece, too.

gunship_mi24v_img_4064.jpg

gunship_mi24v_img_4065.jpg

gunship_mi24v_img_4067.jpg

lights_mi24v_img_4076.jpg


Lastly, here are the lights. There is a strobe which will feed some fiber optics that will thread out to the wing and tail tips (and belly maybe). I know there really aren’t strobes on the actual craft but I think they’ll look cool on this build. This circuit also has a 1hz flashing red LED for the tail beacon. Other lights include 2 small warm yellow for the spotlight and landing light, red and green chip LEDs for the wing navigation lights, 2 red chip LEDs for the cockpit tubs and 2 orange LEDs to light the cabin (more on these later).

lights_mi24v_img_4045.jpg

lights_mi24v_img_4049.jpg

lights_mi24v_img_4077.jpg
 
The canopy that comes with the kit is good, but could use some polishing. I really wish there was a vacu-form aftermarket piece available. Anyway, I’ve been sanding away with polishing grits @ 2000, 6000 and 12,000 and it’s still not crystal clear. More work definitely to be done.

canopy_mi24v_img_4096.jpg

canopy_mi24v_img_4126.jpg

canopy_mi24v_img_4127.jpg


I’ve also decided to use the kit supplied crew members, but in this case they won’t be the pilots. I’ll consider them technicians and put them in the cabin. Their soft detail will be hidden enough.

crew_mi24v_img_4109.jpg


Here you can see me starting to fiddle with the tiny motor. There’s enough room for placement in the interior, especially since the kit engines are replaced with the Cobra parts. I was thinking 2x AAA batteries in their clip would fit nicely in the rear…but more on that later.

motor_mi24v_img_3991.jpg


Eduard’s Brassin Rocket Pod set will be a nice upgrade to this build as well. I’m not using the PE parts because they would be almost impossible to see. I did have to cut all the kit pods off because they were molded to the pylons. Also, one half of one of the pylons was missing from my kit so I had to scratch build it. The Eduard pods were primed and painted with Tamiya metallic silver. Nice and bright…

rockets_mi24v_img_4085.jpg

rockets_mi24v_img_4086.jpg

rockets_mi24v_img_4093.jpg

rockets_mi24v_img_4119.jpg


Lastly, a couple of little things had to happen like cutting off the front wheel cover and shaving the interlocks on the horizontal stabilizers. They will be nice and tight when the time comes to insert them.

wings_mi24v_img_4051.jpg
 
Here is the work on the interior. The cabin was a pretty straight forward build. I opted to use only a single interior PE bit for the box on the forward bulkhead. The basic paint job is Tamiya’s IJN gray/green with a dry brushing of chrome silver and a wash of MiG’s neutral. Looks pretty good for something that will be almost completely hidden! Ha!

cabin_mi24v_img_4102.jpg

cabin_mi24v_img_4099.jpg

cabin_mi24v_img_4056.jpg

cabin_mi24v_img_4104.jpg

cabin_mi24v_img_4107.jpg

cabin_mi24v_img_4108.jpg

cabin_mi24v_img_4110.jpg

cabin_mi24v_img_4121.jpg
 
Another update for you lads: cockpit progress! Again, these are the Cobra parts and I really like the detail on them over fussing with all the Eduard interior PE bits. The tricky part is going to be painting the black panel boxes...

cockpit_mi24v_img_4122.jpg

cockpit_mi24v_img_4123.jpg


Got a nice blue-ish color mixed up for the interior, too.
cockpit_mi24v_img_4135.jpg

cockpit_mi24v_img_4137.jpg

cockpit_mi24v_img_4138.jpg

cockpit_mi24v_img_4139.jpg


Cobra's instructions didn't really say exactly how to put the forward panel in place, so I put it where i thought it'd look good...
cockpit_mi24v_img_4140.jpg


I also placed some chip LEDs behind the instrument panels to give a nice menacing red glow to the interiors
cockpit_mi24v_img_4210.jpg

cockpit_mi24v_img_4211.jpg

cockpit_mi24v_img_4212.jpg
 
The rotors for this beast build up pretty easily. There were some areas where the blades attached that needed a little sanding but overall it’s a good fit. The level of detail is nothing to complain about, either. I know there are some resin replacements out there but these will do the trick. The first step in the assembly was to get the trademark droop in the rotor blades. In the case of this build, they have to droop upwards because it will be in flight. To do this I boiled the blades in hot water and used rubber bands to secure them around a cylindrical object in my kitchen. Worked like a charm. The bend could be a little more severe but it’s fine.

rotor_mi24v_img_4058.jpg

rotor_mi24v_img_4072.jpg


Like I said, the assembly was nice and straight forward. The hydraulic lines are a bit chunky but it won’t make a difference when they’re in motion. I did have to scratch build some of the actuators because the plastic on this old kit is brittle and therefore small pieces tend to snap when I’m not looking…

rotor_mi24v_img_4088.jpg

rotor_mi24v_img_4087.jpg

rotor_mi24v_img_4095.jpg


Primed the tail rotor, too. AND everything spins REALLY nicely with the motor hooked up!!

rotor_mi24v_img_4083.jpg

rotor_mi24v_img_4080.jpg

rotor_mi24v_img_4089.jpg

rotor_mi24v_img_4090.jpg


Here are a couple of videos testing the motor…

Mi-24 3v Motor Testing
Mi-24 9v motor testing
 
OK - that video (1st) is seriously cool man. When you make the final video you must add sound effects.
 
well scott, check out this vid :)

Update on the rotors! I painted the hubs/spokes with Tamiya’s Light Gunmetal from the rattle can, masked them off then did the blades with rattle can Gunship Grey. The leading edges were masked and painted with Krylon’s Silver Leafing paint pen and the tips are Tamiya yellow green.

rotor_mi24v_img_4101.jpg

rotor_mi24v_img_4113.jpg

rotor_mi24v_img_4114.jpg

rotor_mi24v_img_4117.jpg

rotor_mi24v_img_4129.jpg


AND of course the main rotor tested with the 9v battery.

Mi-24 9v with load motor testing
 
Some in between the big parts progress. While photos show a slightly more polished canopy, I ended up picking up another kit to start from scratch…or rather avoid any scratches. Looks way cleaner.

canopy_mi24v_img_4131.jpg

canopy_mi24v_img_4132.jpg

canopy_mi24v_img_4133.jpg

canopy_mi24v_img_4134.jpg


Also started adding the external photo etch bits and started the wiring a little bit more. I had to cut out a larger section of the top part of the wing than I had anticipated so it will need some filler at some point.

extpe_mi24v_img_4143.jpg

lights_mi24v_img_4213.jpg

lights_mi24v_img_4215.jpg

lights_mi24v_img_4216.jpg


But there she is as of now, for the most part. This will probably be the last post for a few weeks on this subject as it’s vacation time!

main_mi24v_img_4217.jpg
 

Latest posts

Back
Top