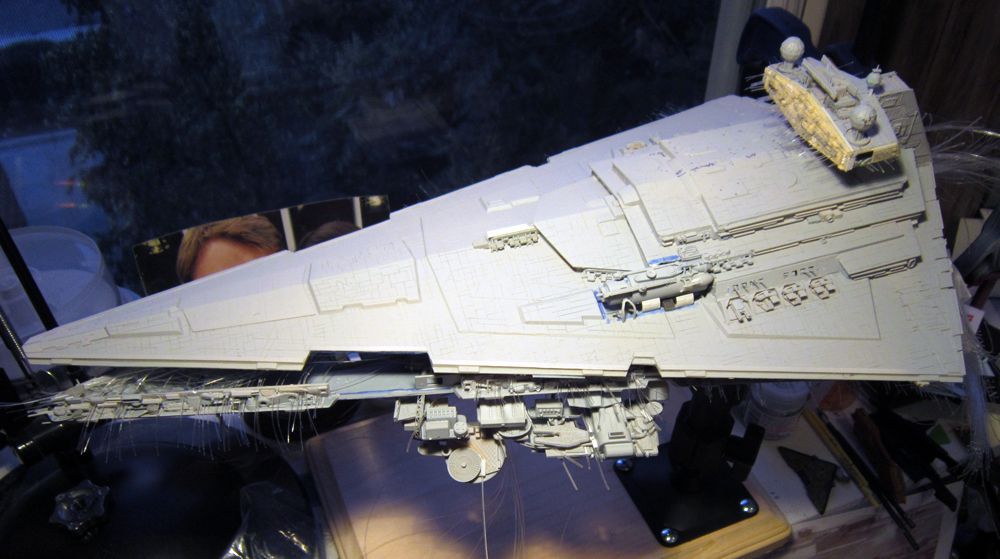
Got some work done on mine over the hot, hot weekend.
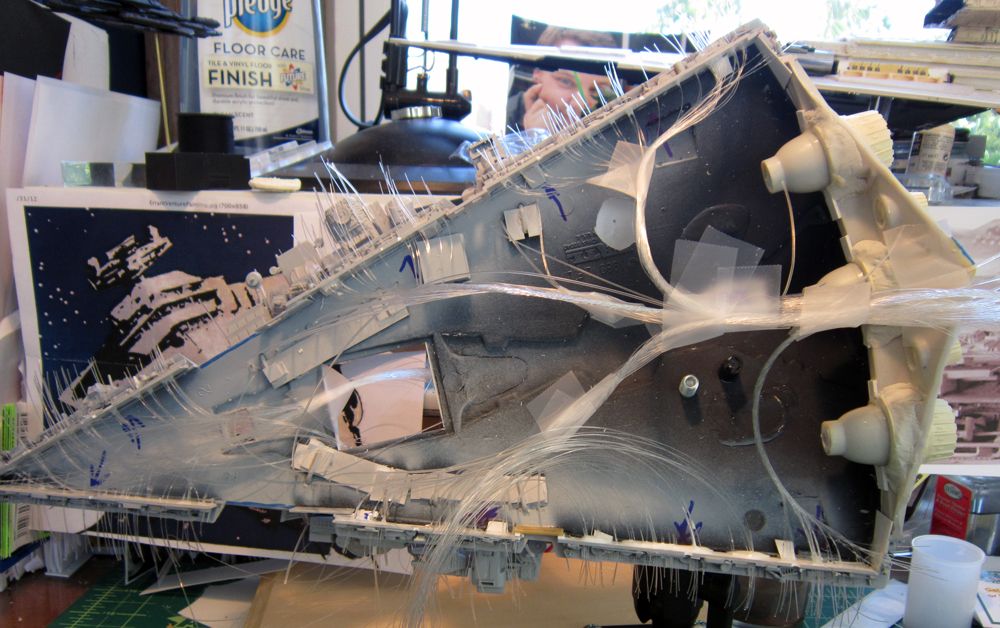
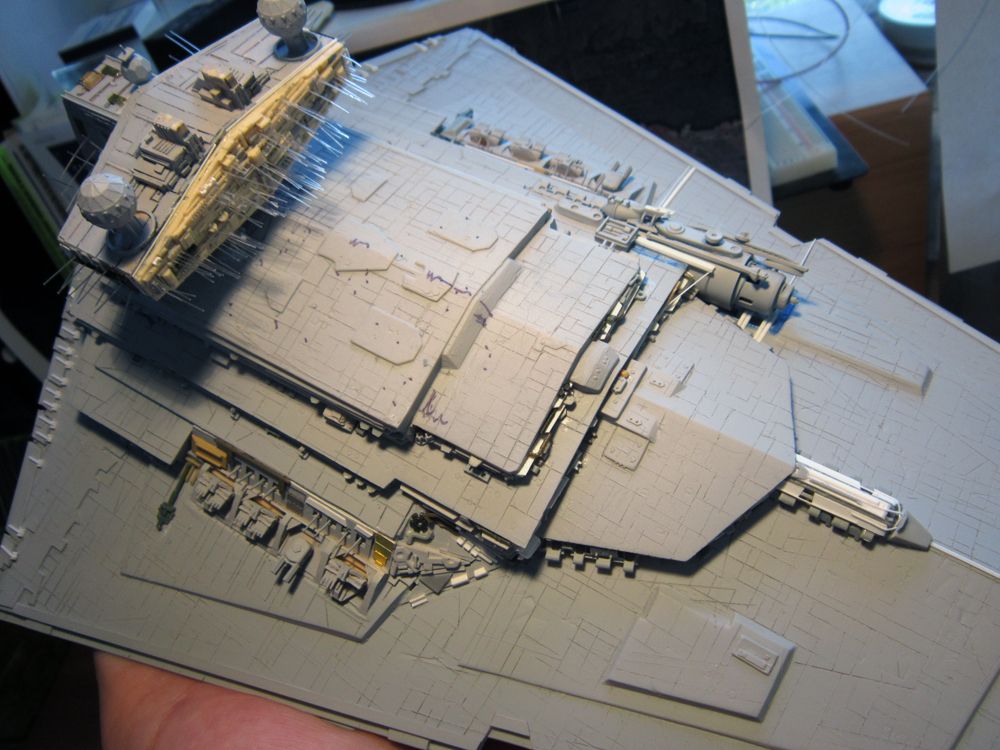
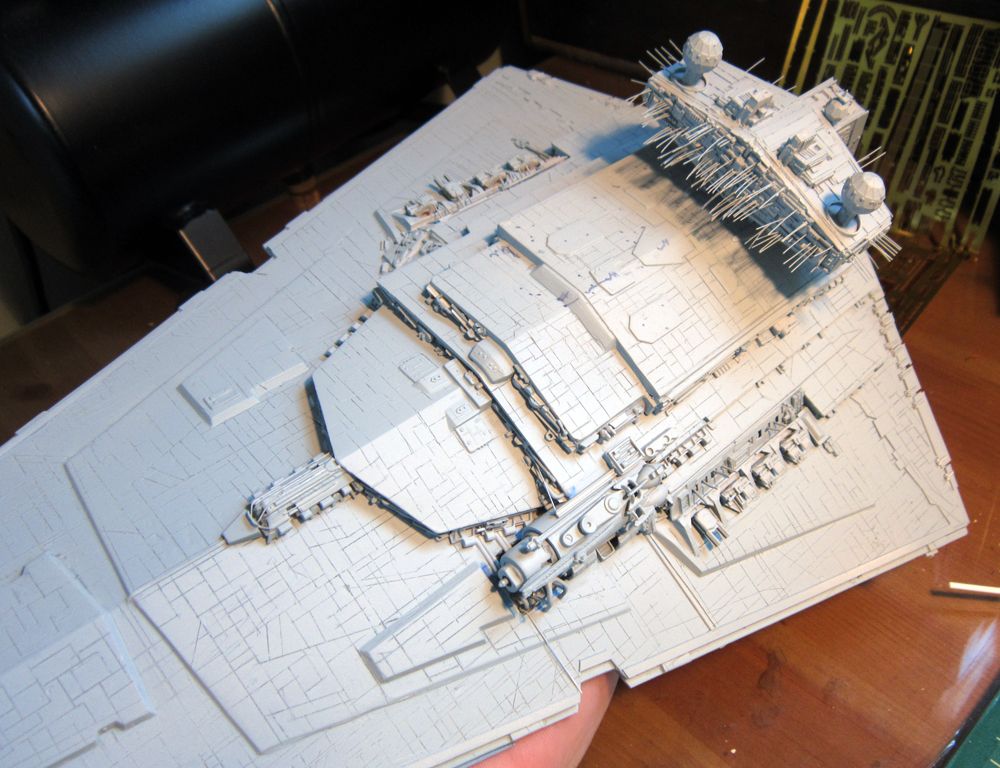
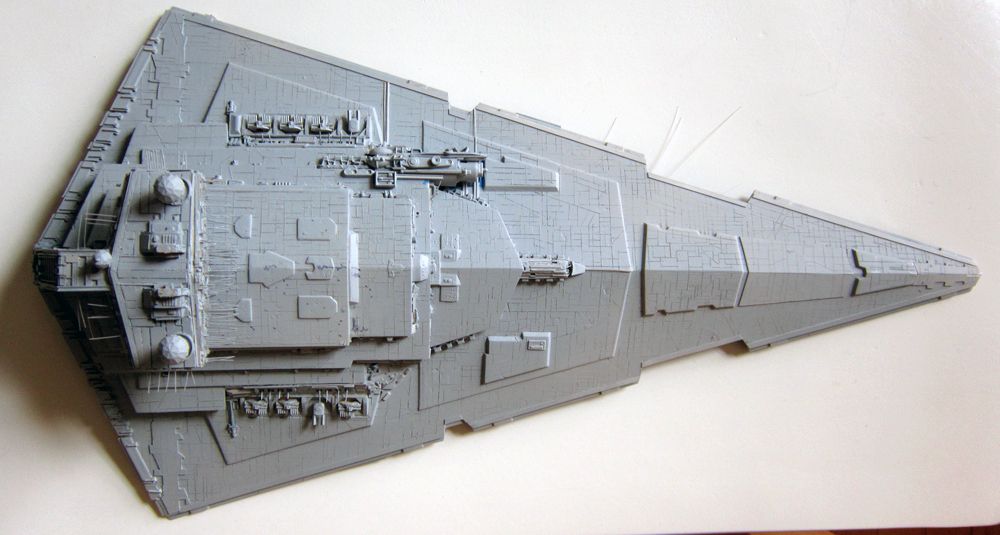
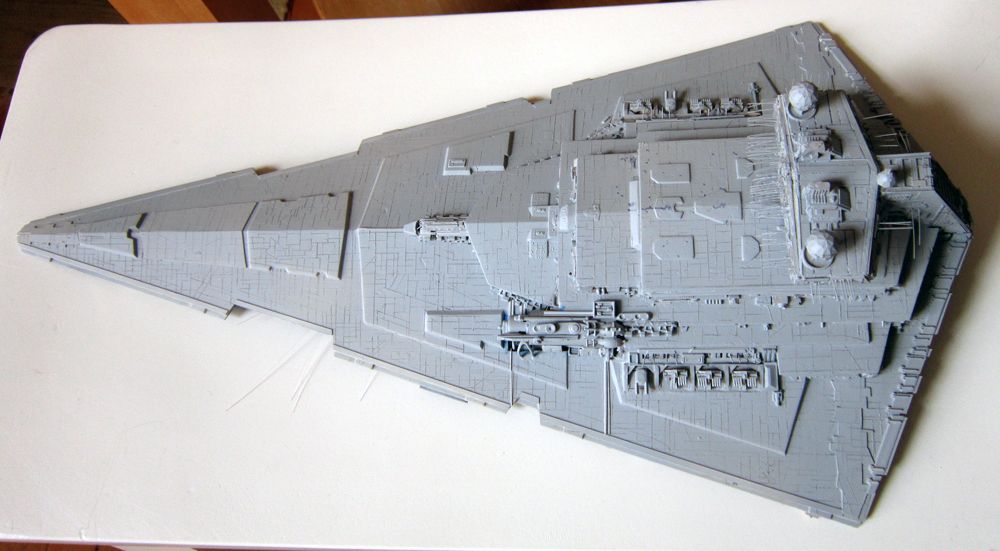
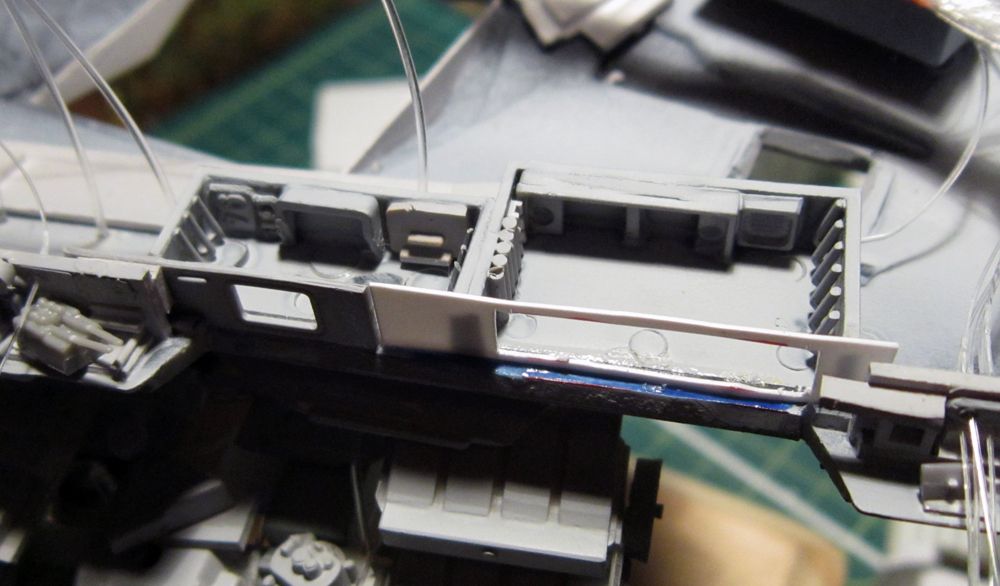
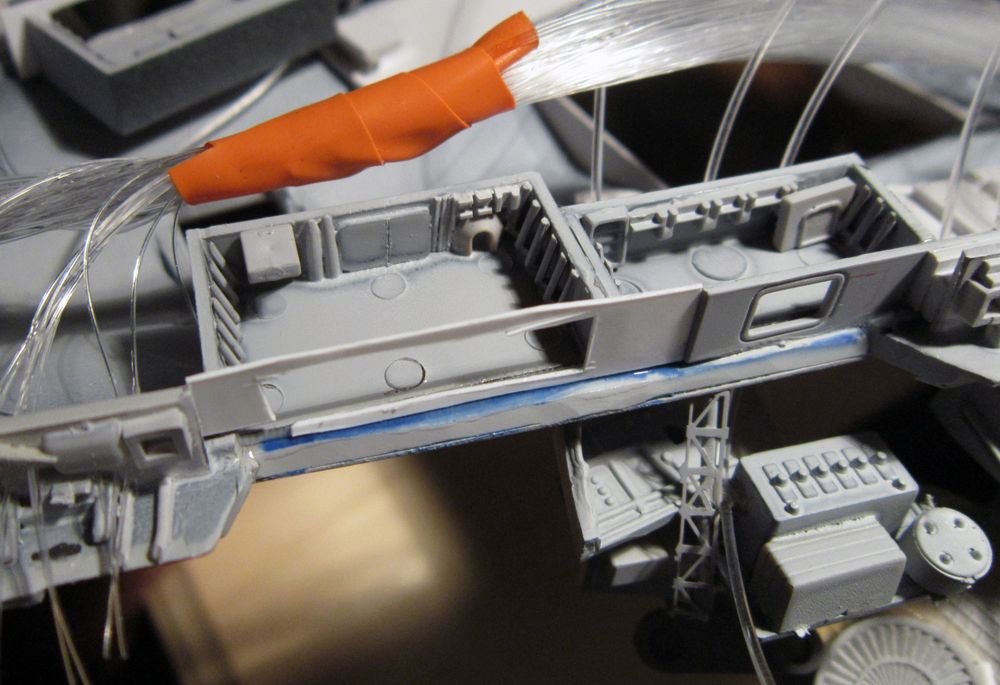
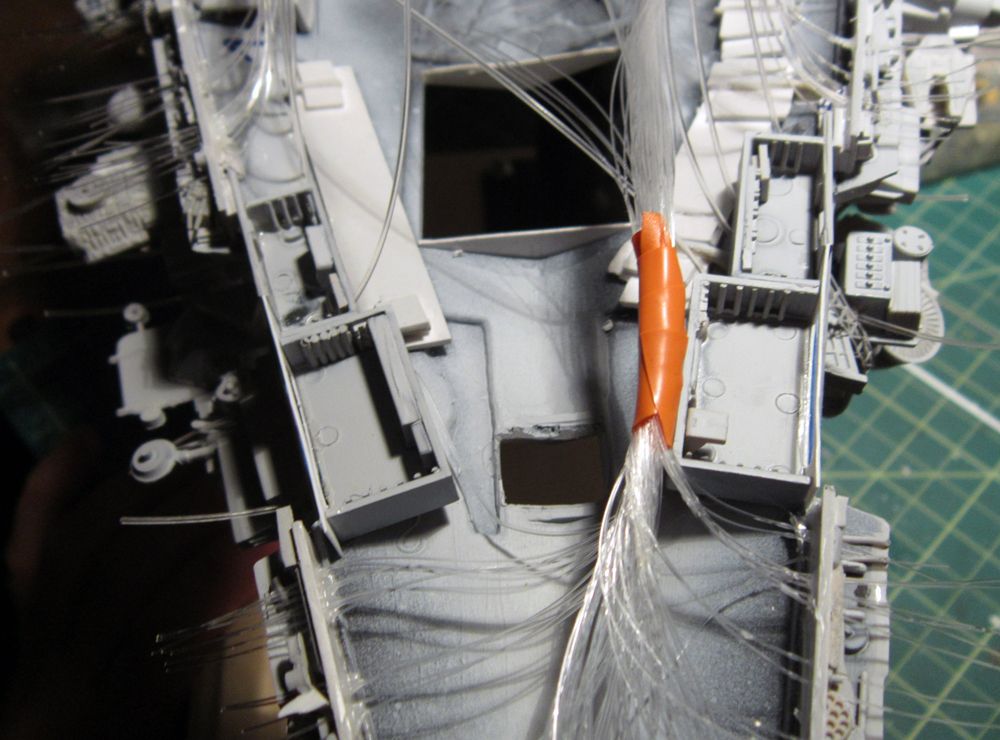
1. Finished installing trench fibers. I fear there might not be enough. The density of them might have to increase 20-30% for it to look right.
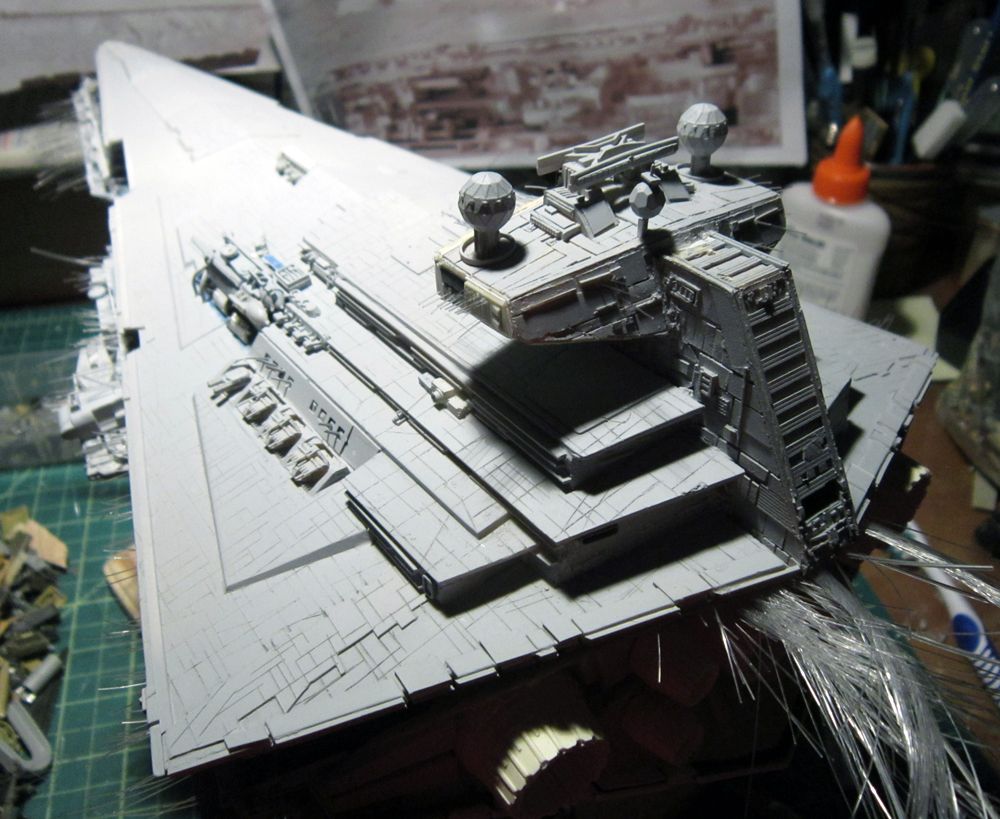
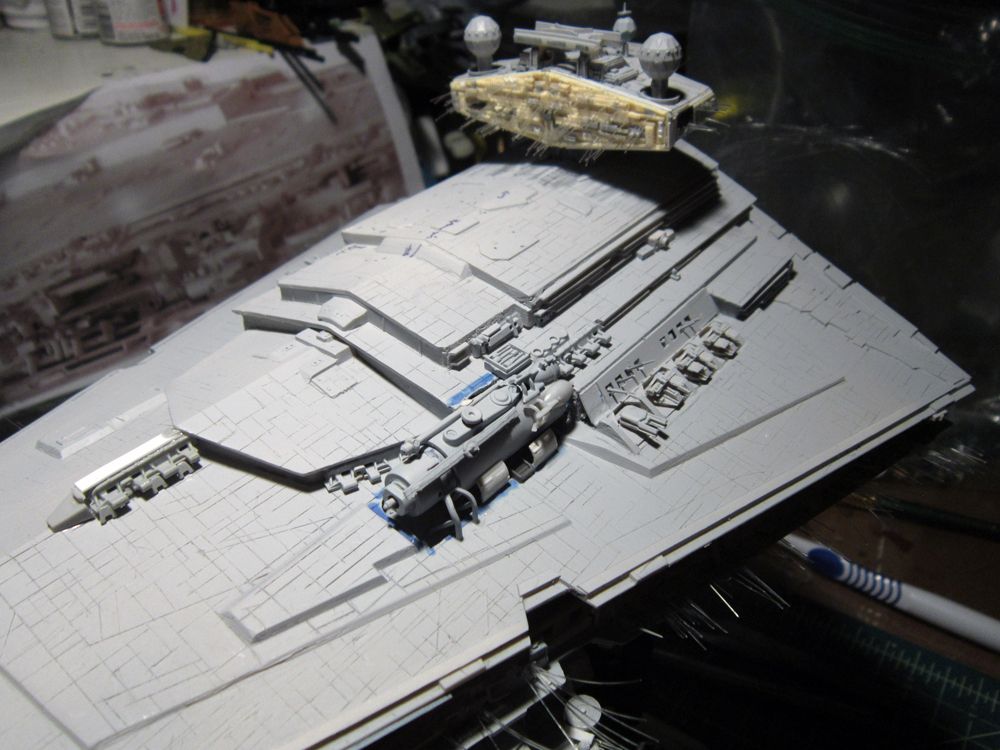
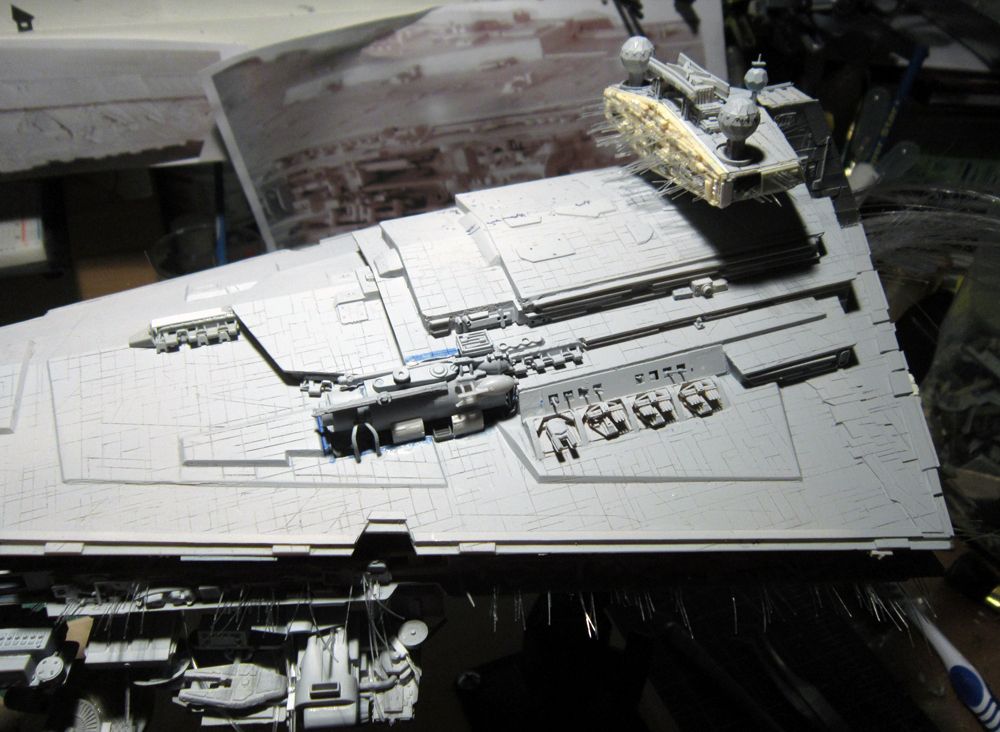
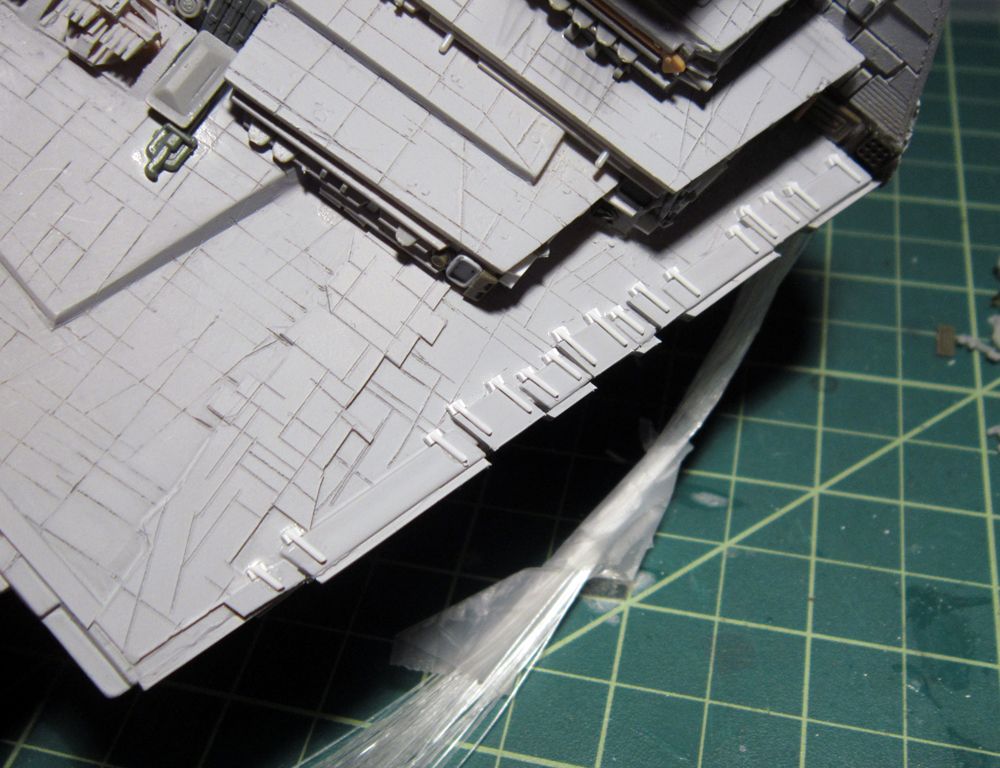
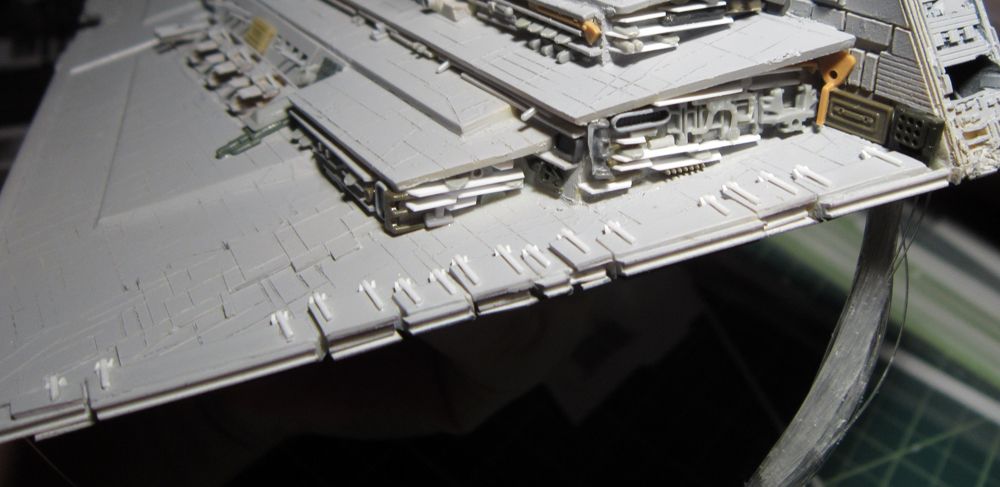
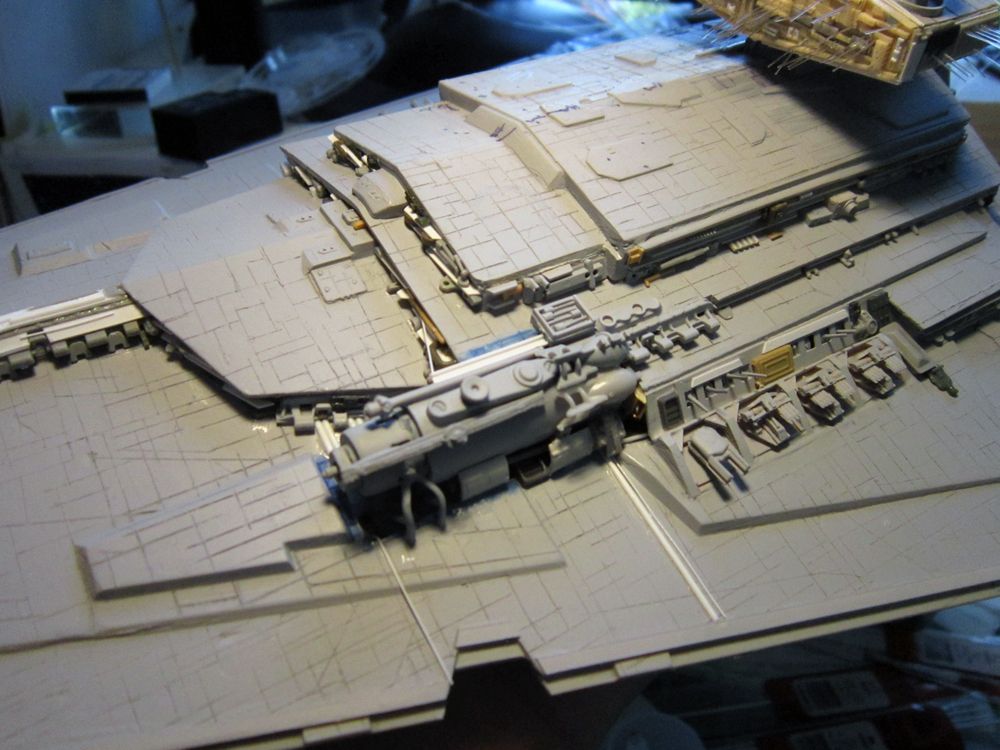
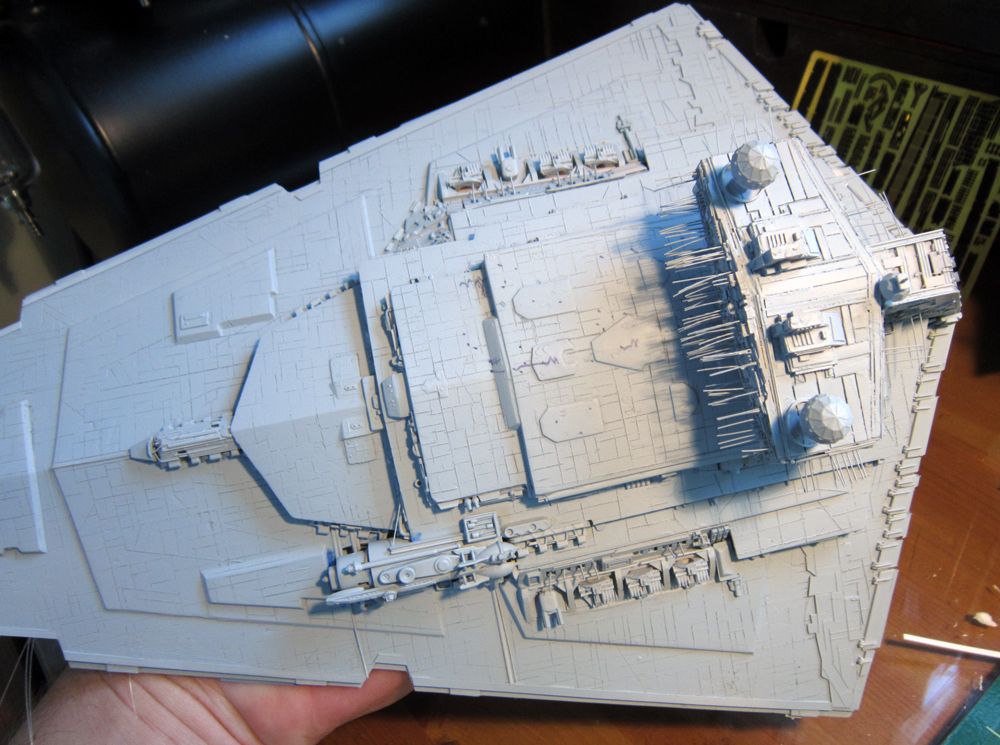
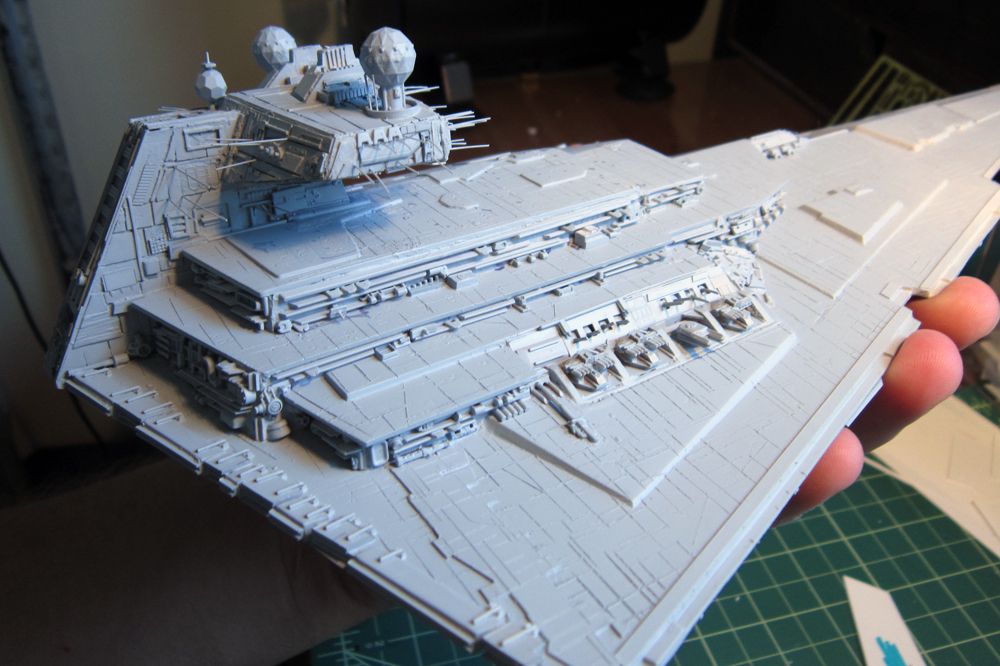
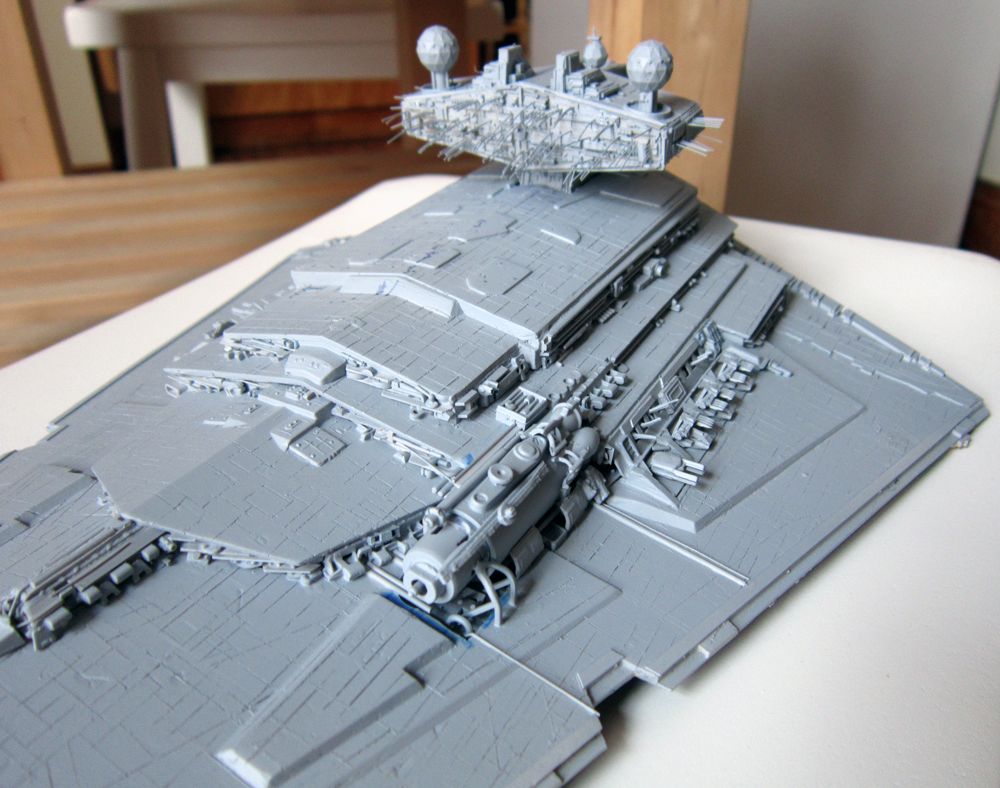
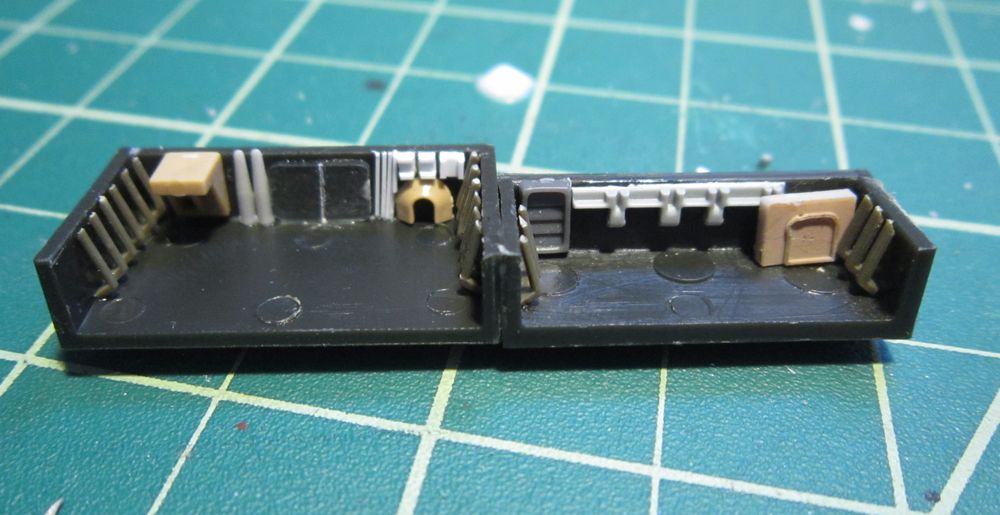
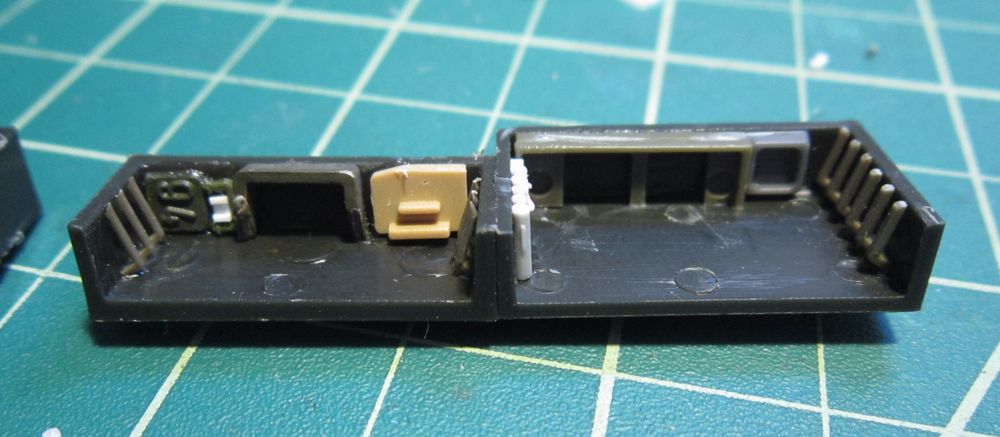
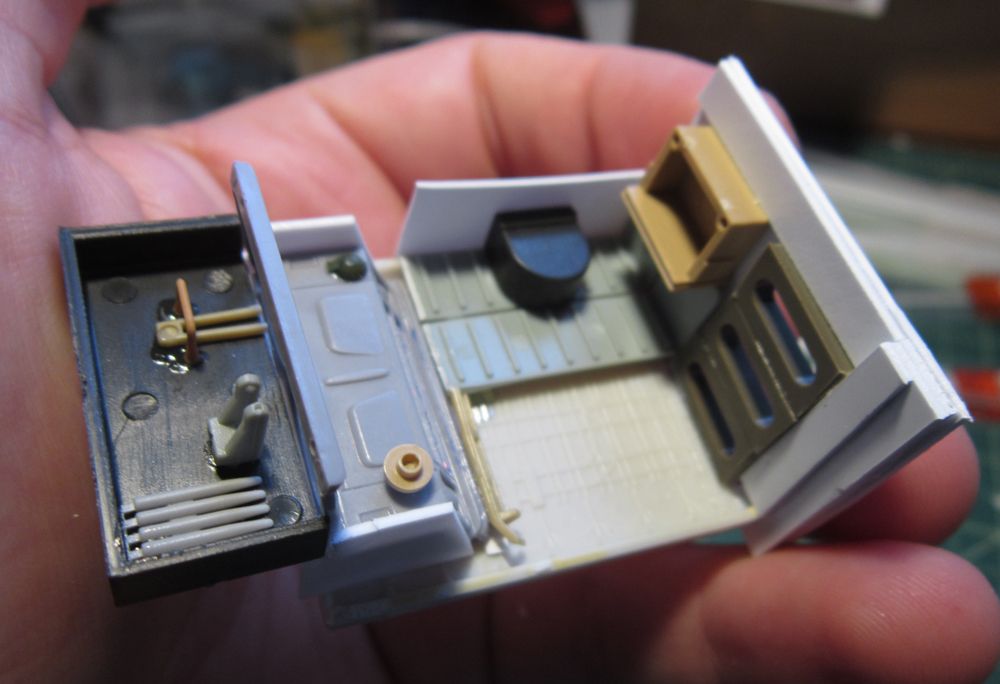
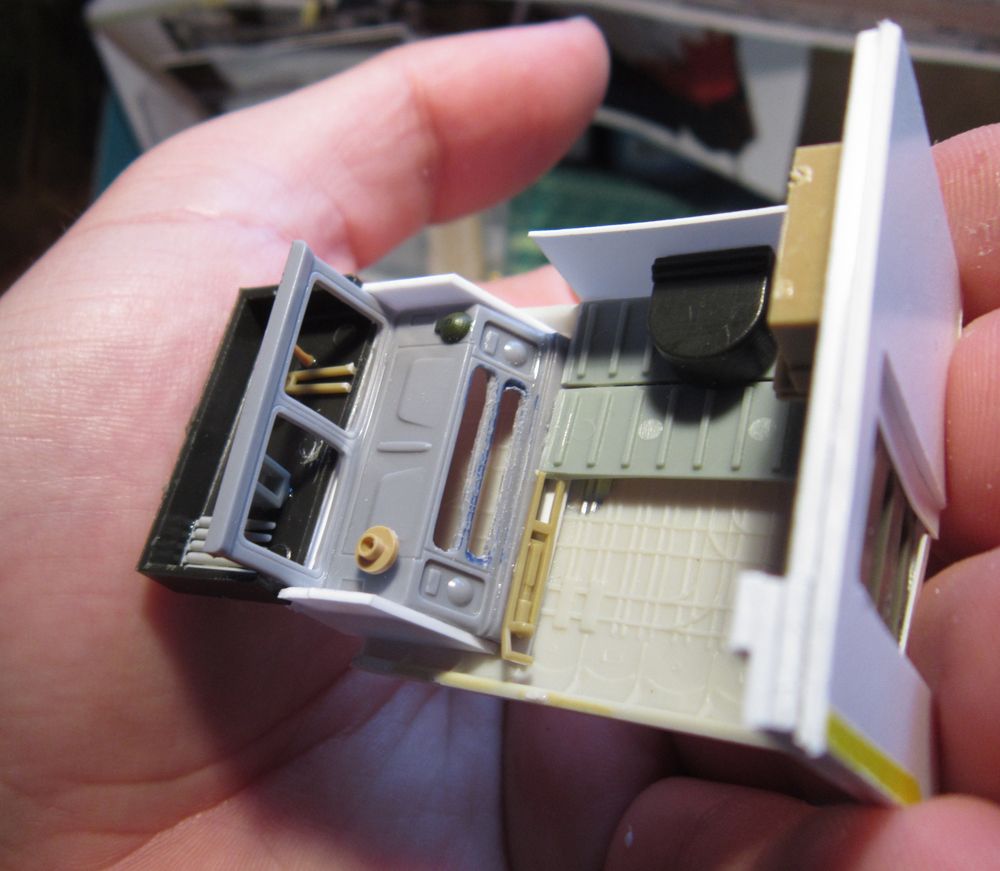
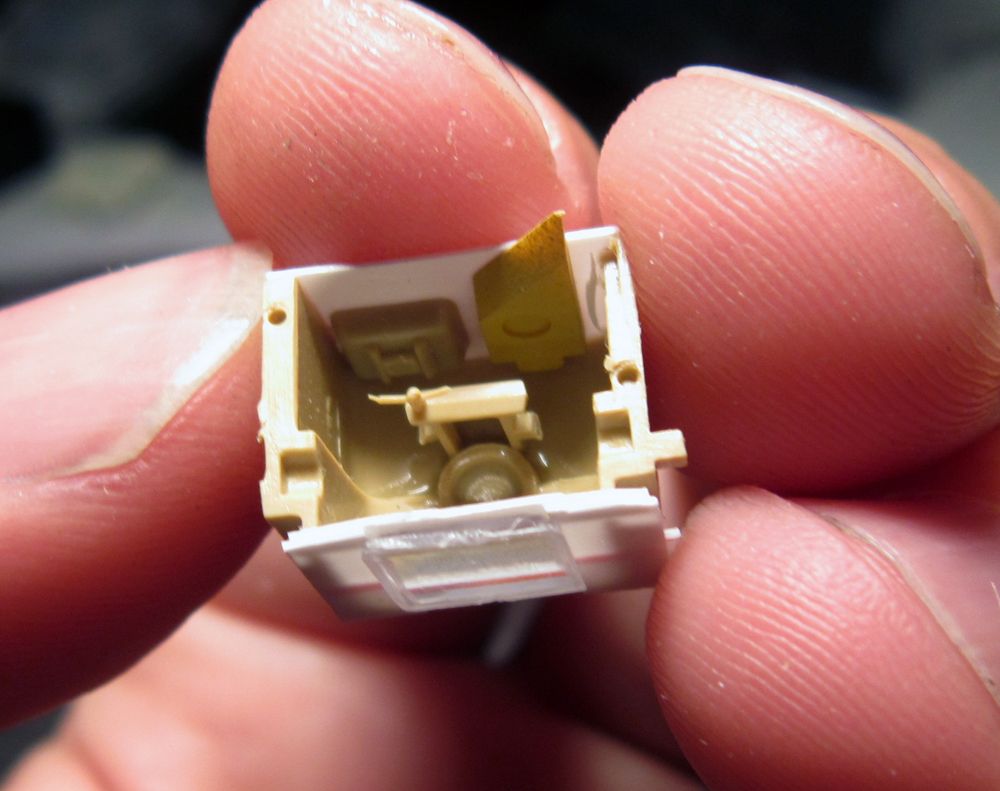
2. Started adding superstructure wall details and greeblies. I combed through a new batch of parts and have a good amount of stock to add this week…I’ll also have to get to the rear section.
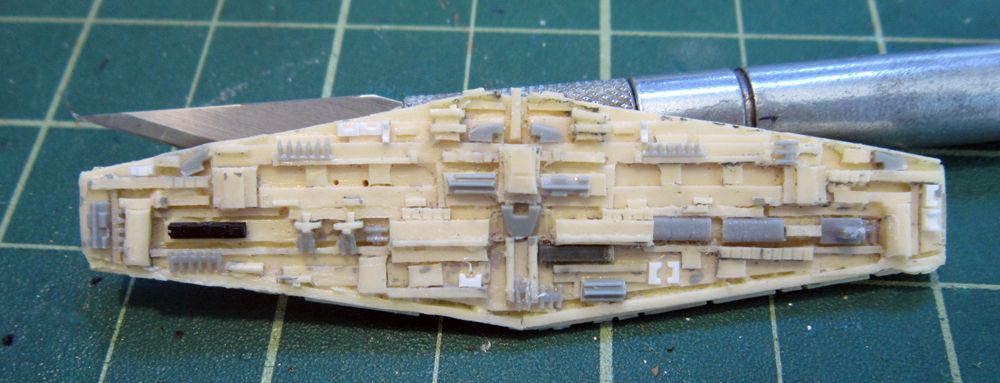
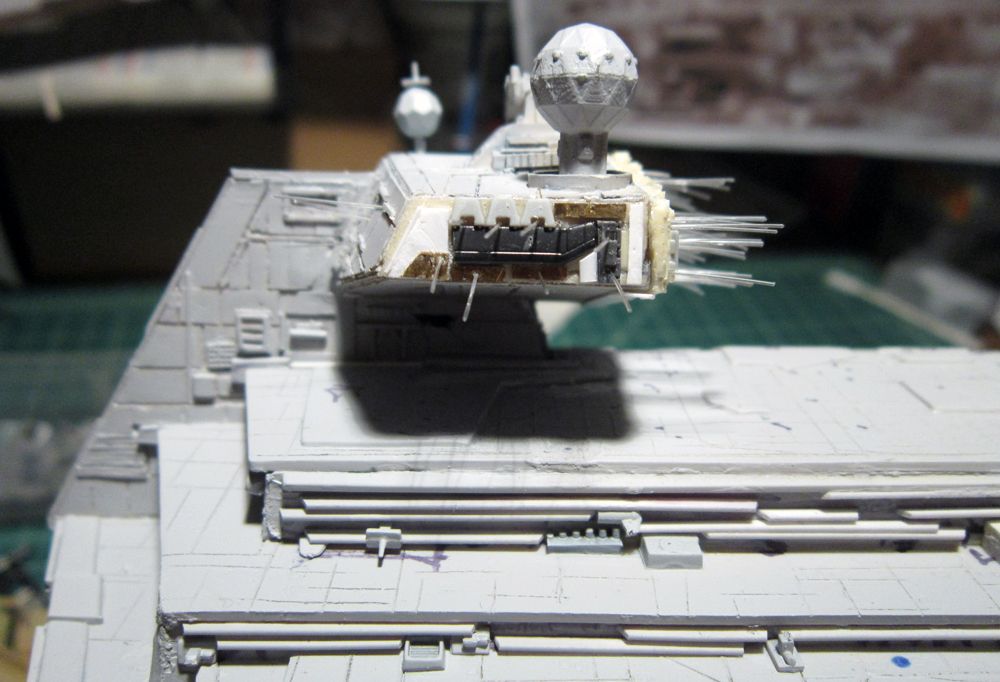
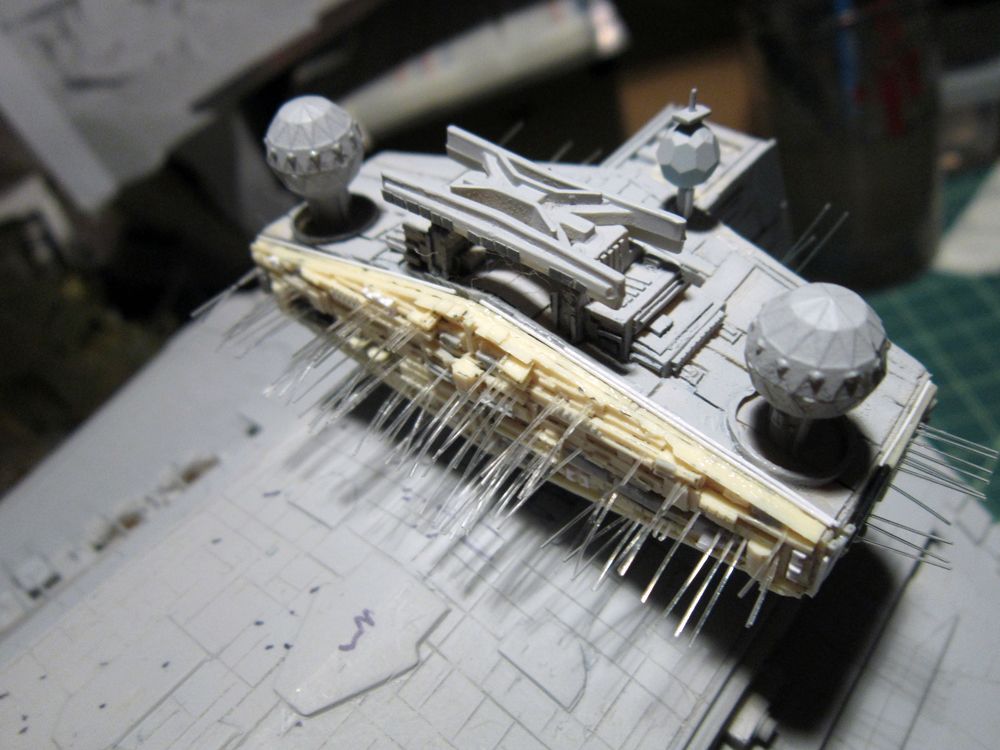
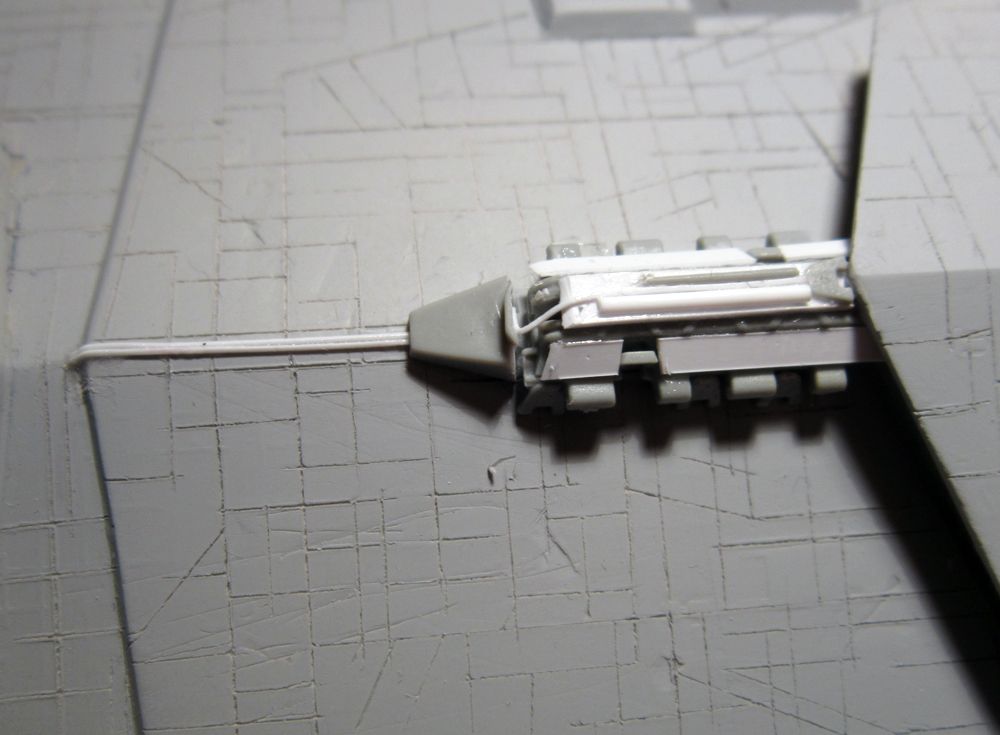
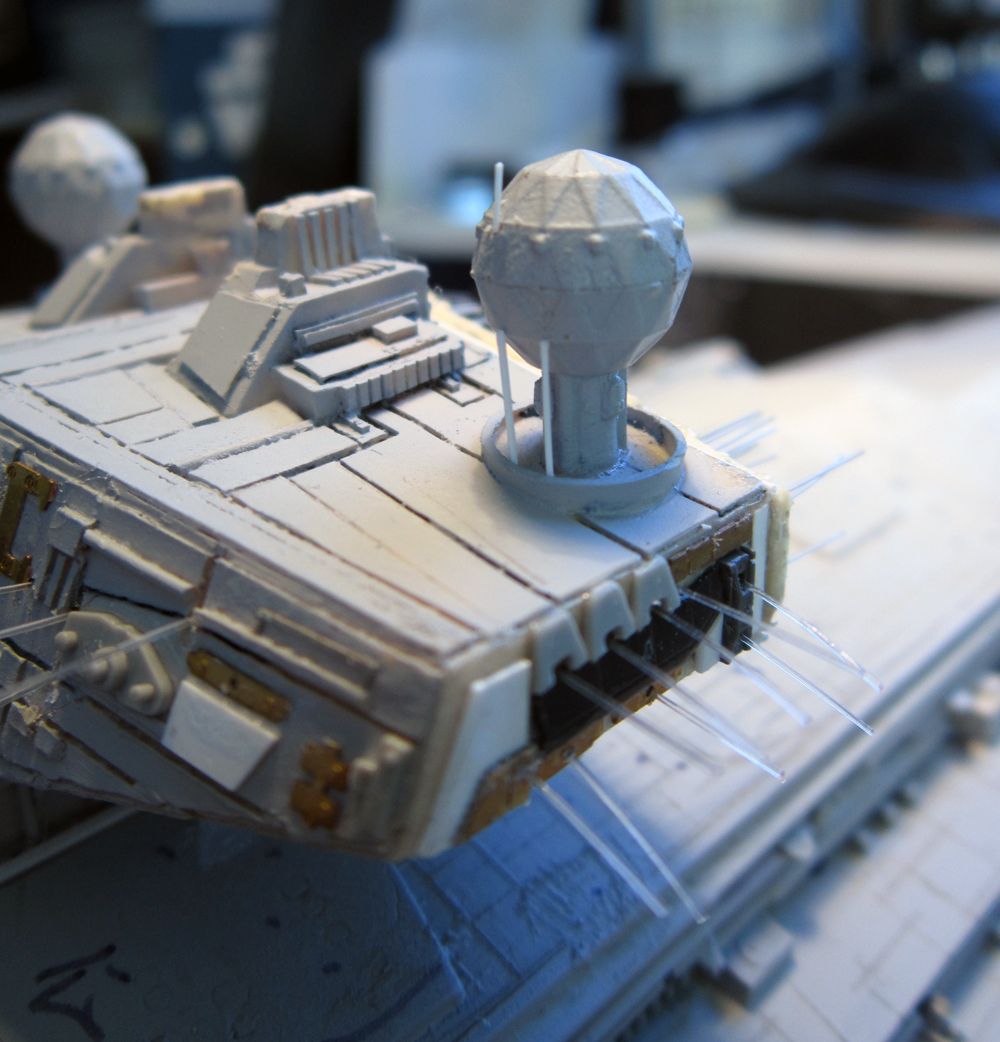
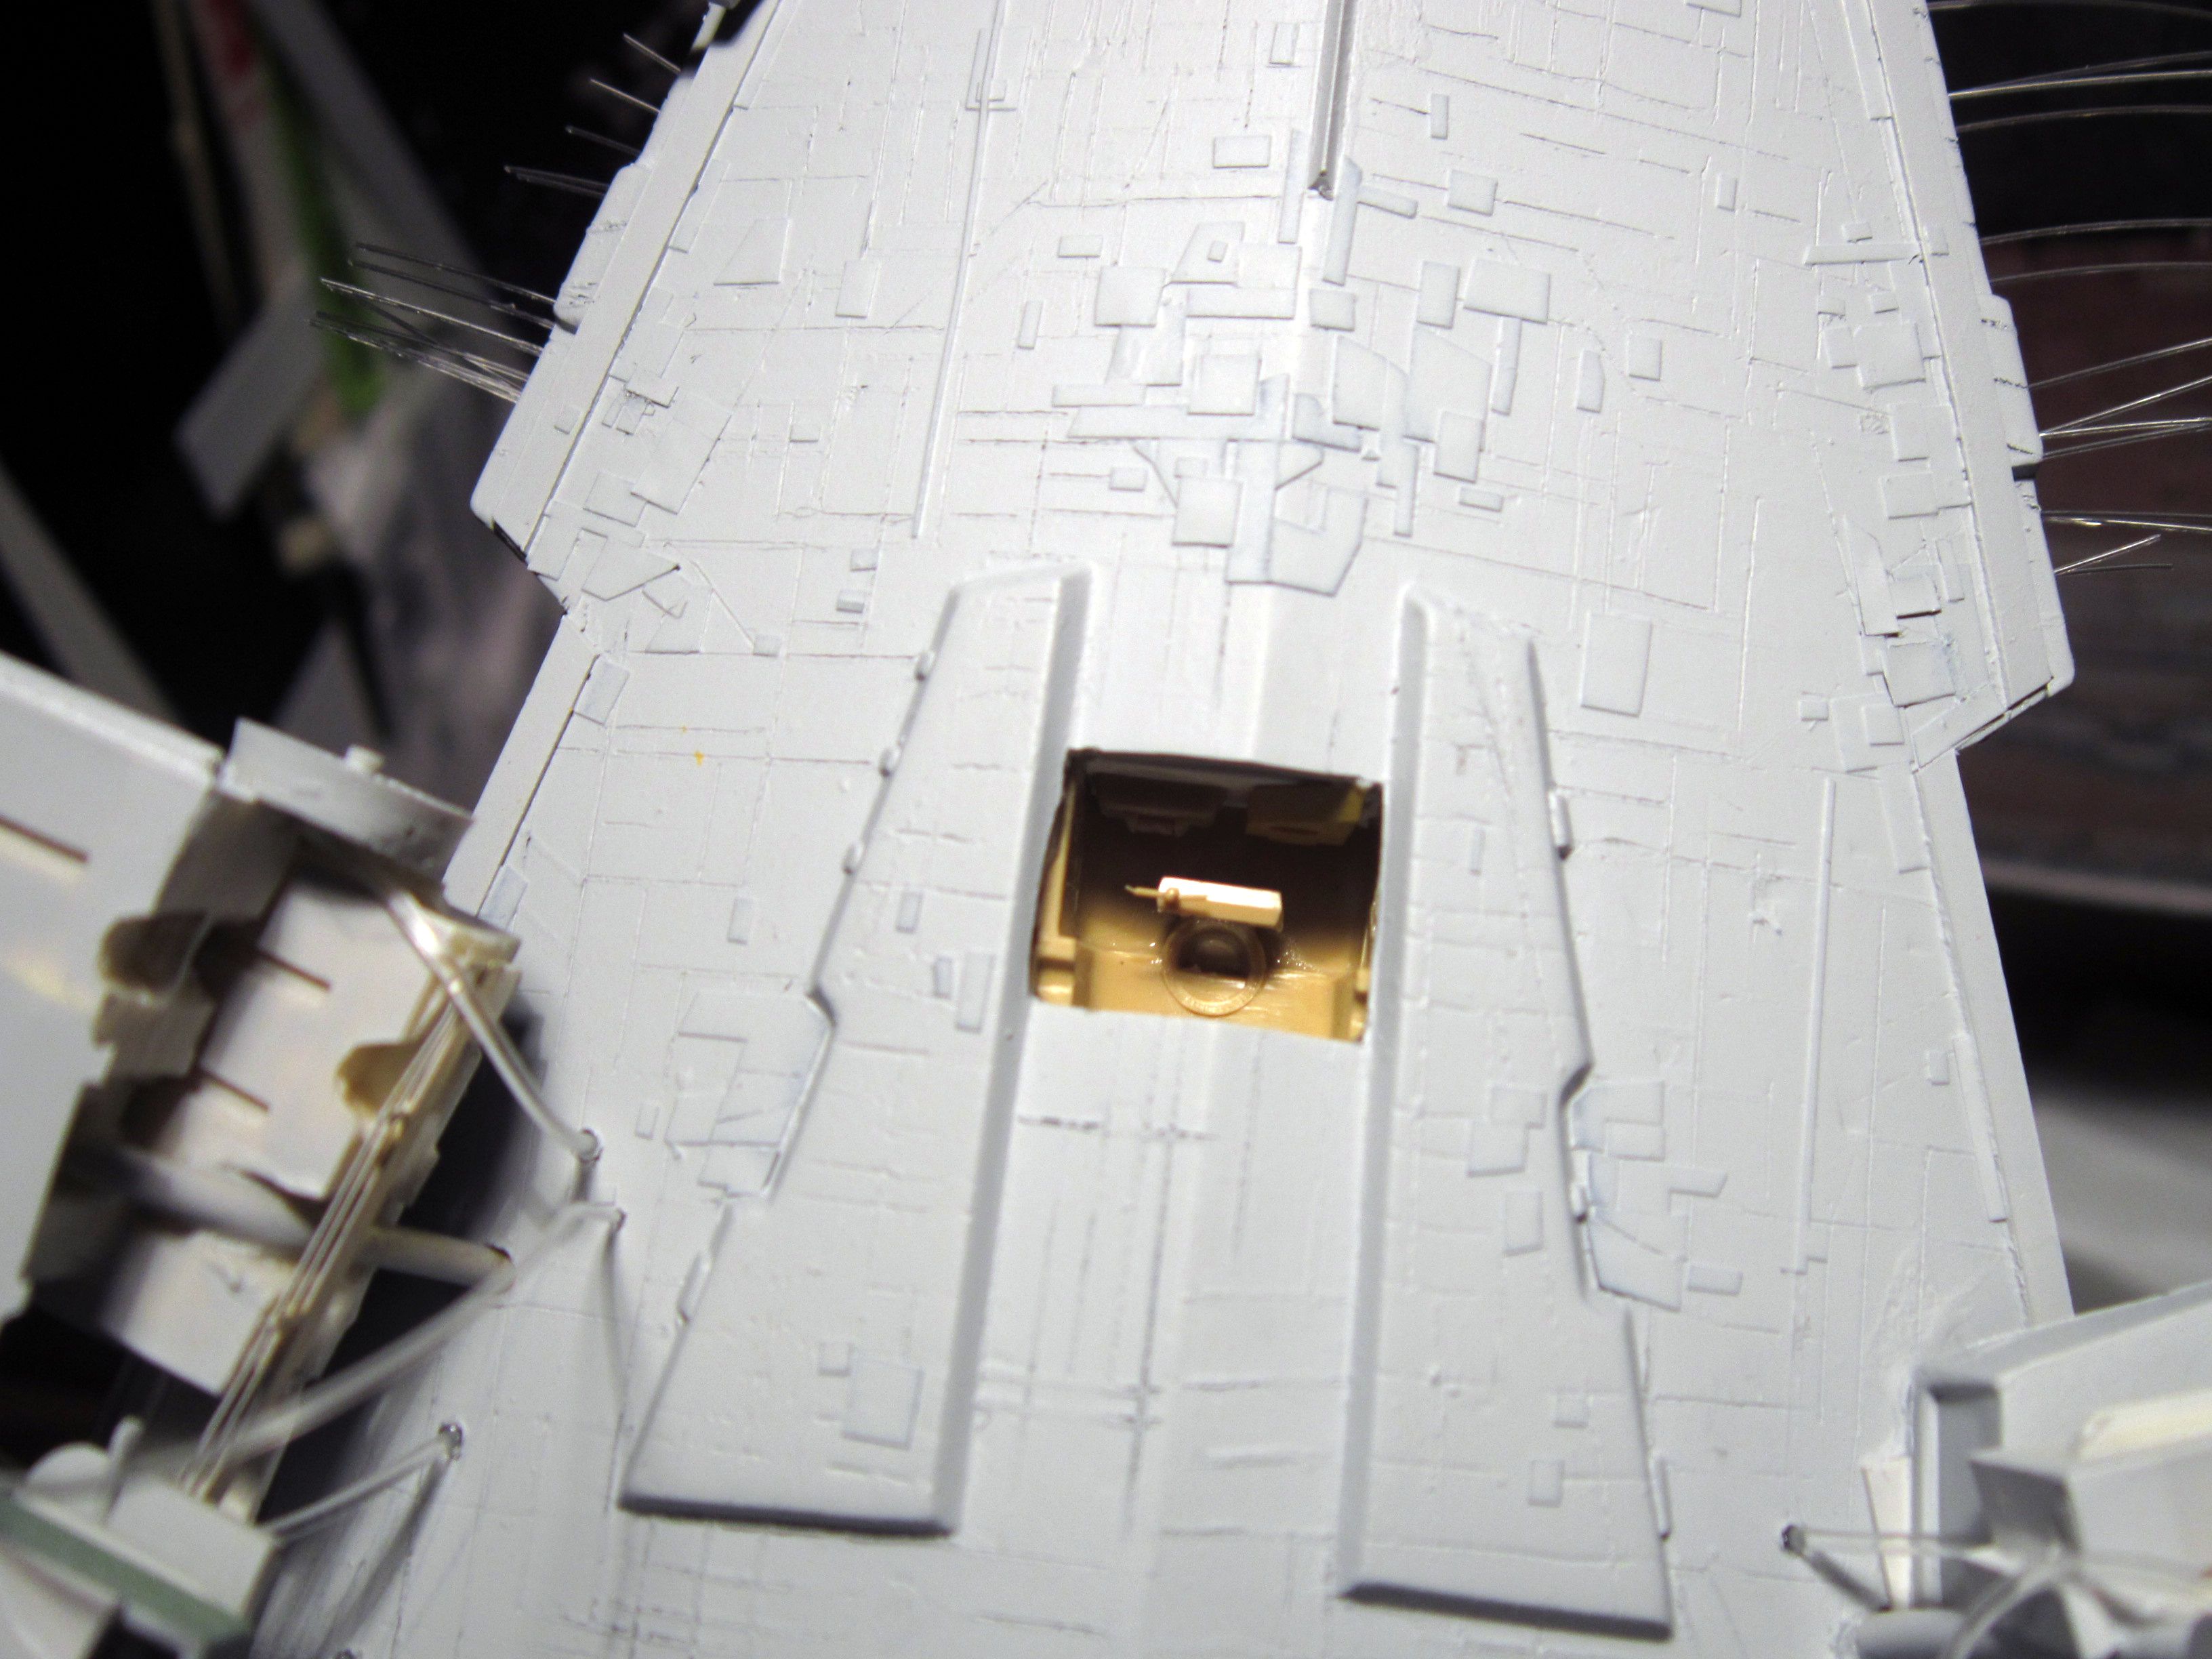
3. Detailed the front of the bridge to try and match the studio model better. The AMP part is pretty good in terms of the basic shapes of the details, but it was sorely in need of refinement.
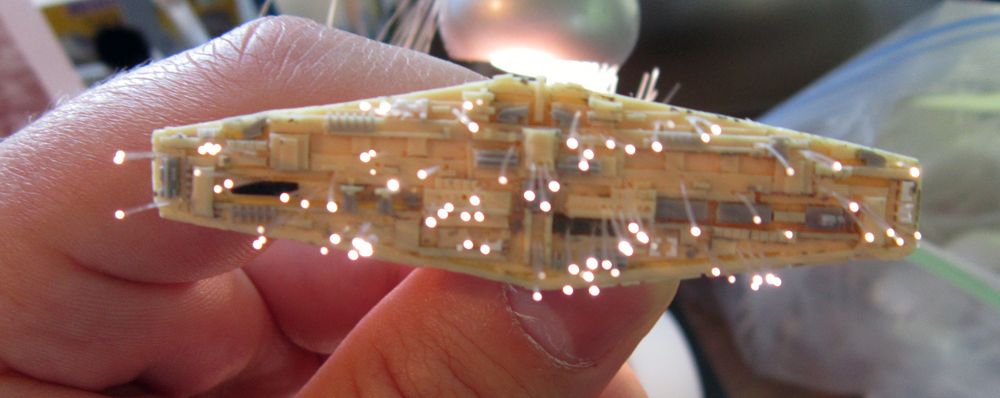
4. Place all the fibers on the bridge front. I don’t know how many there are but the studio model has upwards of 150+. It’s kind of hard to replicate that at this scale so I just made sure to get the basic areas and levels in. The only difference is that a row may have 4-6 fibers as opposed to 8-10 compared to the studio model.
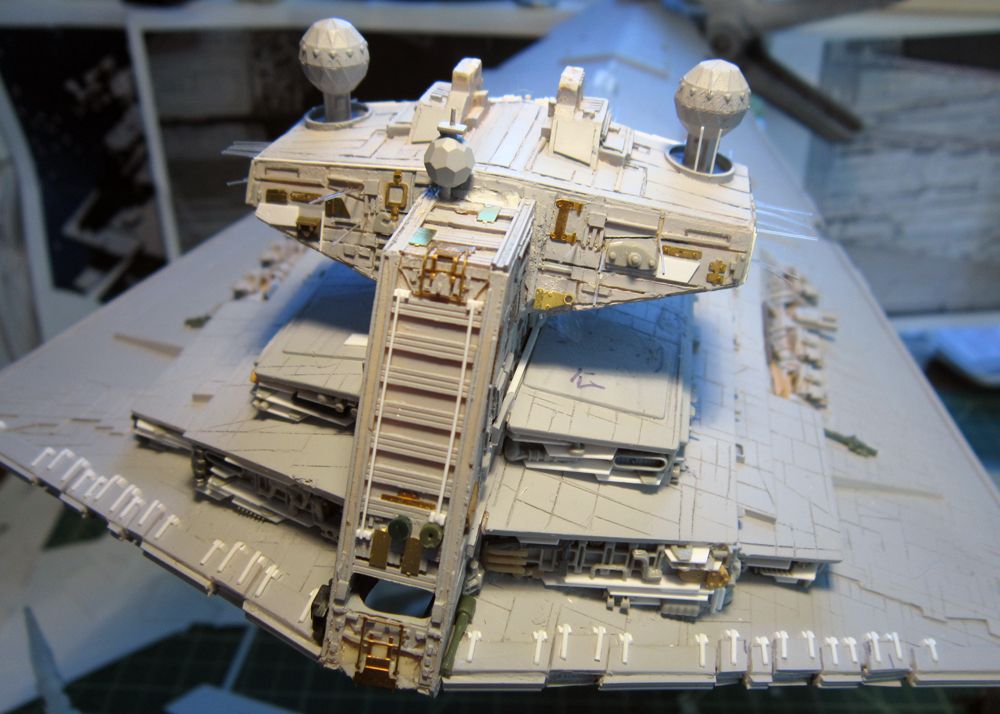
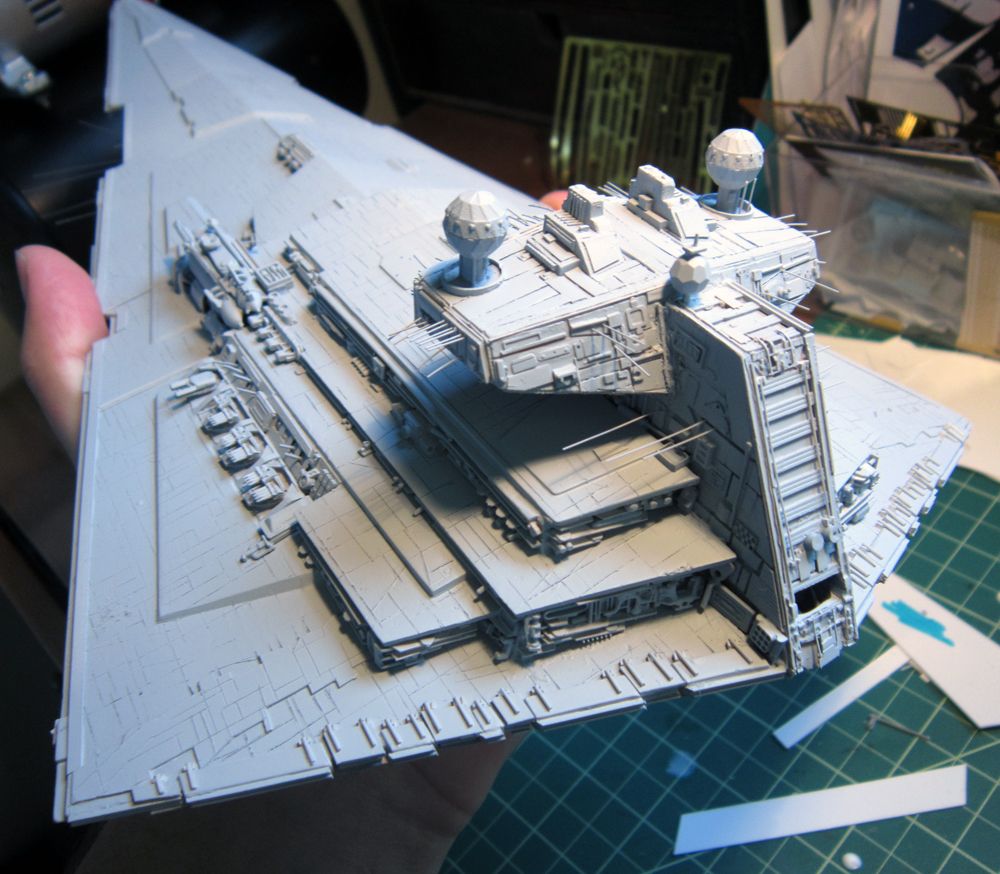
5. Filed down and added new details to the sides of the bridge. They’re not totally accurate but they work. Call it a “Terrik rehab jobâ€.
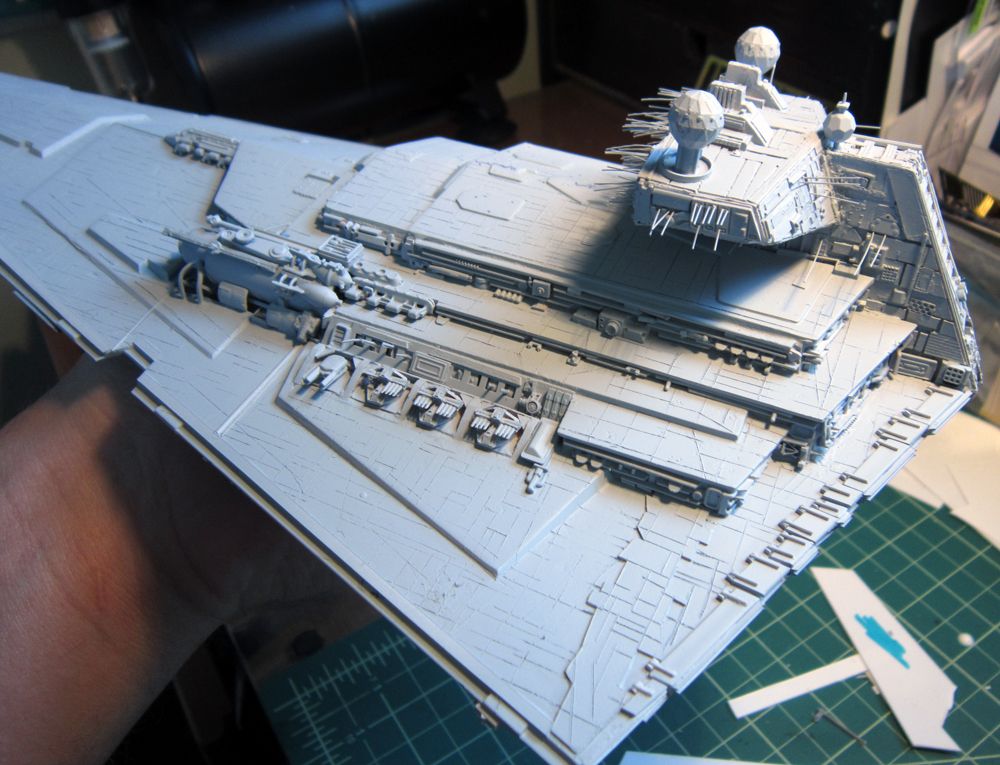
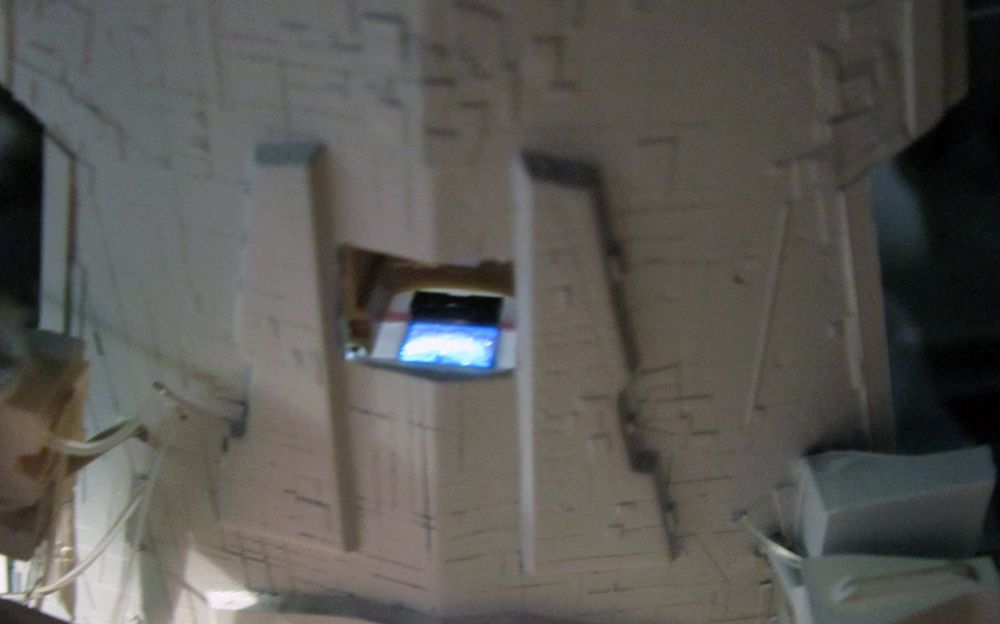
6. Place the turrets. Halcyon hooked me up with his extras and while there were only 4 intact and 2 broken ones, I made up for it with some cannabalized parts from Moebius’s BSG.
7. Added some more greeblies around the Darksaber weapon and on the 2nd tier prow.
8. The bridge face didn’t exactly sit tight on the housing so some strip styrene was used to cover some of the gaps. A few more pieces will be added here and there to finish that area up.
9. I couldn’t resist tossing a coat of primer on the upper hull. It just really ties the room together…