nicholassagan
sippin on gin + juice
- Joined
- Dec 28, 2011
- Messages
- 2,013
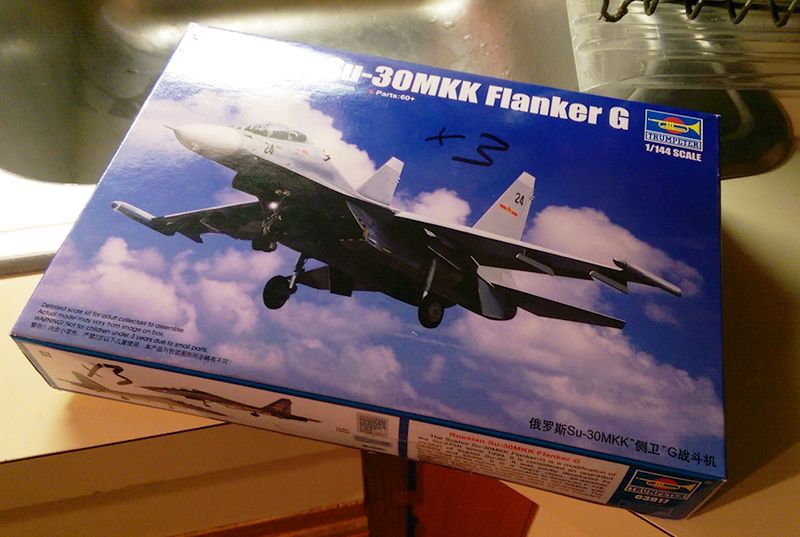
While I’ve been drilling windows for a commission and waiting to get back into the paint booth, I was buggered into digging into a couple more quick kits: Trumpeter’s new 1/144 Su-30MKK and Pit Road’s 1/144 PAK FA T-50.
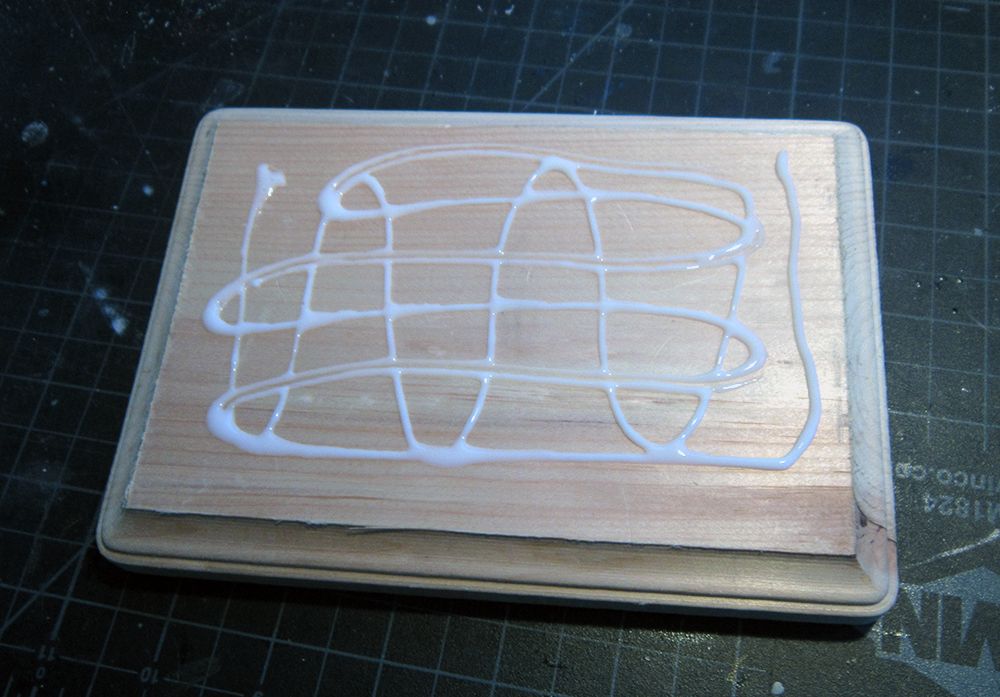
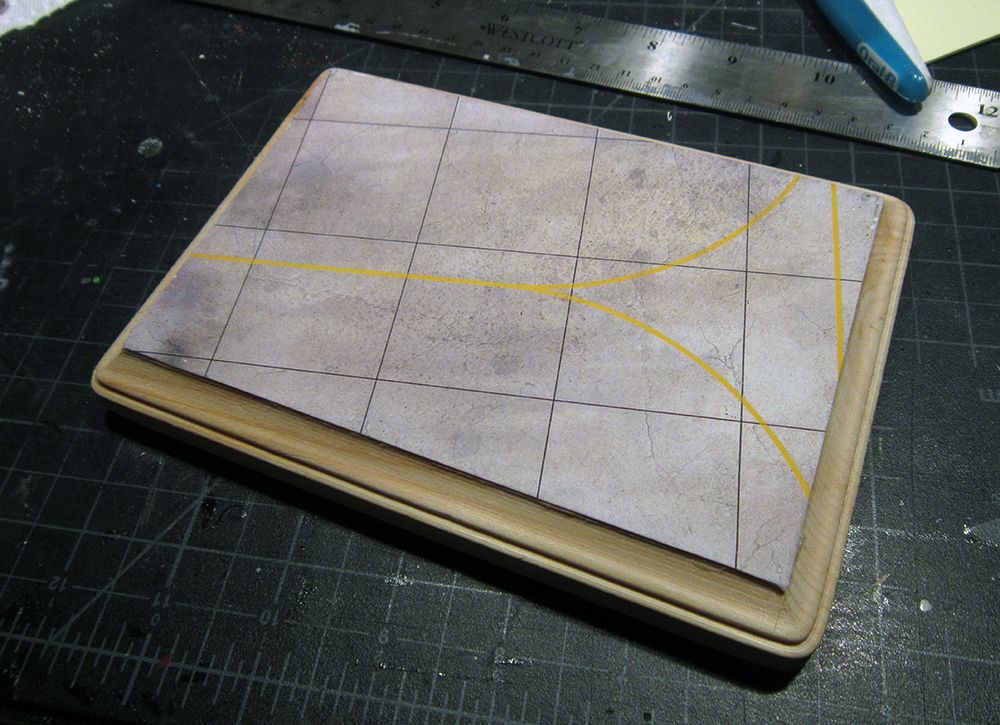
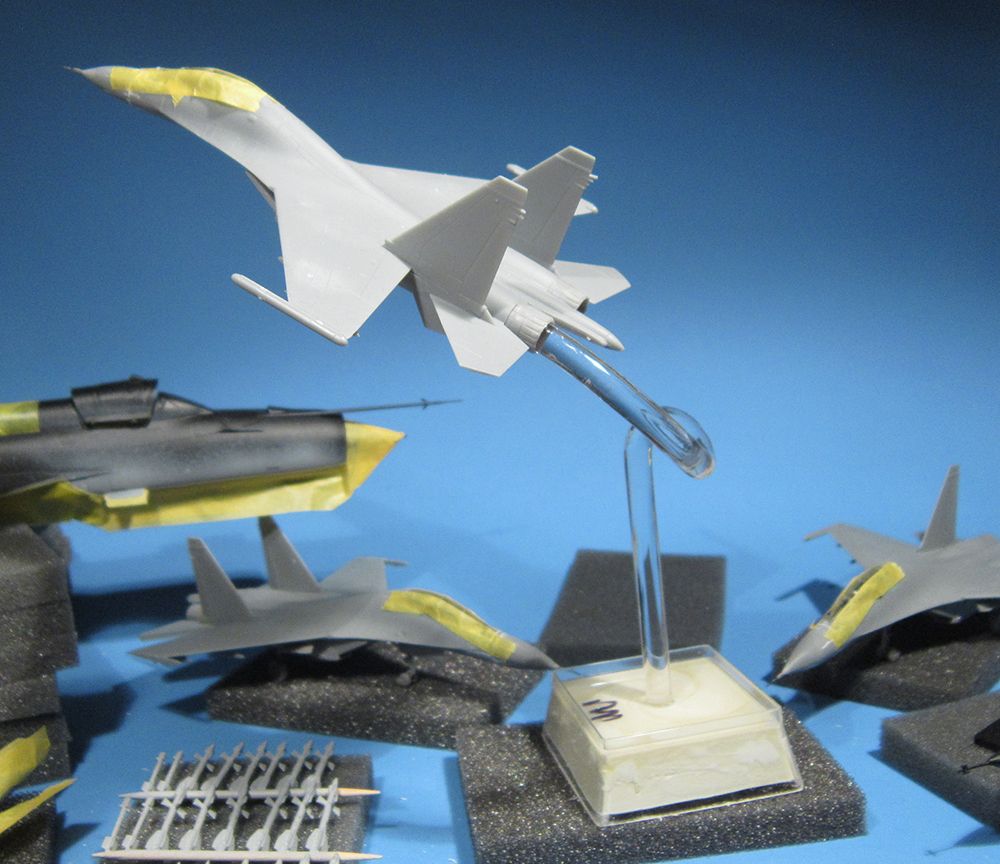
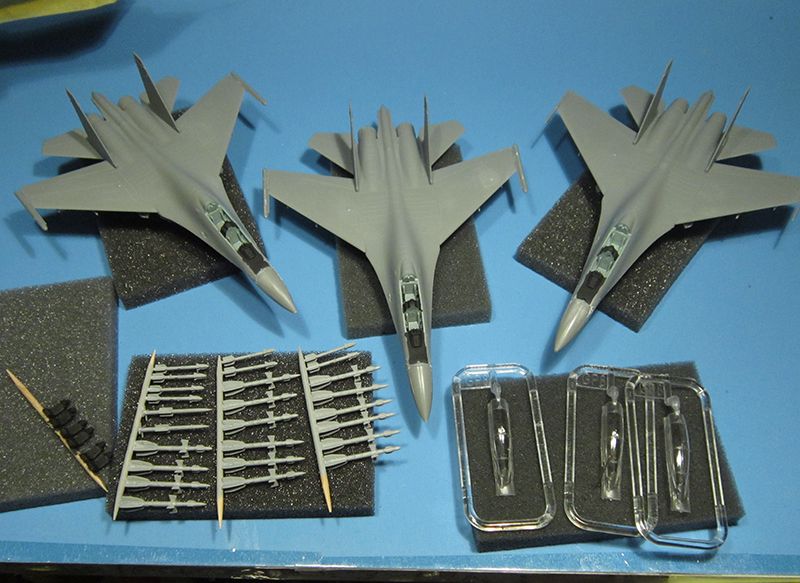
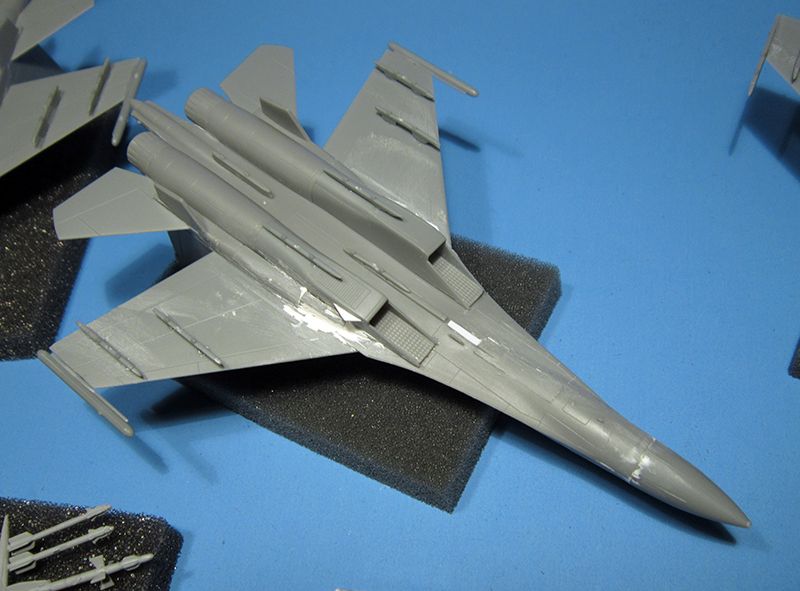
The Su-30MKKs are going to be split up, 2 will be each of the Chinese scheme variants while one will be a “what if†Ukranian bird. One of the Chinese birds will be in flight and the other landed along with the Ukrainian scheme. There will also be small bases with tarmacs to round out a little display.
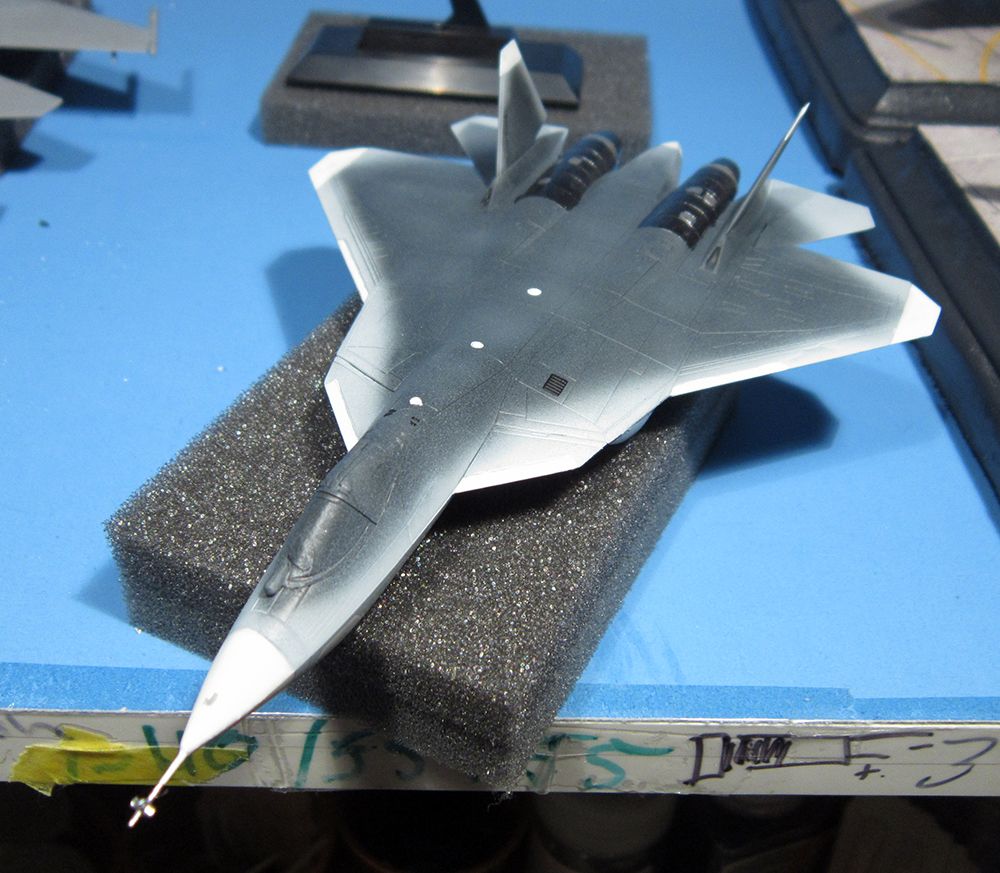
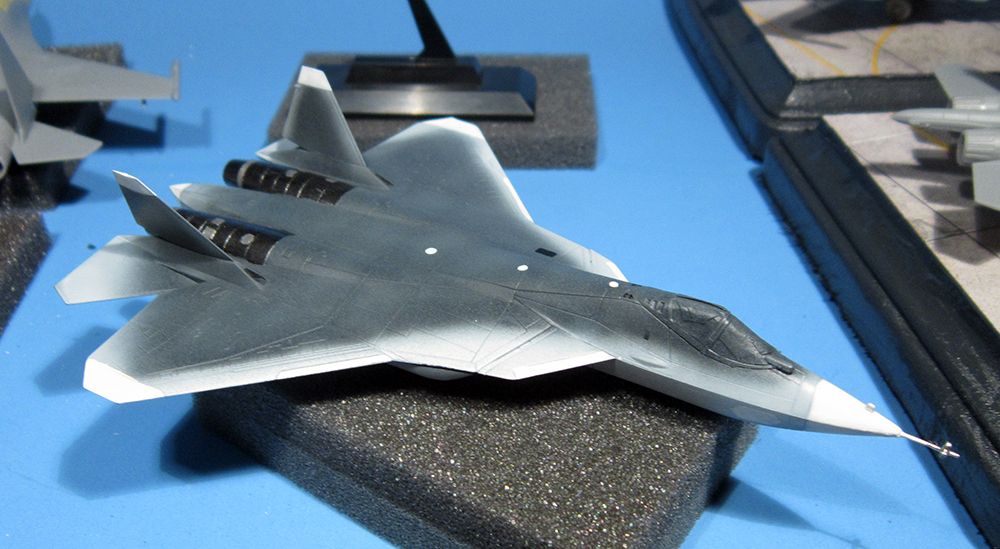
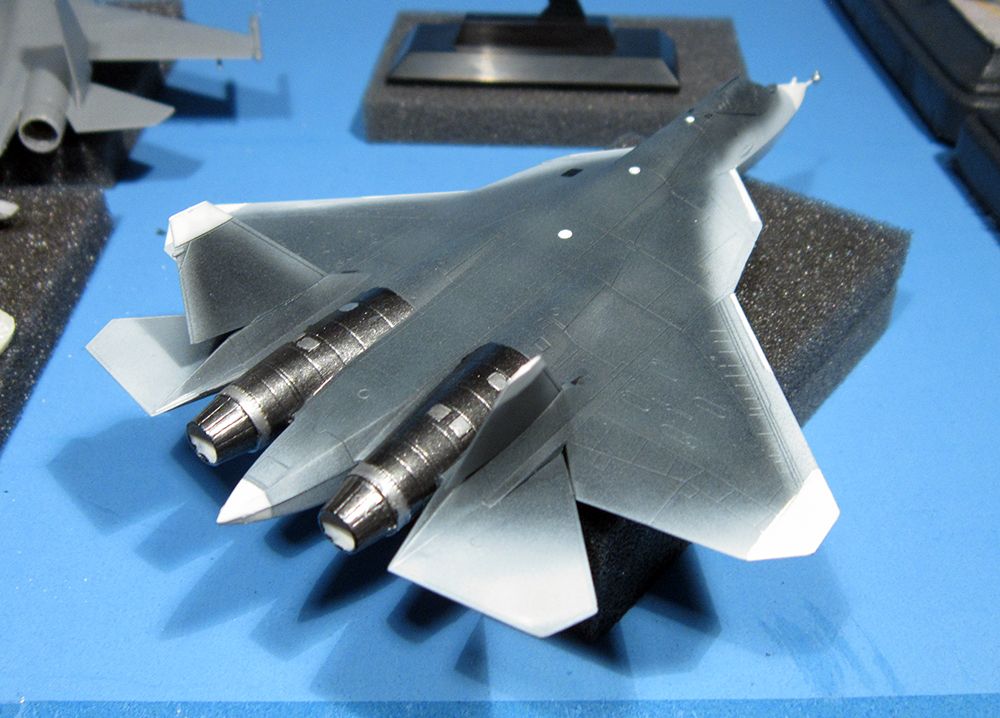
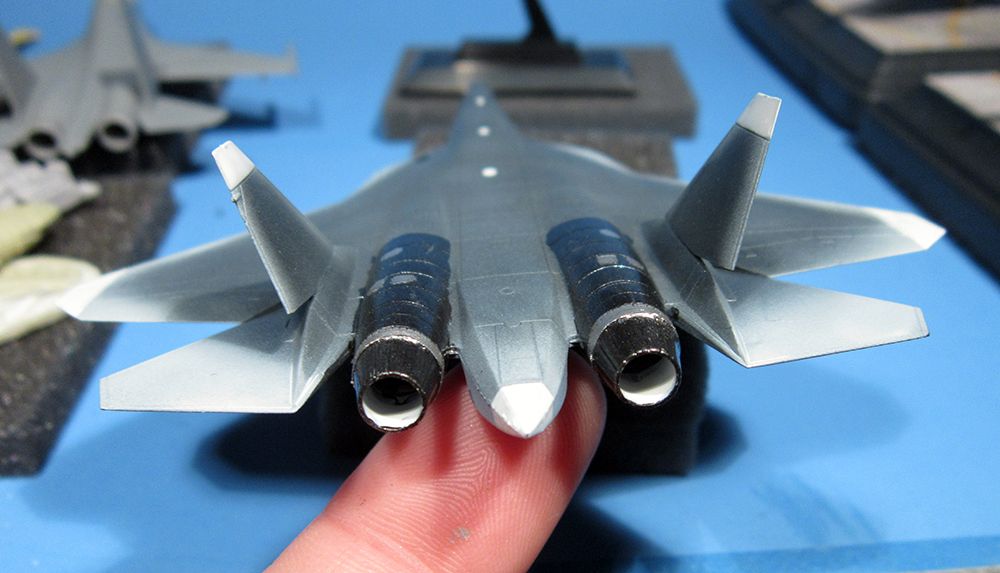
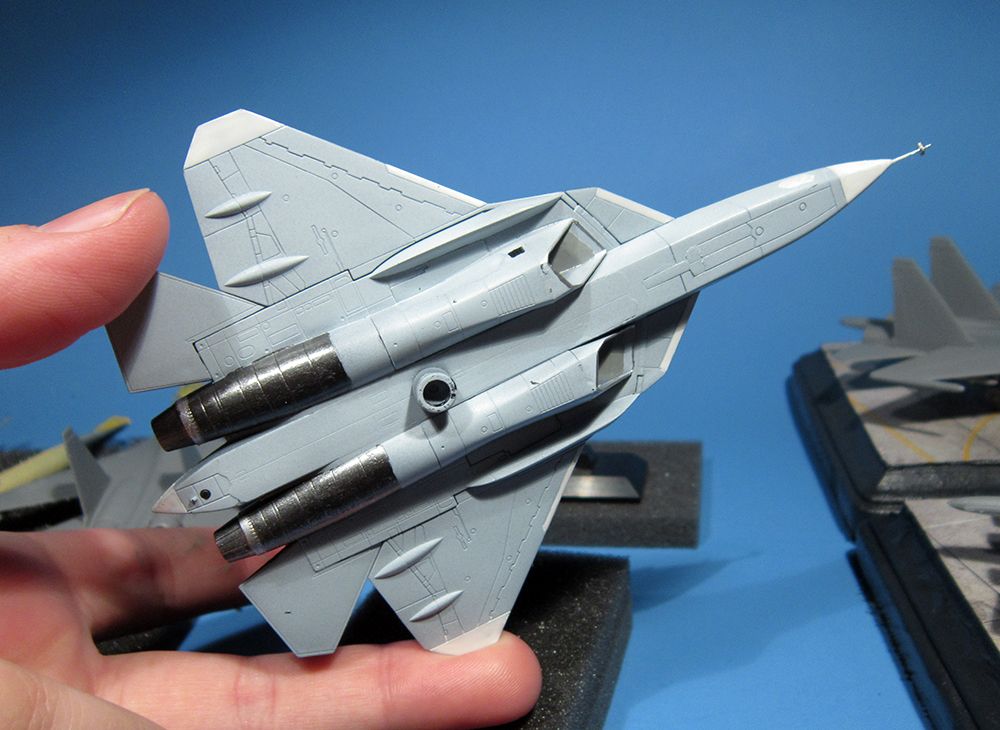
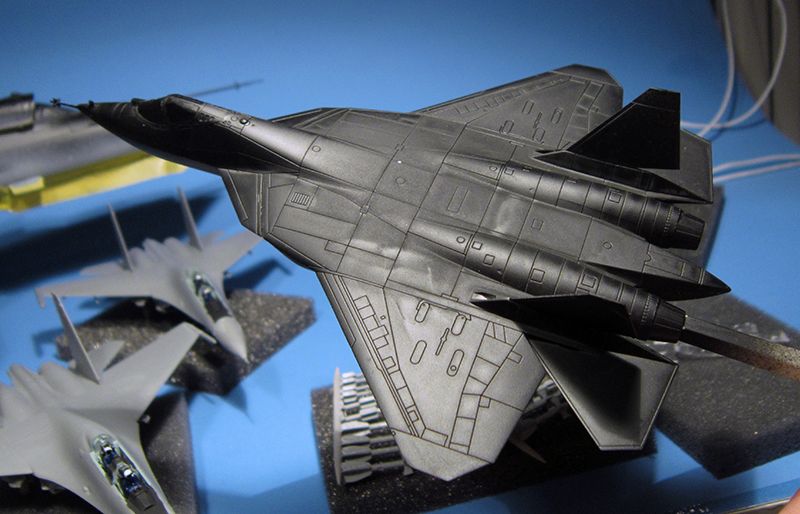
The T-50 will be done in the newer ‘Bort 55′ scheme, which suffered a catastrophic fire on the tarmac a year or so ago. It’s an easier scheme to paint free hand and I’m excited to give it a shot. It will also be in the flight position. She built up so quickly she’s already in primer!
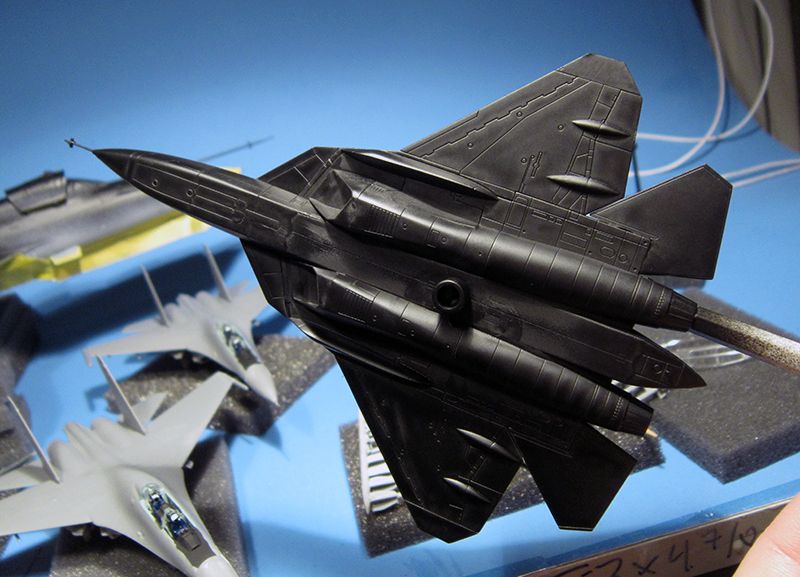
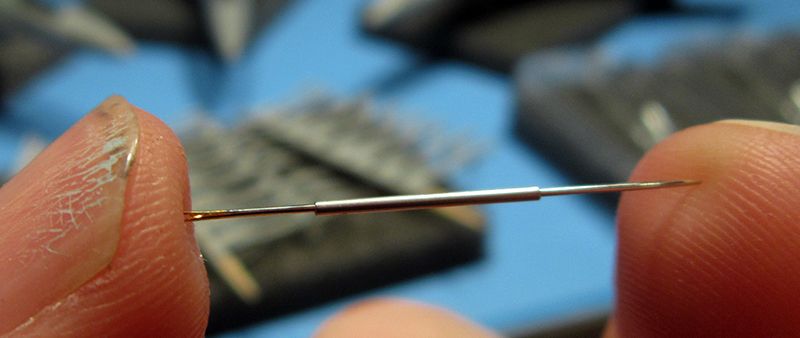
All the kits go together really well. The T-50 is practically a snap fit. Trumpeter has maintained it’s ease of build with these new 144 offerings as well. However, there are a couple of outstanding issues that were fixed: a new pitot for all four jets; the Flankers’ pitots were made with a syringe tube and sewing needle (seam filled with super glue and sanded) and the T-50’s was made with a drill bit.
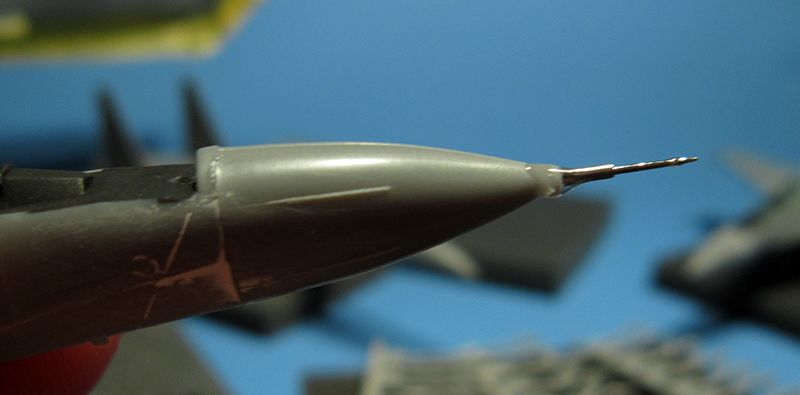
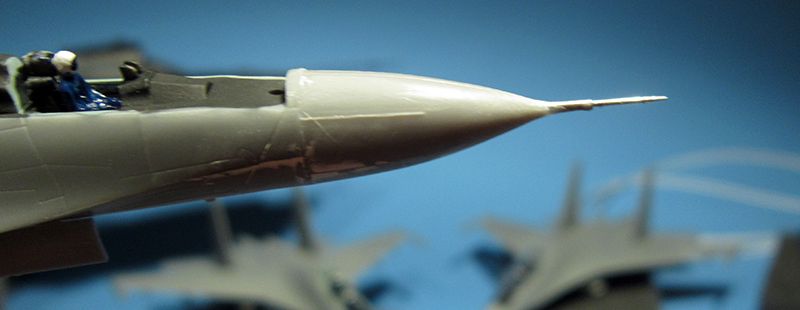
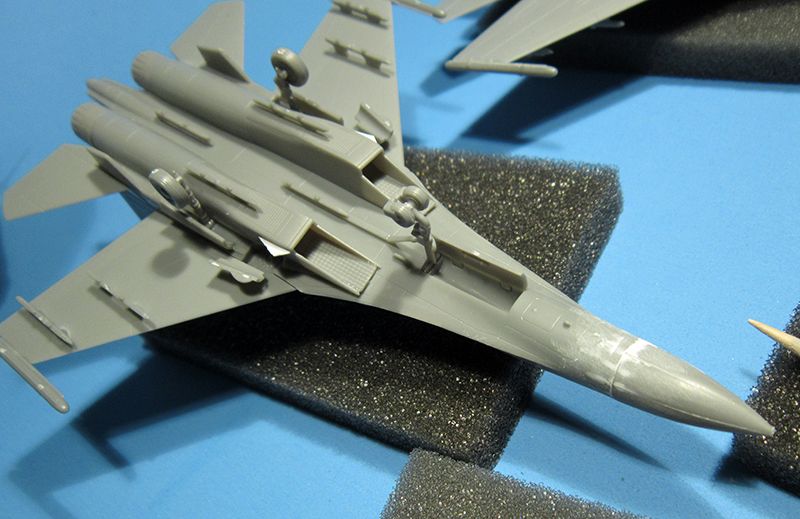
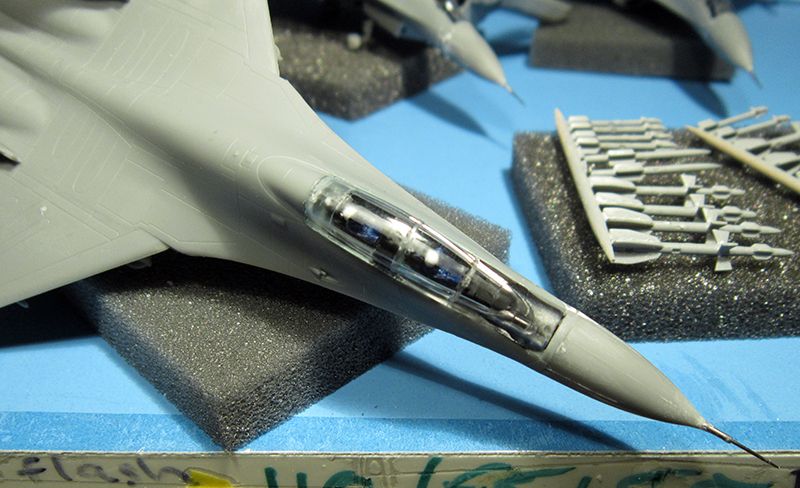
The radomes for each of the Flankers also needed some adjusting. Since they are meant to fit the previous toolings, some trimming on the inner lip is needed. The join with the main fuselage leaves a bit to be desired so some putty and sanding was required there as well. Also, I had to add the little fins that go on the lower outside of the intakes. Easy enough with a little plastic stock. The in-flight bird also needed some putty for the closed gear doors.

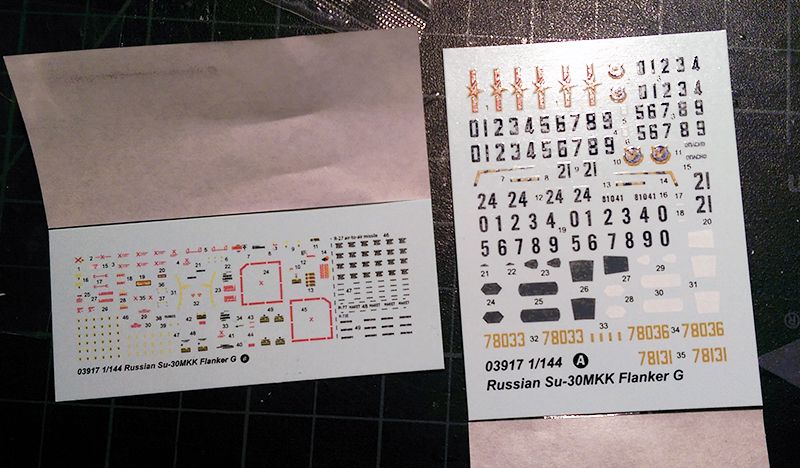
I gotta say, Trumpeter stepped it up a notch with the decals for these Flankers. Not only is there now a WHOLE sheet of stencils, they included COCKPIT decals. I know, only some of it is visible in this scale, but it makes a big difference. T-50 has no such luxury.
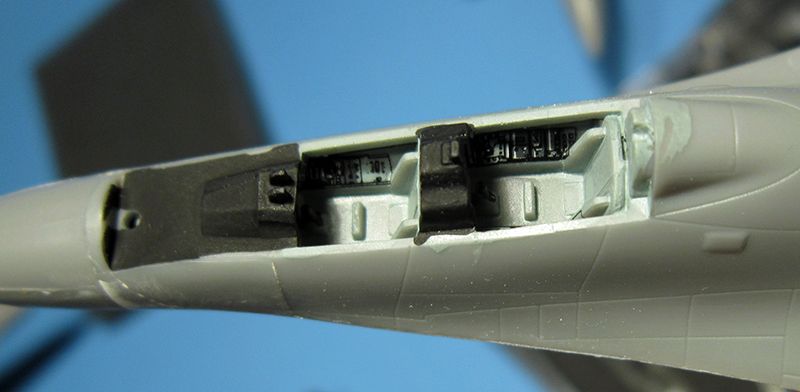

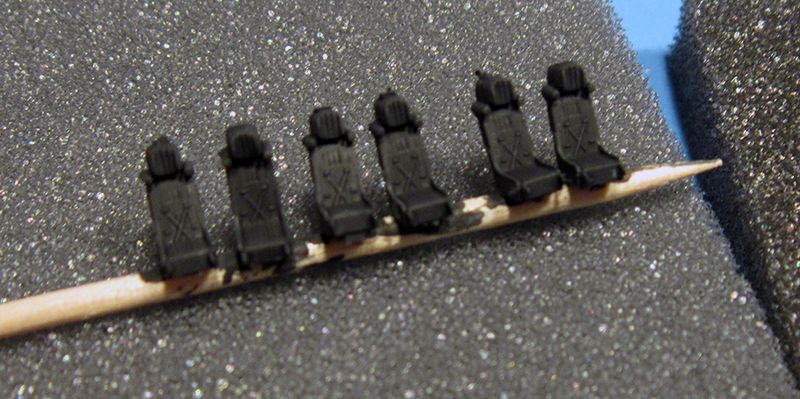
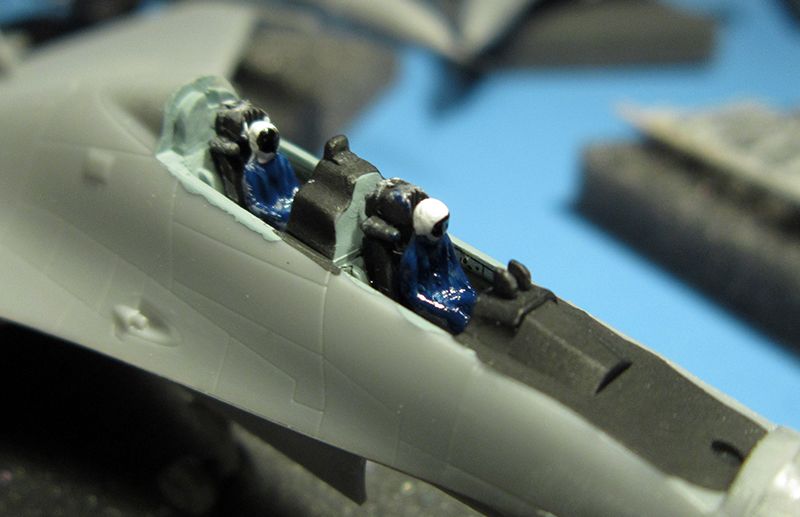
The trade off is that the T-50 includes 2 pilot figures. Alas, that’s not enough to fill the offices of the Flankers so I picked up some of OzMods modern pilots. Very basic but with a little paint they add some life.
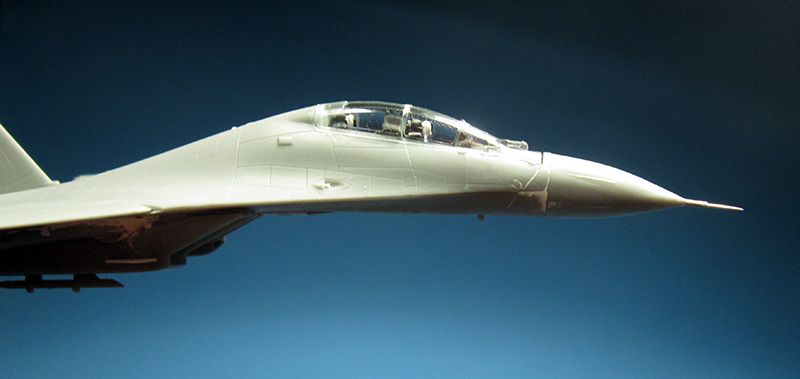
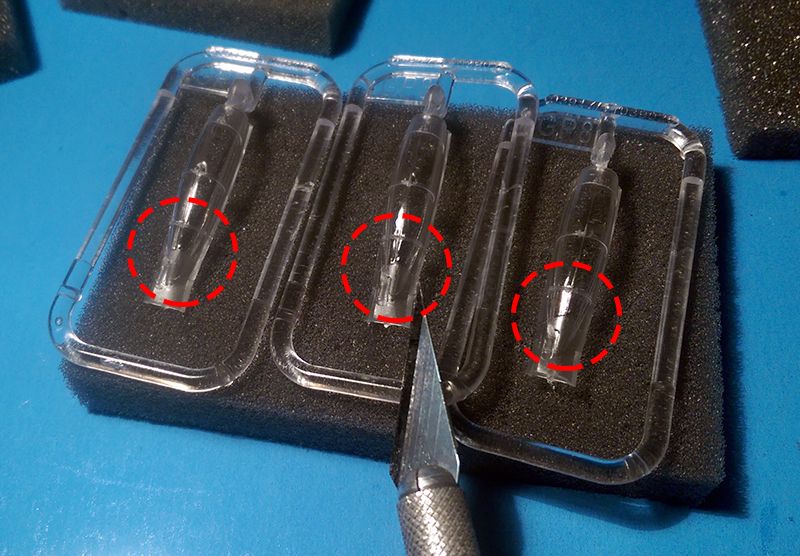
THE biggest pain with Flanker kits is fixing the canopies. These are no exception. There’s a nasty seam that runs down the middle that will need a lot of TLC…but there is also a factory tooling issue where the windscreen isn’t polished all the way to the front edge of the frame. Not sure what to do there…I’ve tried to contact Trumpeter through several channels, including the US distributor and nothing yet.

Either way, these are fun kits and pretty quick to bang out. Since they’re so easy it’s a little therapy session every time I sit down with them. Stay tuned.
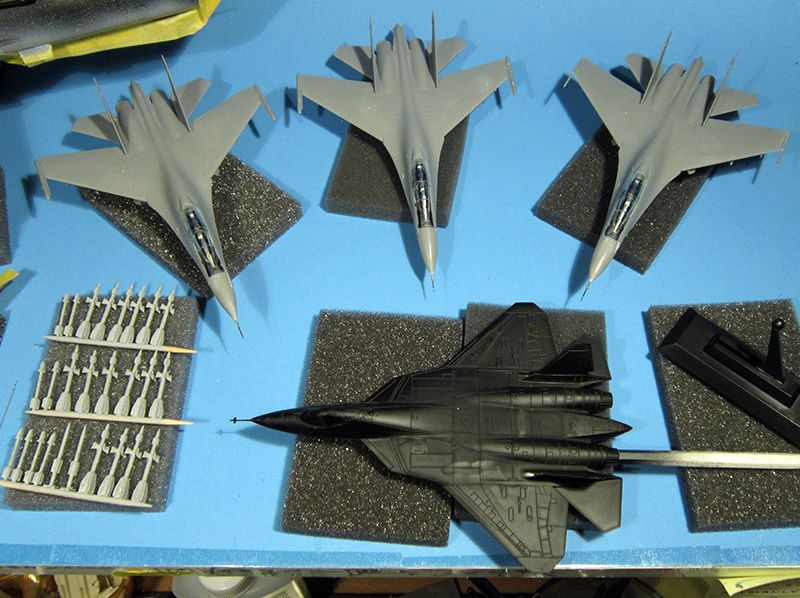
The Su-30MKKs are going to be split up, 2 will be each of the Chinese scheme variants while one will be a “what if†Ukranian bird. One of the Chinese birds will be in flight and the other landed along with the Ukrainian scheme. There will also be small bases with tarmacs to round out a little display.
The T-50 will be done in the newer ‘Bort 55′ scheme, which suffered a catastrophic fire on the tarmac a year or so ago. It’s an easier scheme to paint free hand and I’m excited to give it a shot. It will also be in the flight position. She built up so quickly she’s already in primer!
All the kits go together really well. The T-50 is practically a snap fit. Trumpeter has maintained it’s ease of build with these new 144 offerings as well. However, there are a couple of outstanding issues that were fixed: a new pitot for all four jets; the Flankers’ pitots were made with a syringe tube and sewing needle (seam filled with super glue and sanded) and the T-50’s was made with a drill bit.
The radomes for each of the Flankers also needed some adjusting. Since they are meant to fit the previous toolings, some trimming on the inner lip is needed. The join with the main fuselage leaves a bit to be desired so some putty and sanding was required there as well. Also, I had to add the little fins that go on the lower outside of the intakes. Easy enough with a little plastic stock. The in-flight bird also needed some putty for the closed gear doors.
I gotta say, Trumpeter stepped it up a notch with the decals for these Flankers. Not only is there now a WHOLE sheet of stencils, they included COCKPIT decals. I know, only some of it is visible in this scale, but it makes a big difference. T-50 has no such luxury.
The trade off is that the T-50 includes 2 pilot figures. Alas, that’s not enough to fill the offices of the Flankers so I picked up some of OzMods modern pilots. Very basic but with a little paint they add some life.
THE biggest pain with Flanker kits is fixing the canopies. These are no exception. There’s a nasty seam that runs down the middle that will need a lot of TLC…but there is also a factory tooling issue where the windscreen isn’t polished all the way to the front edge of the frame. Not sure what to do there…I’ve tried to contact Trumpeter through several channels, including the US distributor and nothing yet.
Either way, these are fun kits and pretty quick to bang out. Since they’re so easy it’s a little therapy session every time I sit down with them. Stay tuned.
")