nicholassagan
sippin on gin + juice
- Joined
- Dec 28, 2011
- Messages
- 2,013
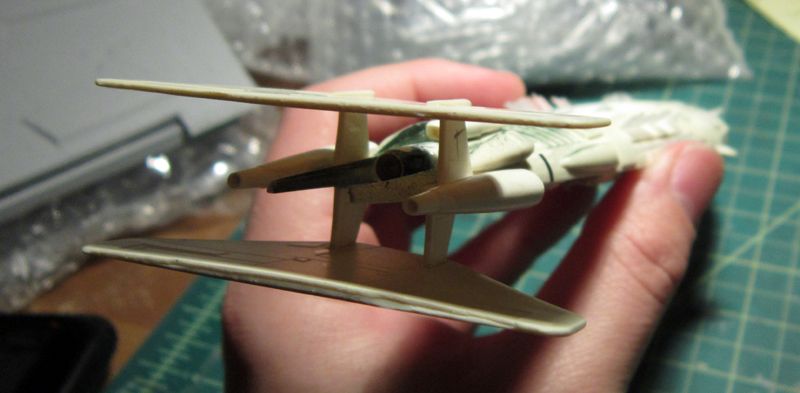
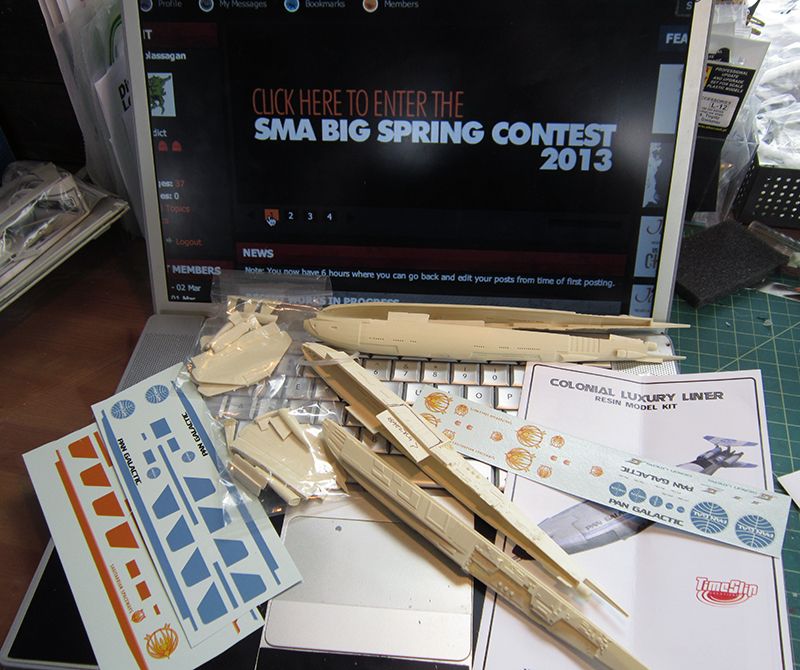
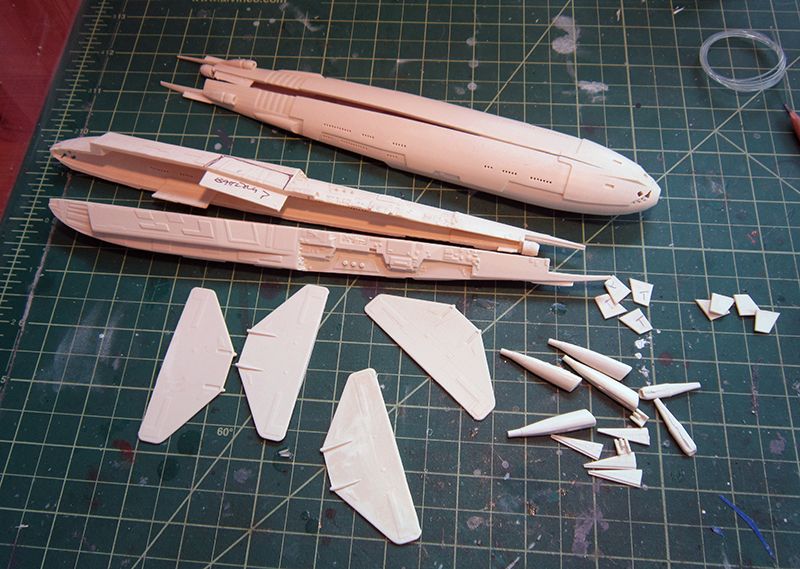
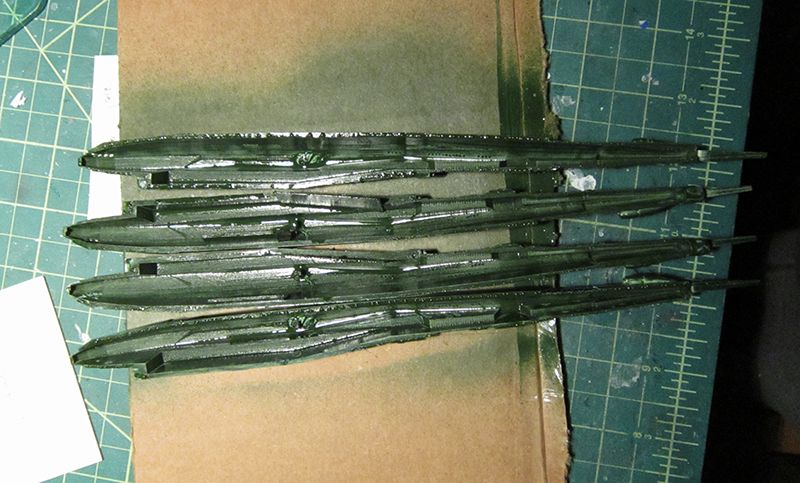
timeslip's 1/1000 olympic carrier from battlestar galactica. these are being built as a set on the same stand. not quite a dio but not a single ship...so i'm not sure what category...hopefully sci-fi will be ok so i've ponied up the entry fee for two kits, just to be sure. either way, they're together for now...and yes, i can always take pictures of them on their own...
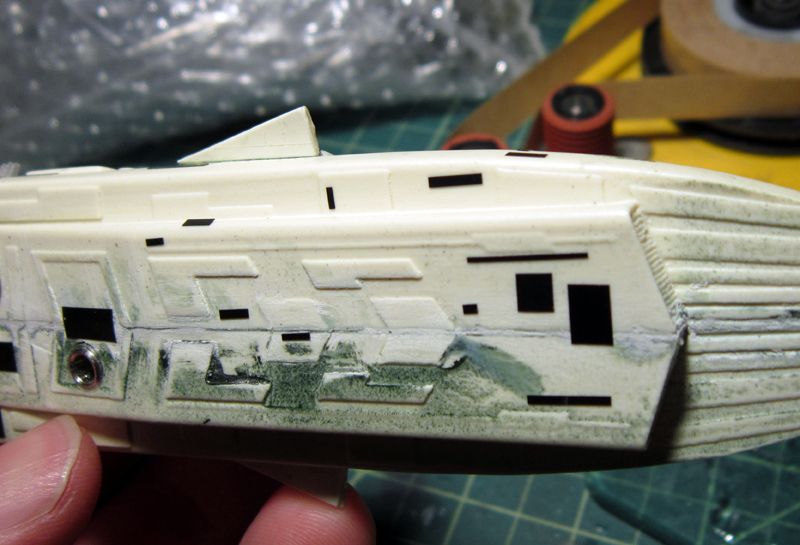
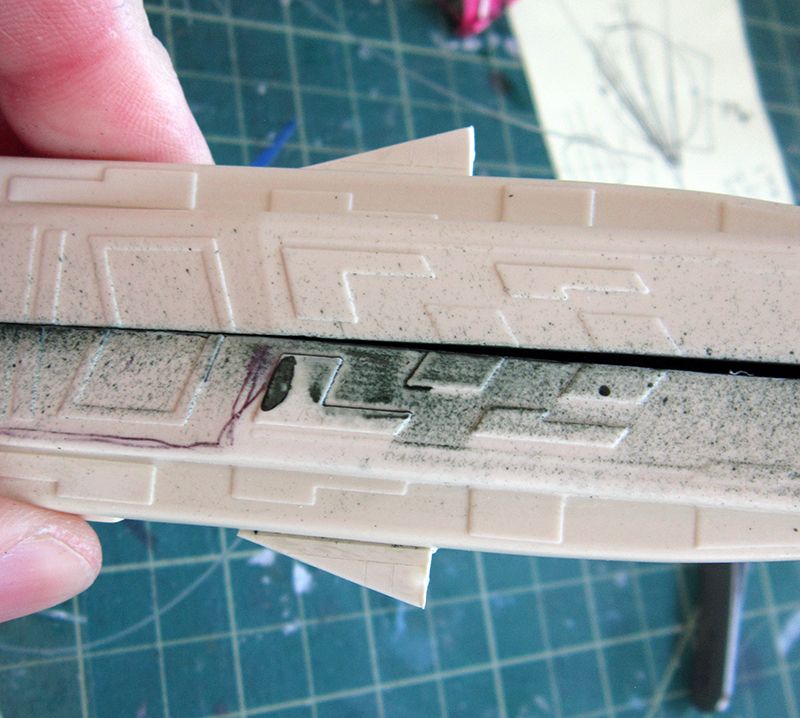
filed window openings so i can fill them in with clear resin-ish material...
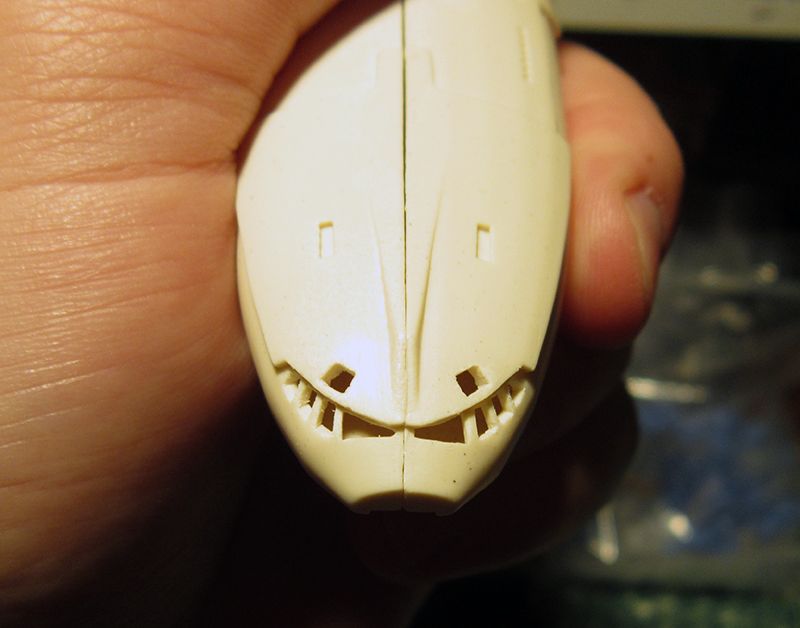
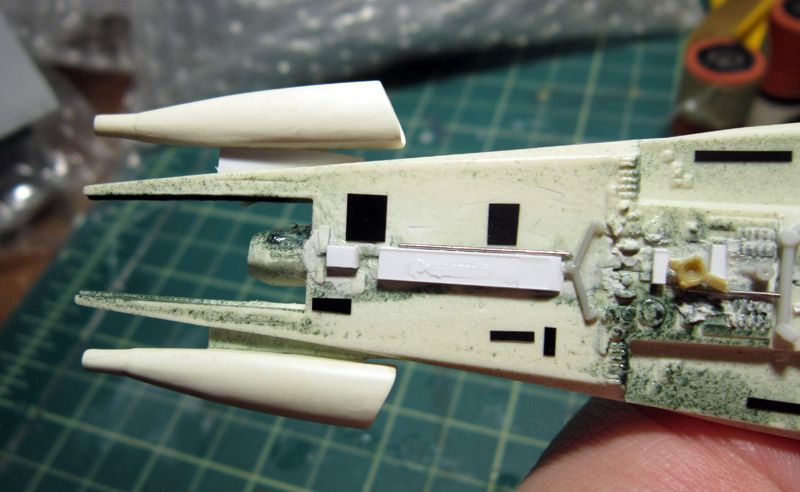
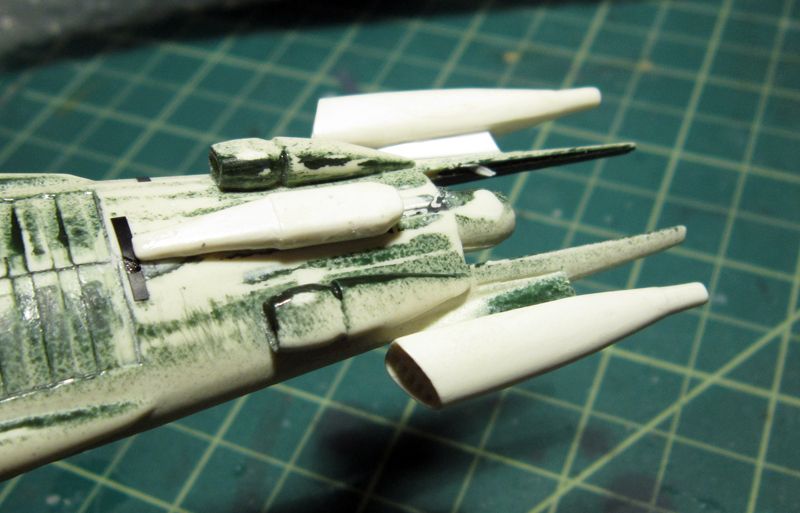
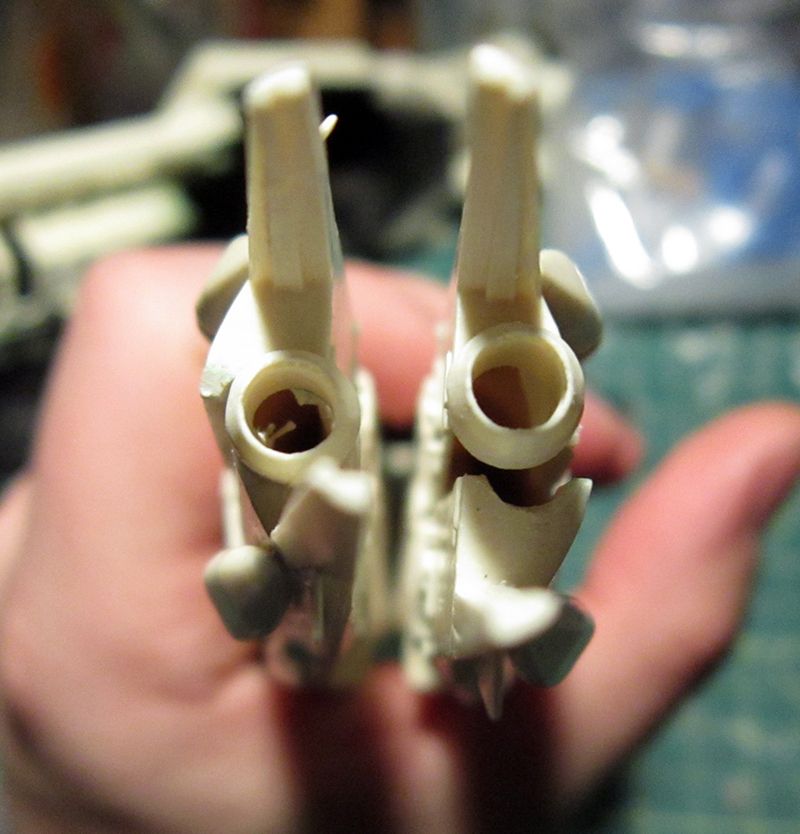
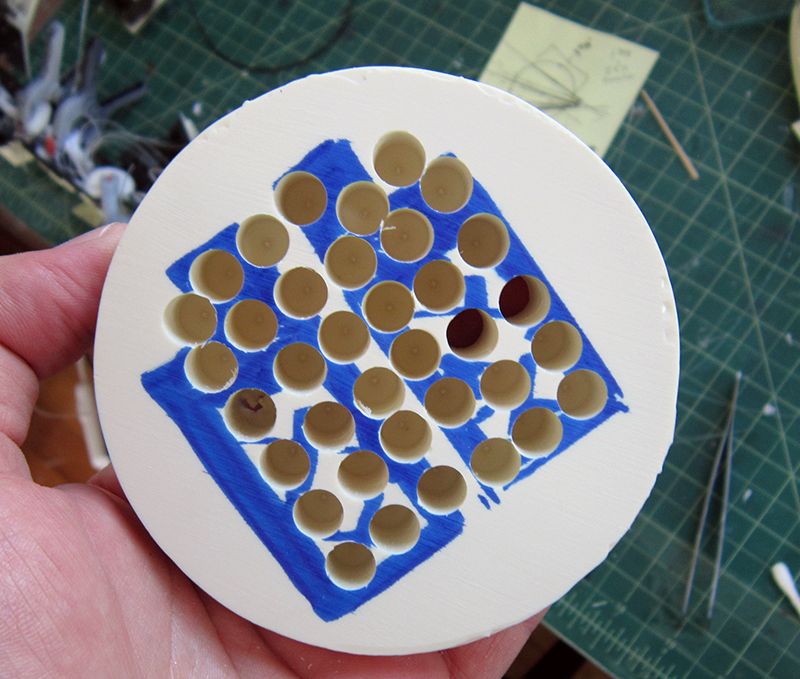
engines drilled out

windows drilled


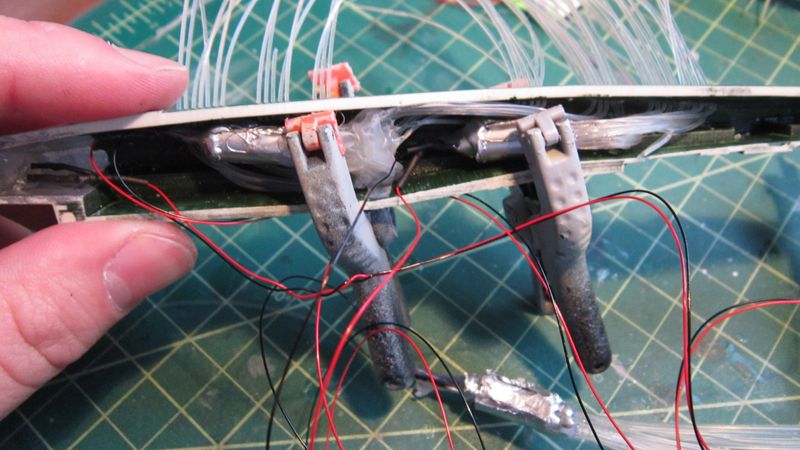
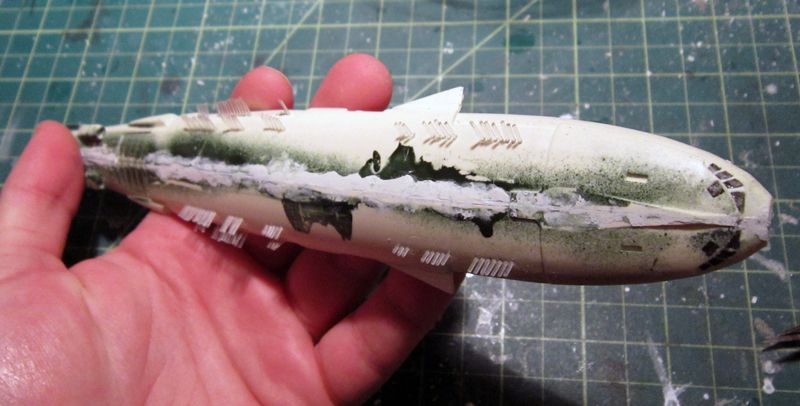
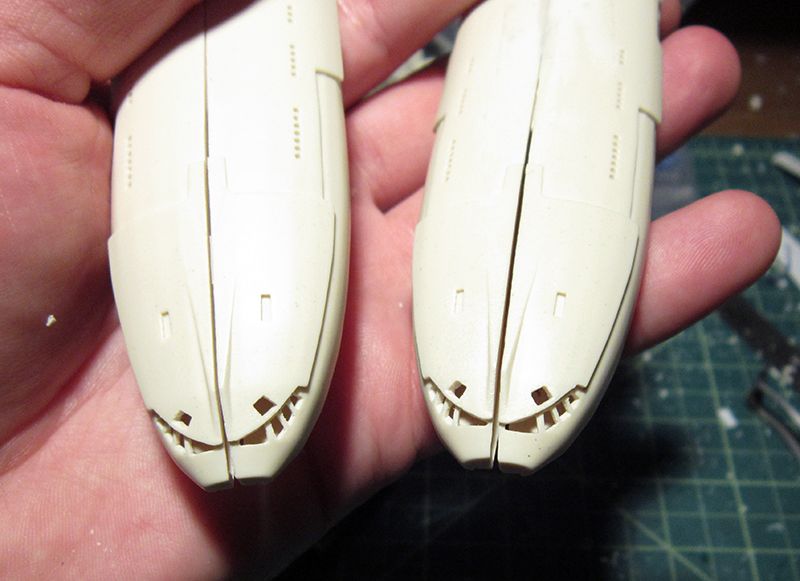
lightblocked
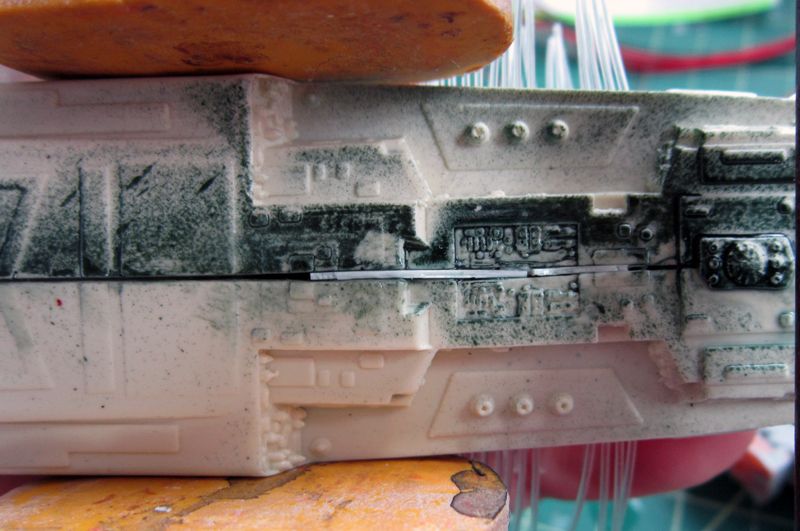
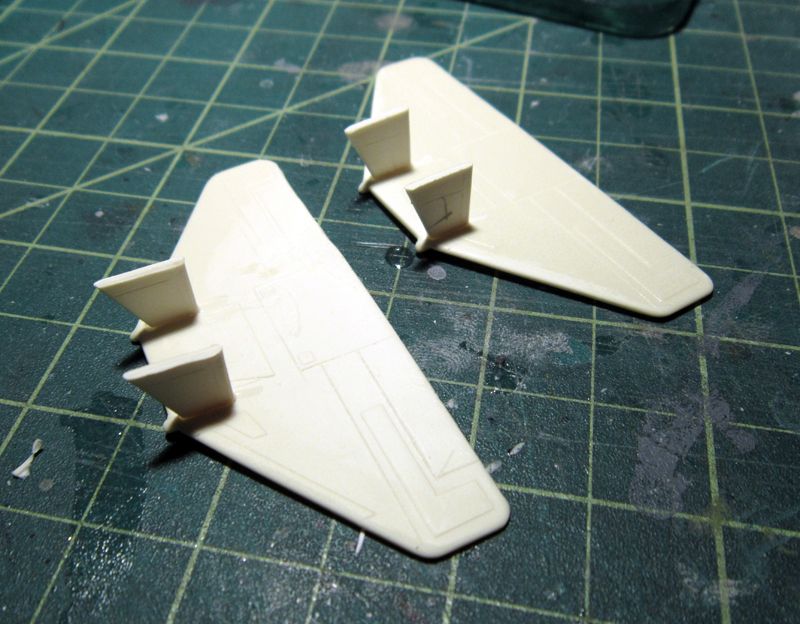
some seam cleaning to fit better (and a little cleanup to come later)

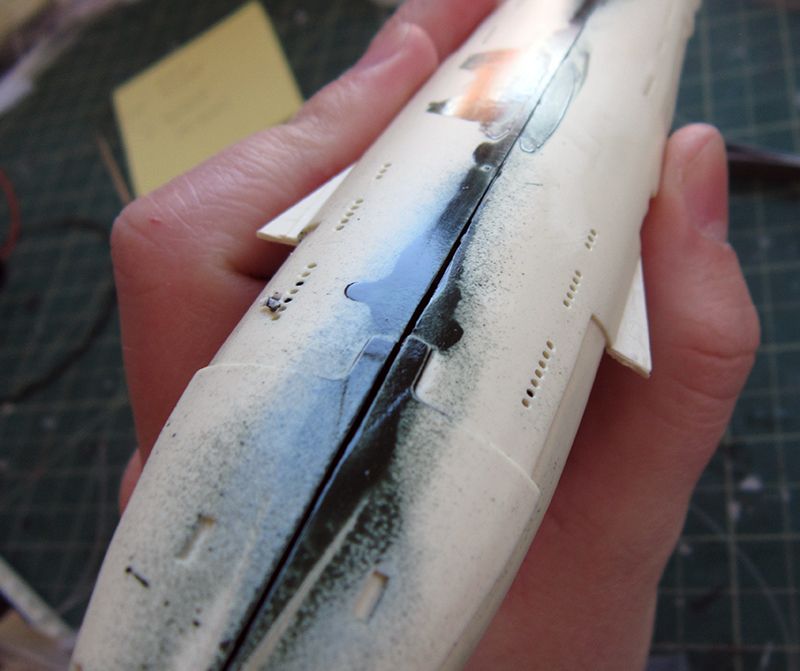
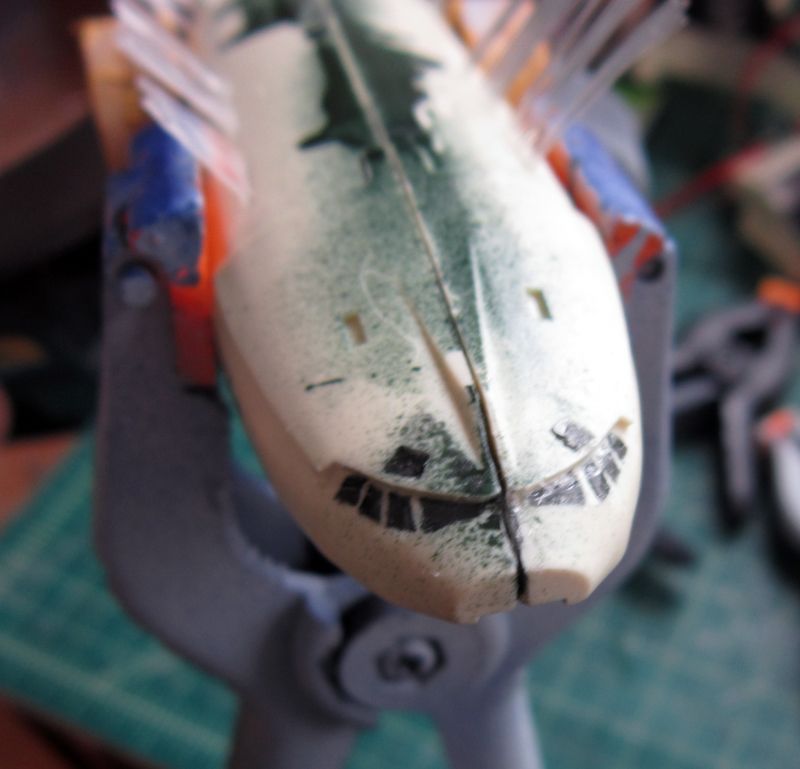
silvered cockpit area


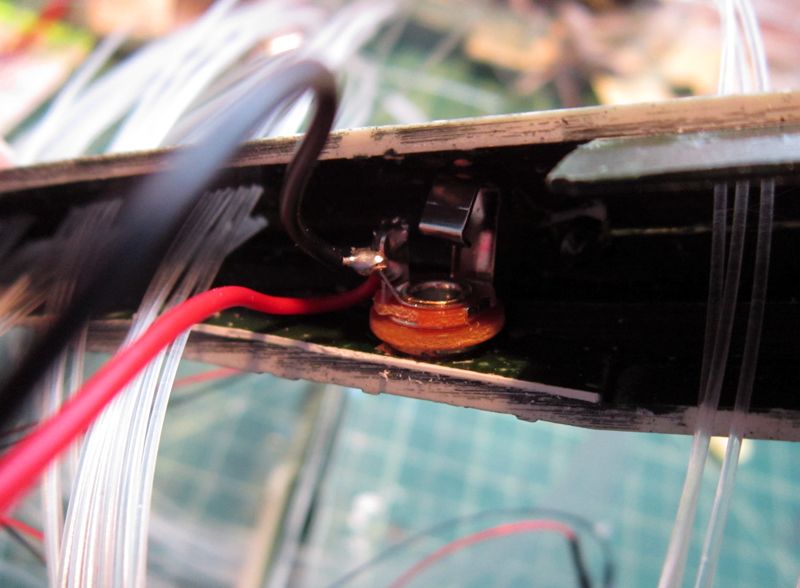
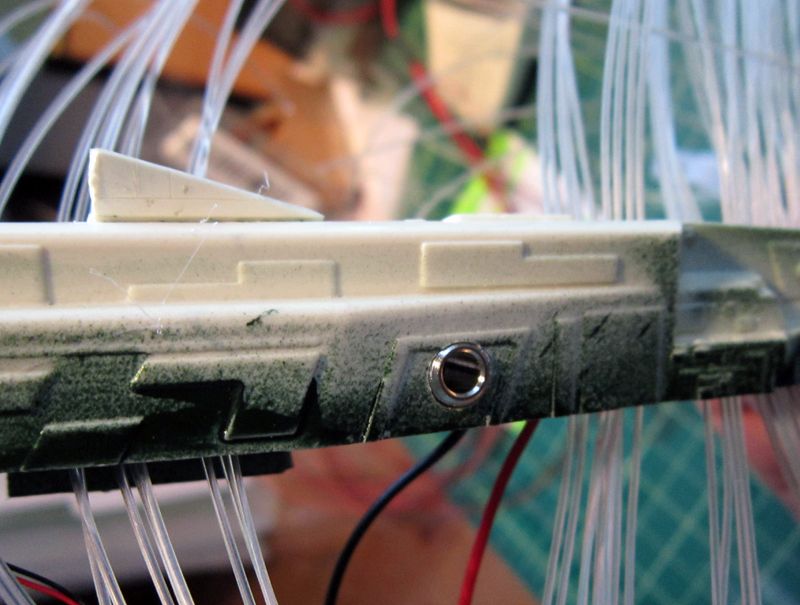
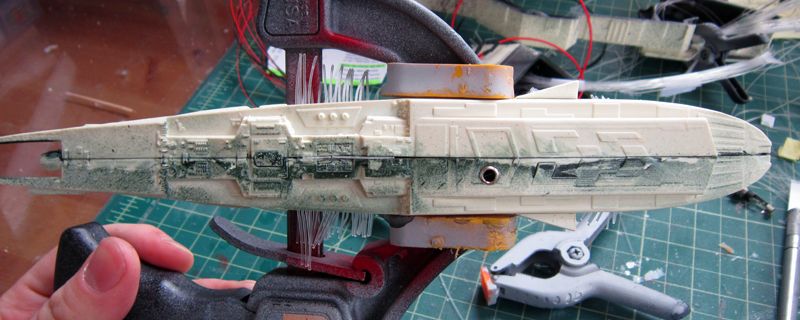
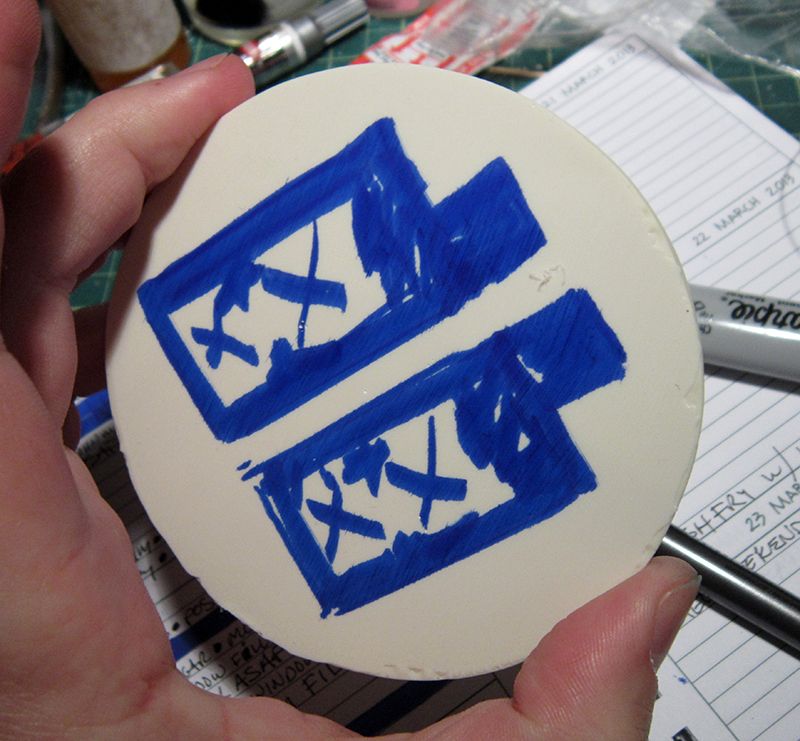
power jack

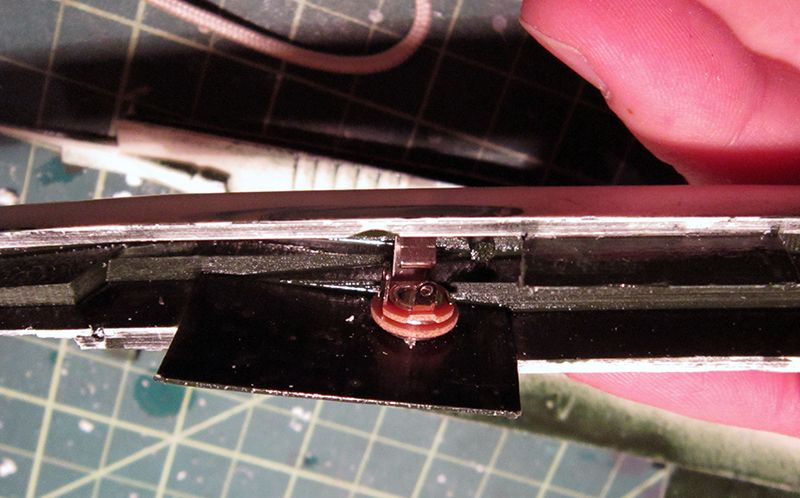
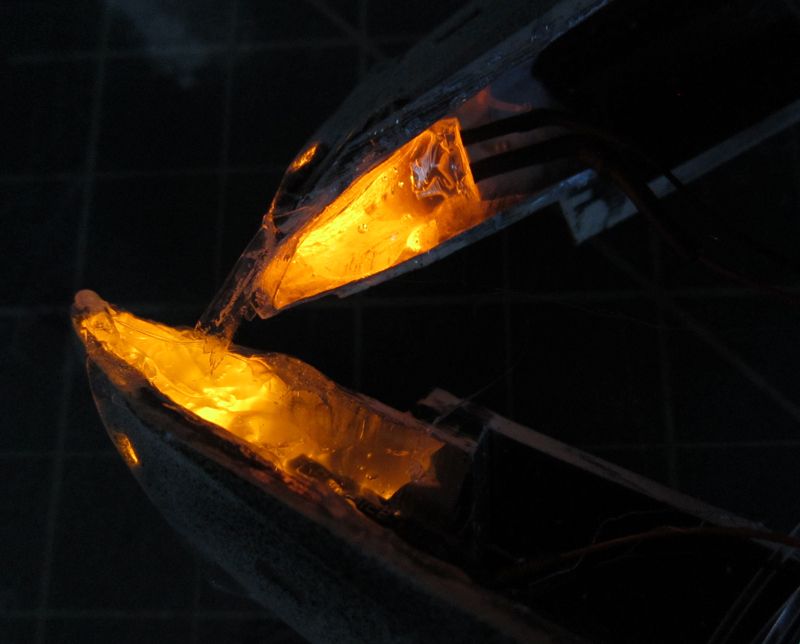
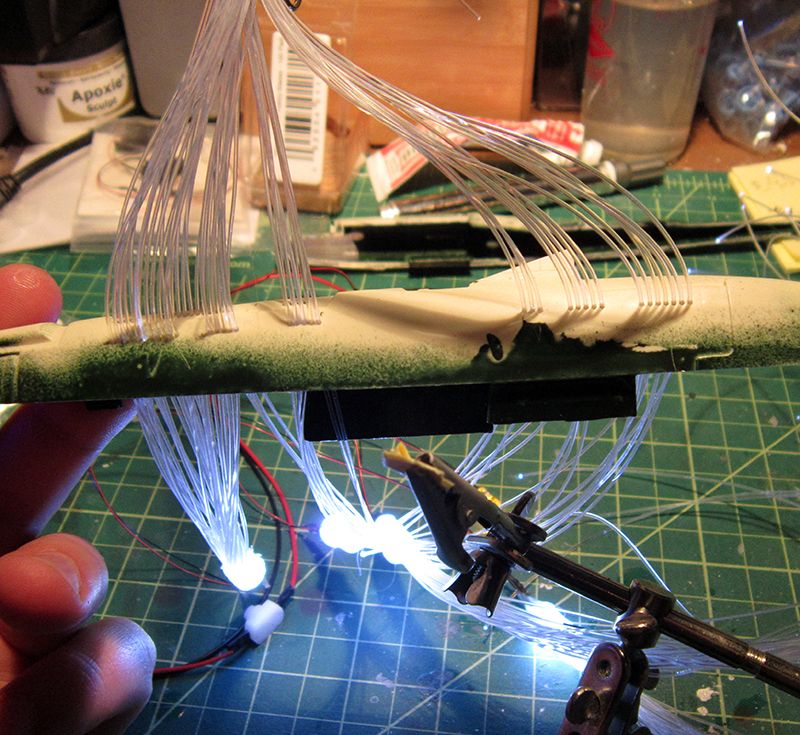
main engine lit up

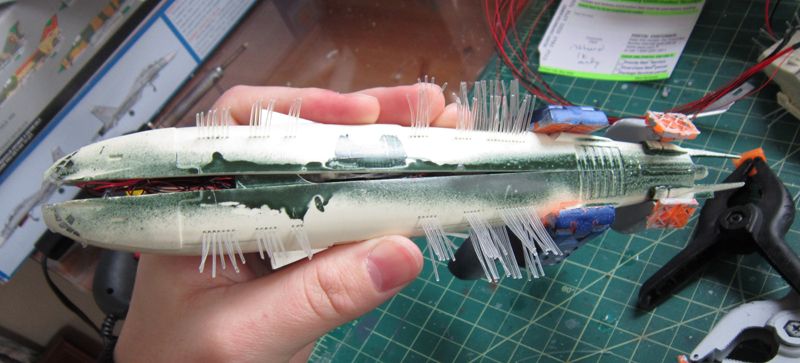
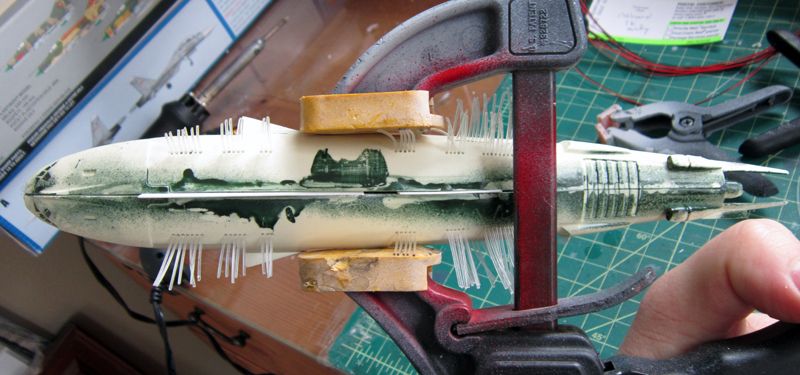
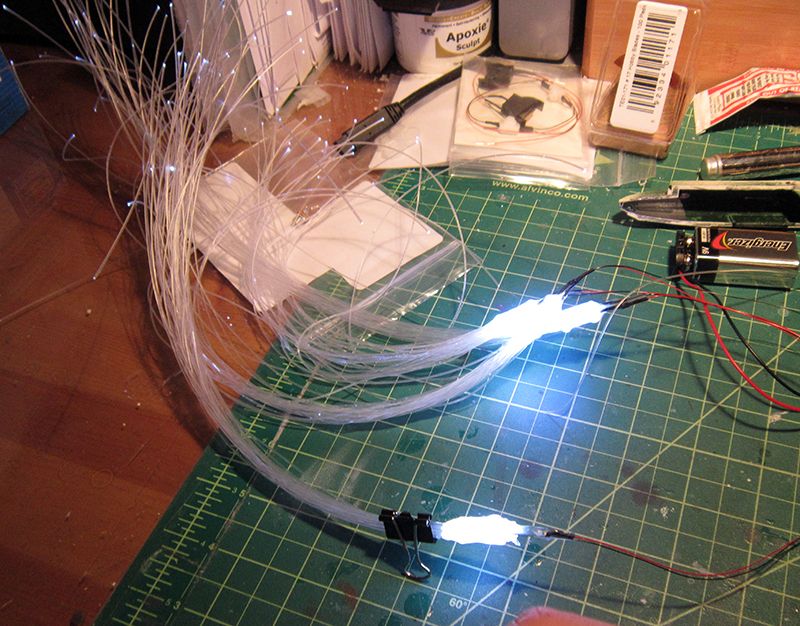
110 strands of fiber optics
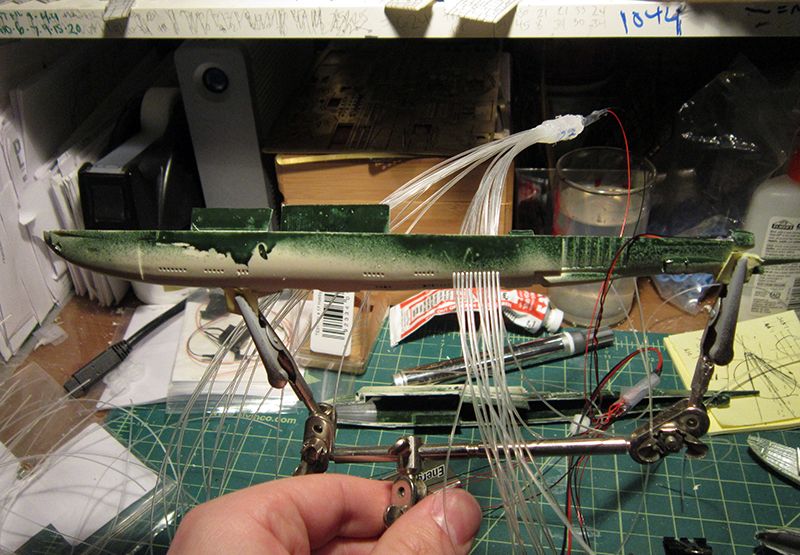

model base guy stand

filed window openings so i can fill them in with clear resin-ish material...
engines drilled out
windows drilled
lightblocked
some seam cleaning to fit better (and a little cleanup to come later)
silvered cockpit area
power jack
main engine lit up
110 strands of fiber optics
model base guy stand