Doughnuts and burning rubber

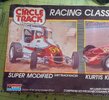
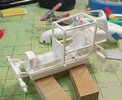
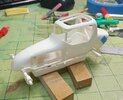
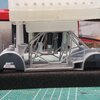
... late start in this car race, and first time car build (that's not military)!
Hopefully I can at least get it over the finish line!

17518379268703225935596058121465.jpg

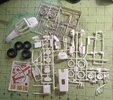
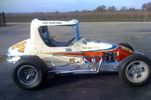
I won't be using the kit paints, (who knows where they've been?!), but have started familiarizing myself with the kit and my reference materials.
Hopefully I'll remember some of the techniques you guys have used on your builds!
 
Well I'm almost done. Rear wing, some trims and decals then a final polishing coat.

Not over happy with the bent front spars on the windshield but did my best. Had it glued up lovely but the clamps pinged off before the glue cured while I was at work. By the time I got home and noticed it was too late. Pantherman
View attachment 152480View attachment 152481View attachment 152482View attachment 152483View attachment 152484View attachment 152485View attachment 152486View attachment 152487
Very nice job Pantherman!!
 
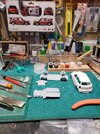
So, here I am learning about auto models, and experiencing for myself some of the issues others have posted about.

The fit seems pretty darn good, and the detail of the plastic pretty impressive for a 'starter' kit.
There are minimal visible pin/injection marks, and the only ones I needed to address were in the ceiling of the top next to the front windshield... as the clear windshield itself would not fit the locator pins with the defect in the way.
The other pin marks where in the wheelwells under the fenders, likely hidden, but too obvious to me at this point.

The last bit of finessing is along the back gate next to the window, a slight protrusion of plastic that interfered with the nice scallop at the top of the door. It also filled in the door gap on the top right side.
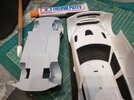
20250707_144657.jpg

Tamiya putty went on real nice, and d'uh, don't know why I didn't think of it before, using a silicone tip tool worked well, and cleaned up with one wipe of a tissue!


Write your reply...
Back
Top