Trumpeter Corsair f4U1D 1/32

Scale Model Addict - Model Tips, Guides, Tools & Tech, Tutorials, and Community

Help Support Scale Model Addict:

Ron2

Well-Known Member
Joined
Sep 16, 2025
Messages
1,959
City & State/Province
Mesa AZ
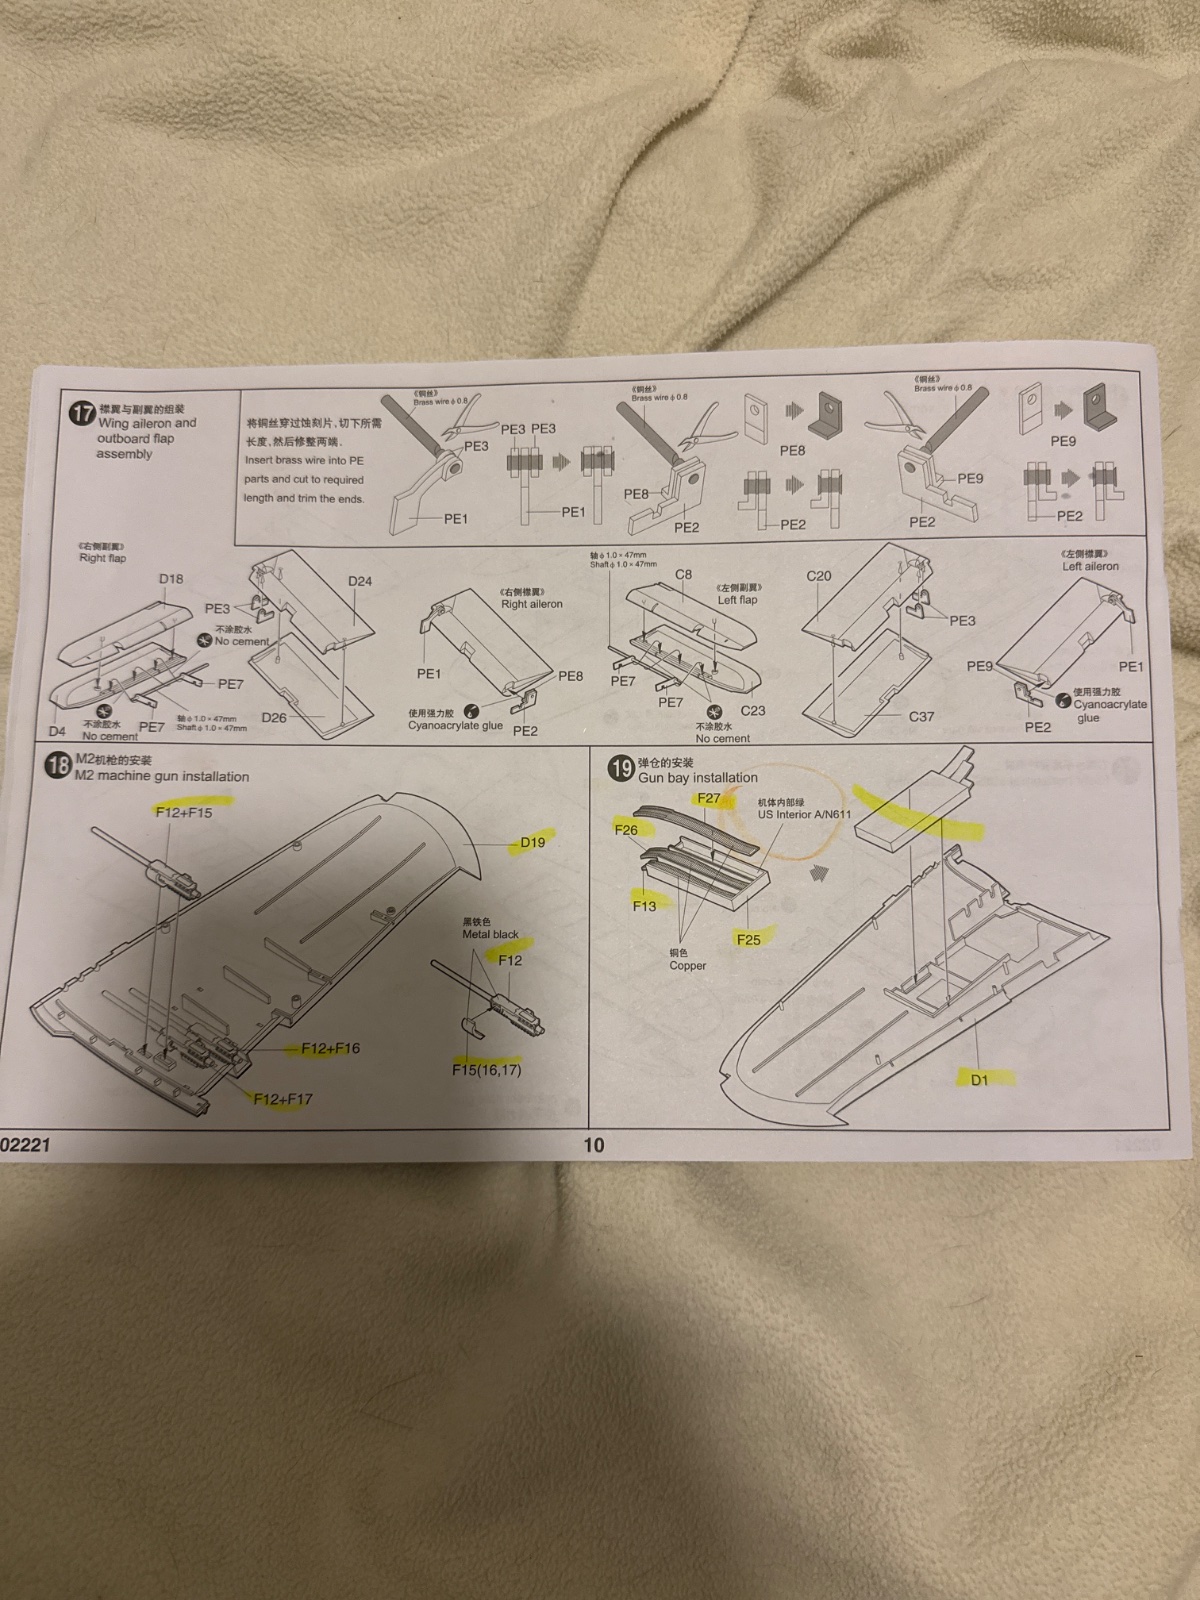
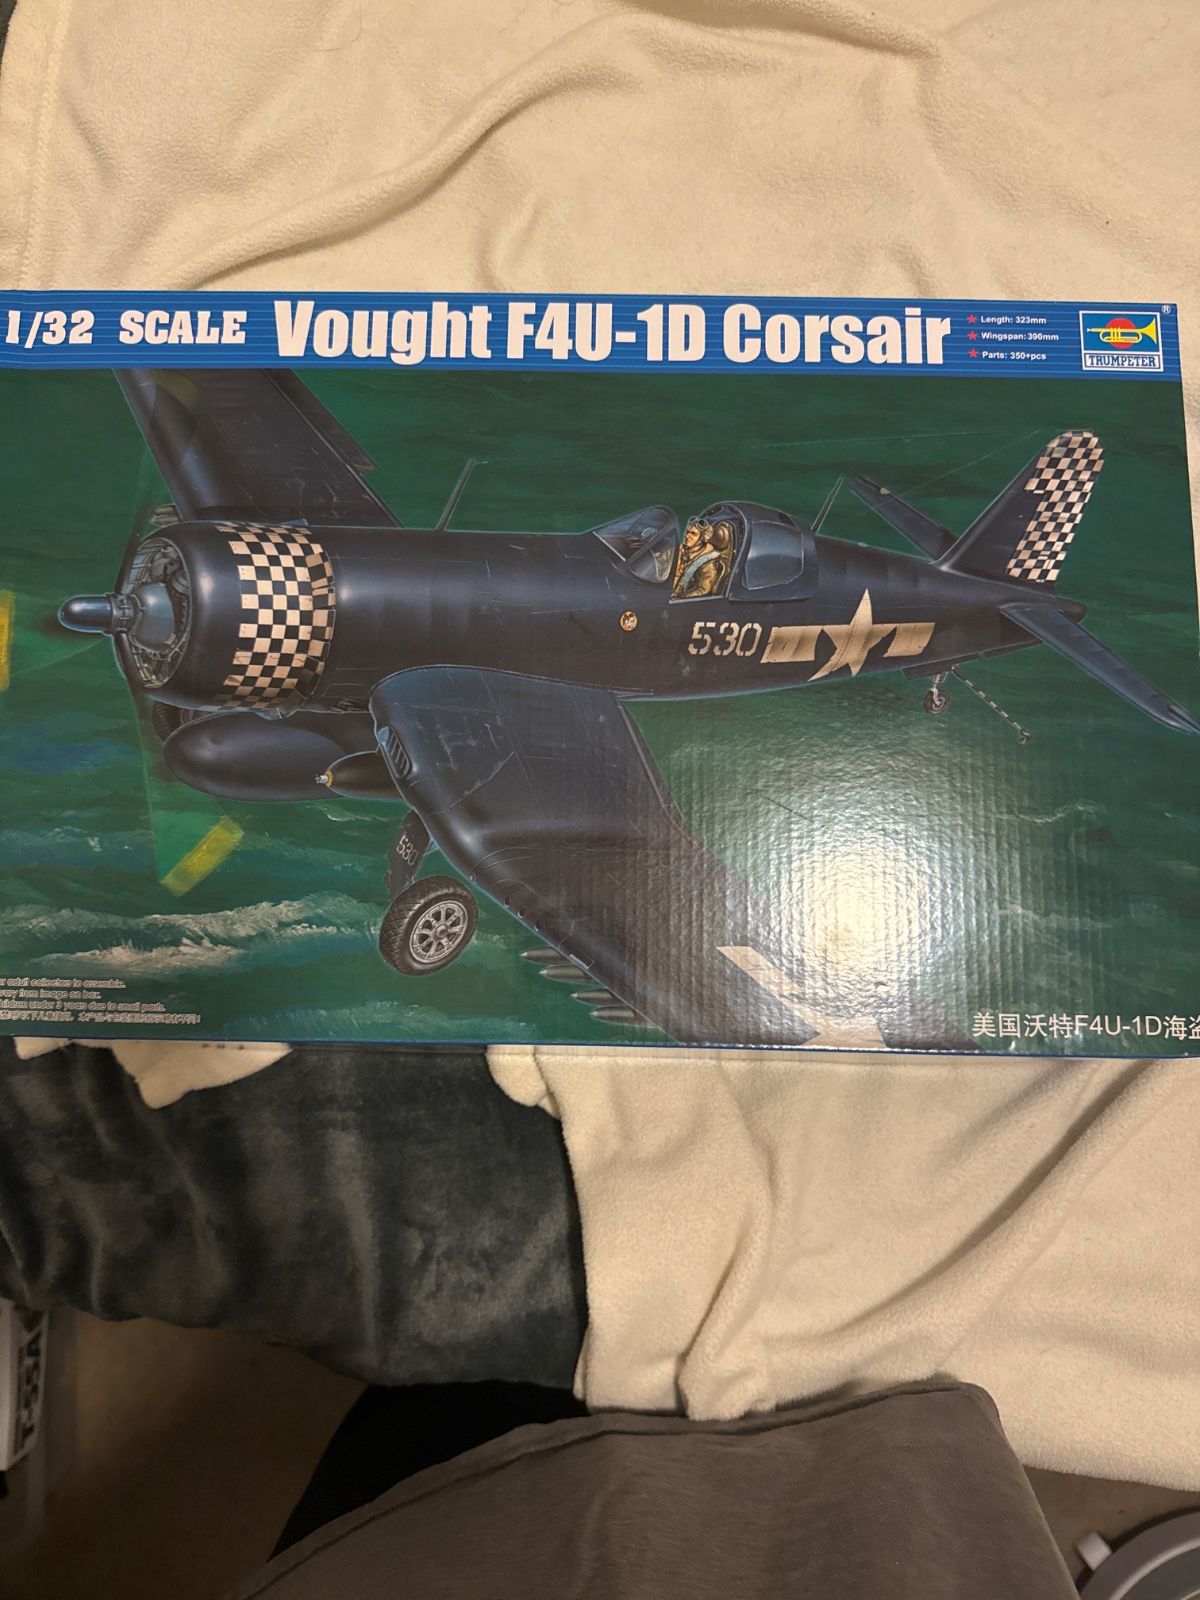
Has anyone built this kit? I'm at the section to build the wing aileron and outdoor flap assembly with the PE instructions and these directions don't make any damn sense to me. Ive set this aside twice now and apparently I have a brain block. I don't want the wings to fold so I'm wondering if I even need to do these steps but a review I saw from 2013 stated you will have huge gaps if you don't make the wings as a folded unit.

image.jpg


image.jpg
 
Has anyone built this kit? I'm at the section to build the wing aileron and outdoor flap assembly with the PE instructions and these directions don't make any damn sense to me. Ive set this aside twice now and apparently I have a brain block. I don't want the wings to fold so I'm wondering if I even need to do these steps but a review I saw from 2013 stated you will have huge gaps if you don't make the wings as a folded unit.

View attachment 172526

View attachment 172527
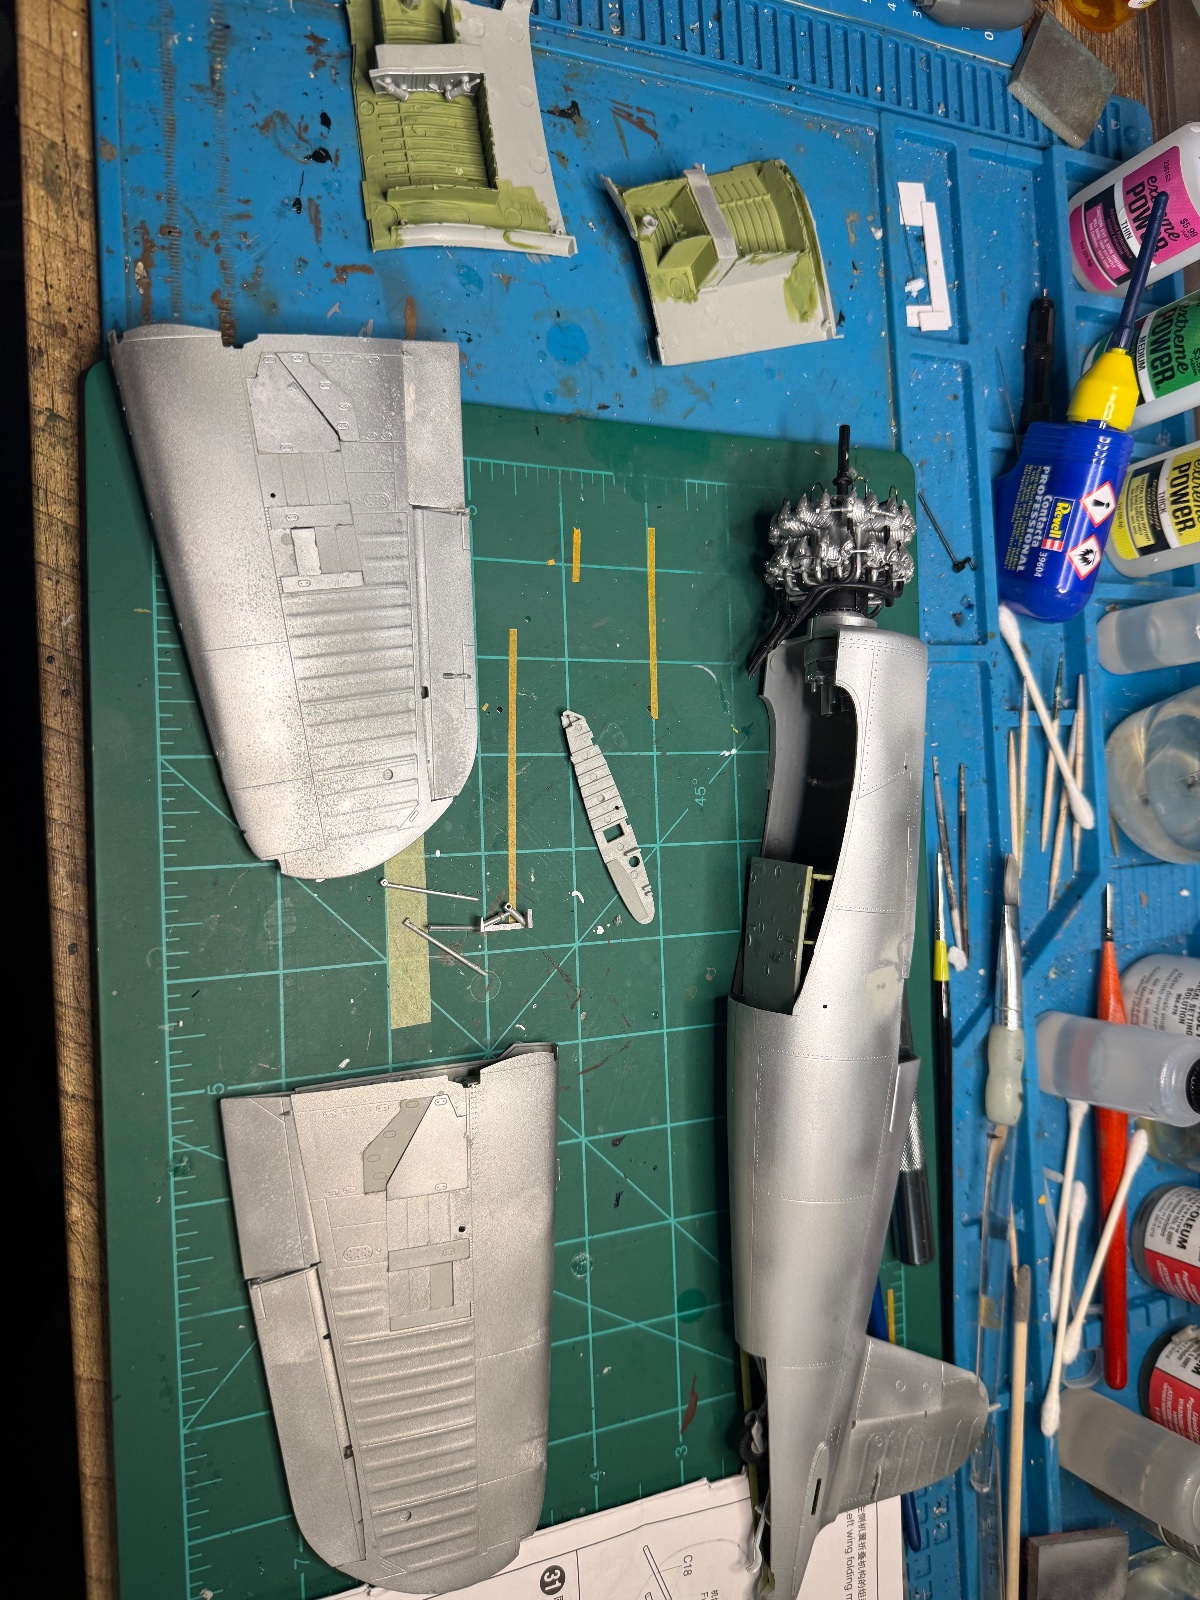
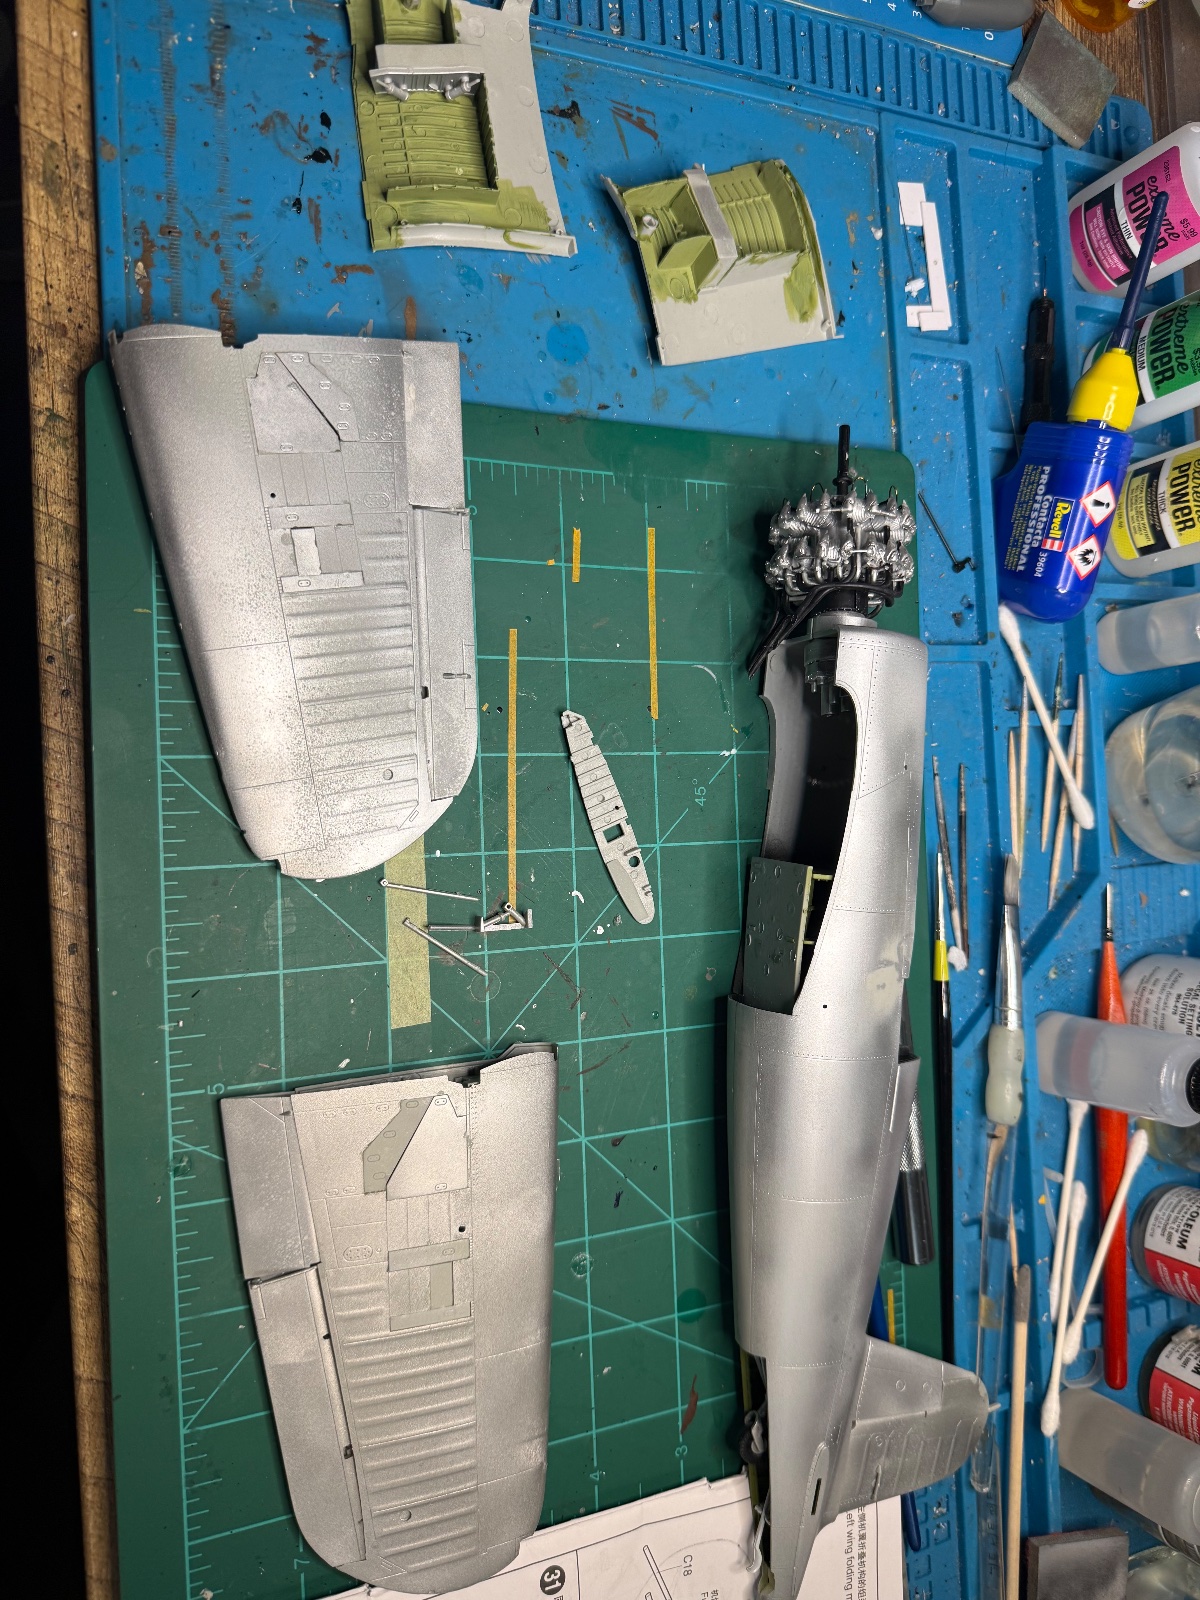
I started this kit a couple months ago and it has sat because the PE section for the folding wings made no sense to me. I don't want the wings to fold anyway so today I said screw it and started putting it together without the hinges etc. now I'm enjoying the kit again.
 

Attachments

  • IMG_6495.jpeg
    IMG_6495.jpeg
    743.2 KB
Has anyone built this kit? I'm at the section to build the wing aileron and outdoor flap assembly with the PE instructions and these directions don't make any damn sense to me. Ive set this aside twice now and apparently I have a brain block. I don't want the wings to fold so I'm wondering if I even need to do these steps but a review I saw from 2013 stated you will have huge gaps if you don't make the wings as a folded unit.

View attachment 172526

View attachment 172527
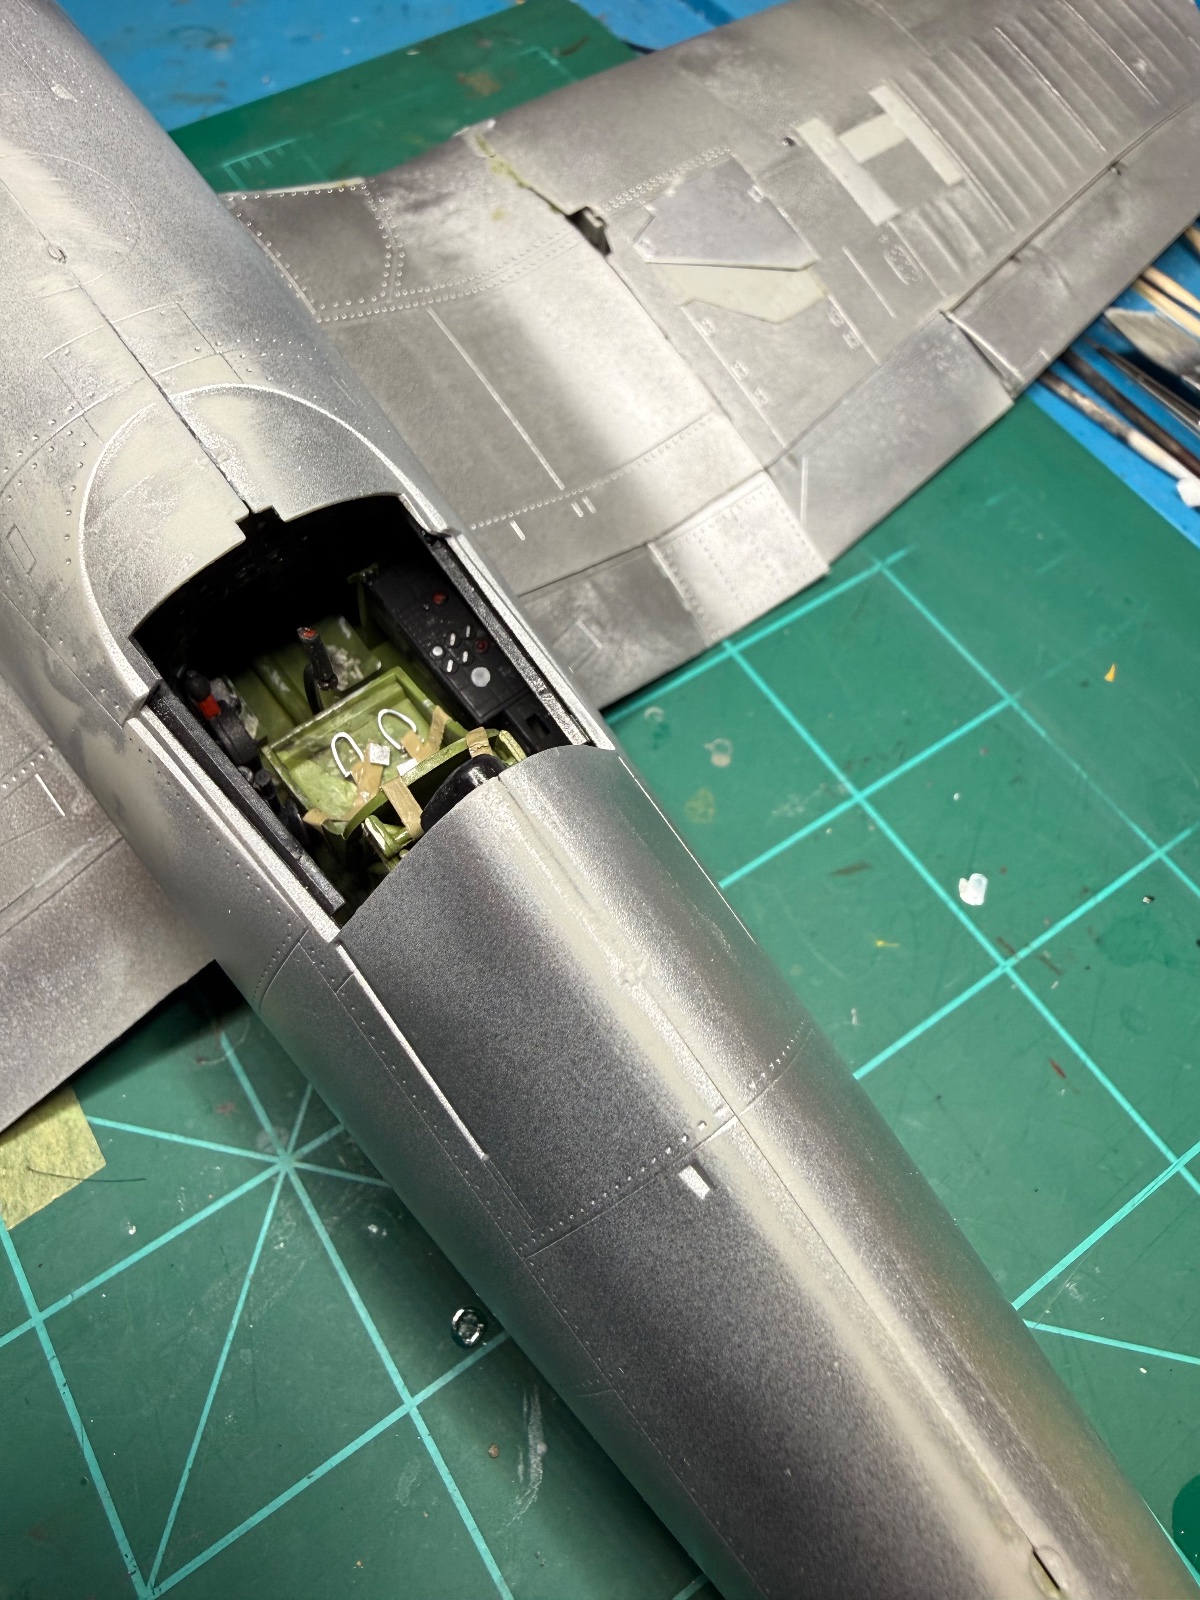
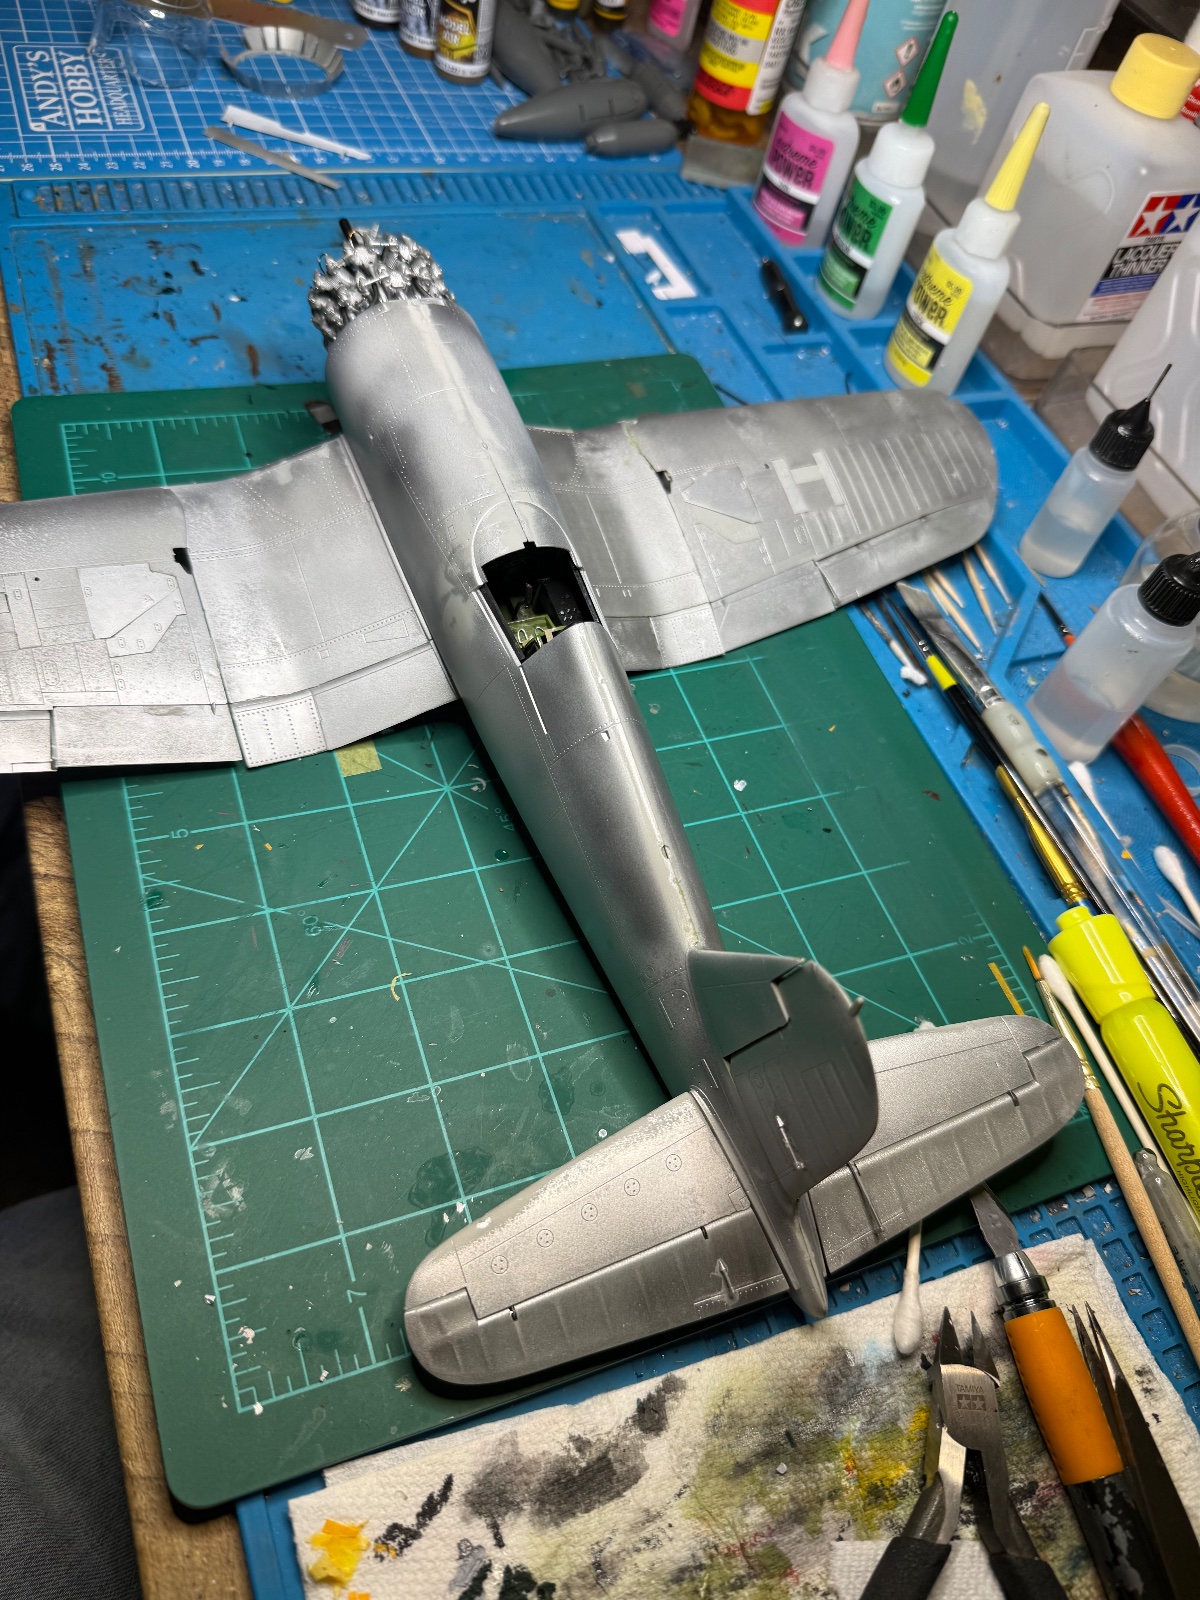
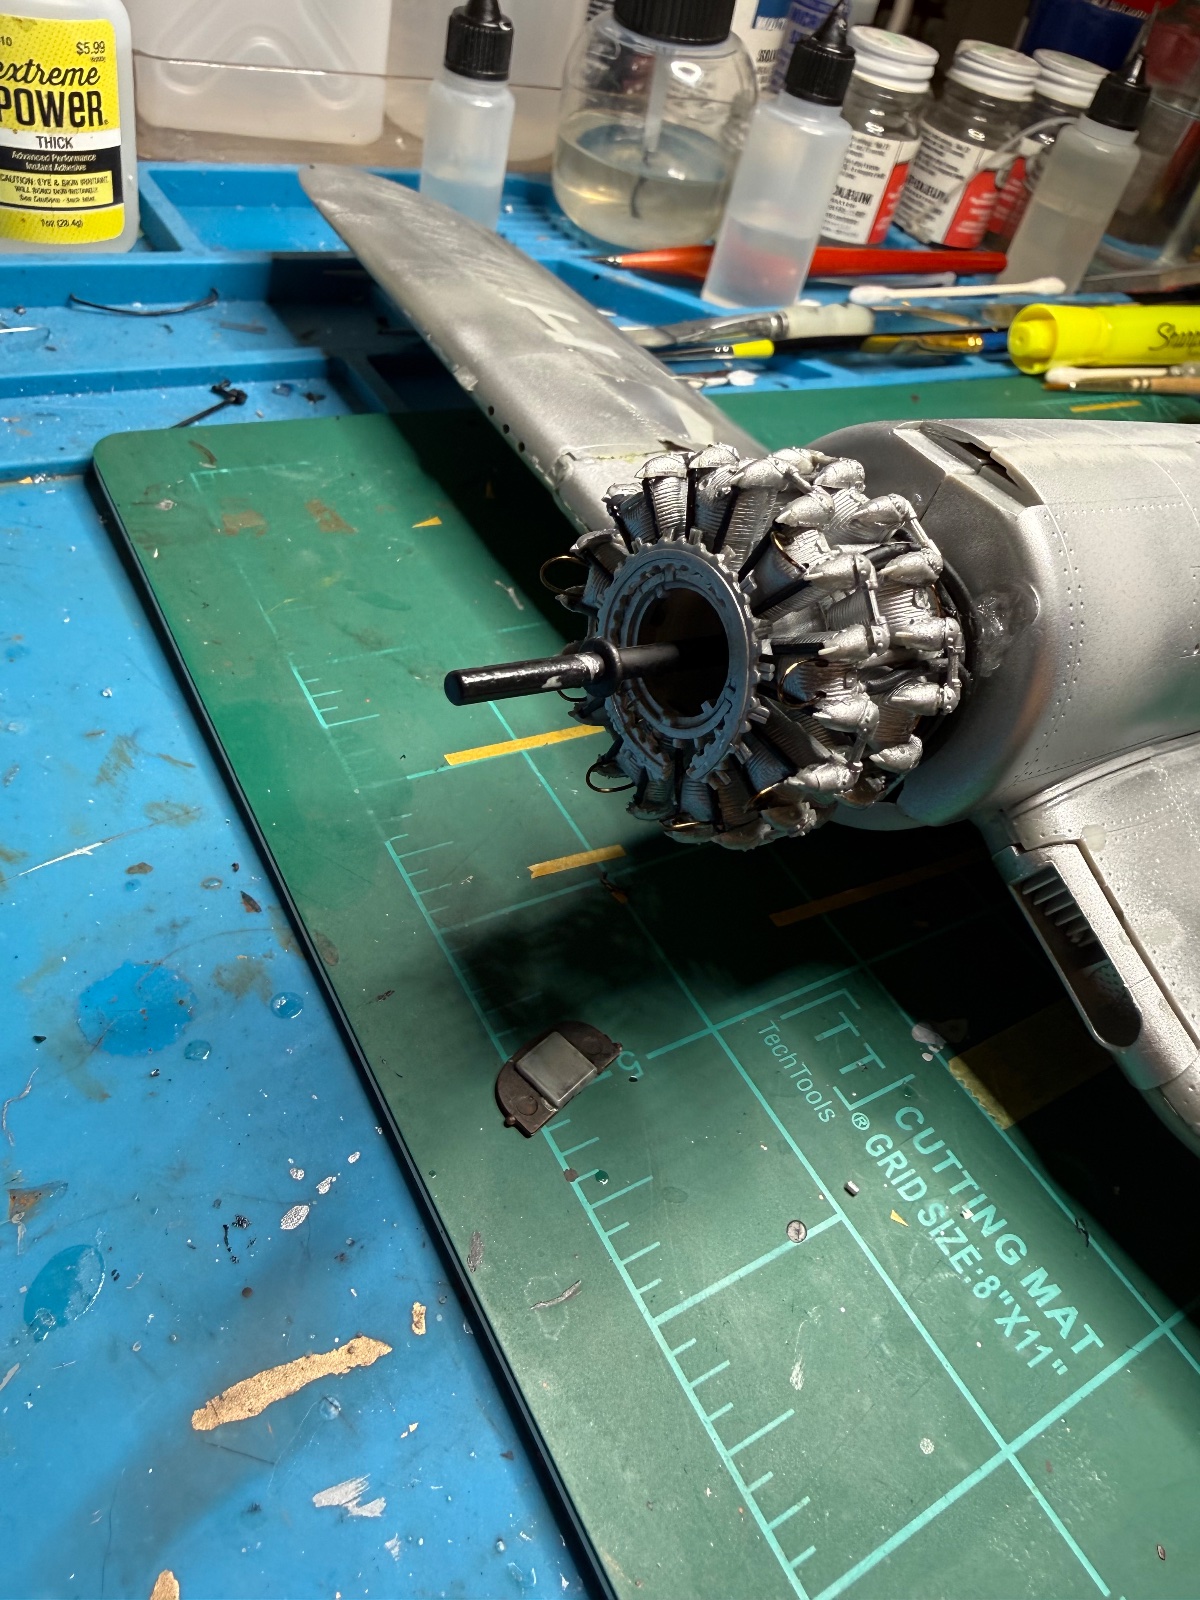
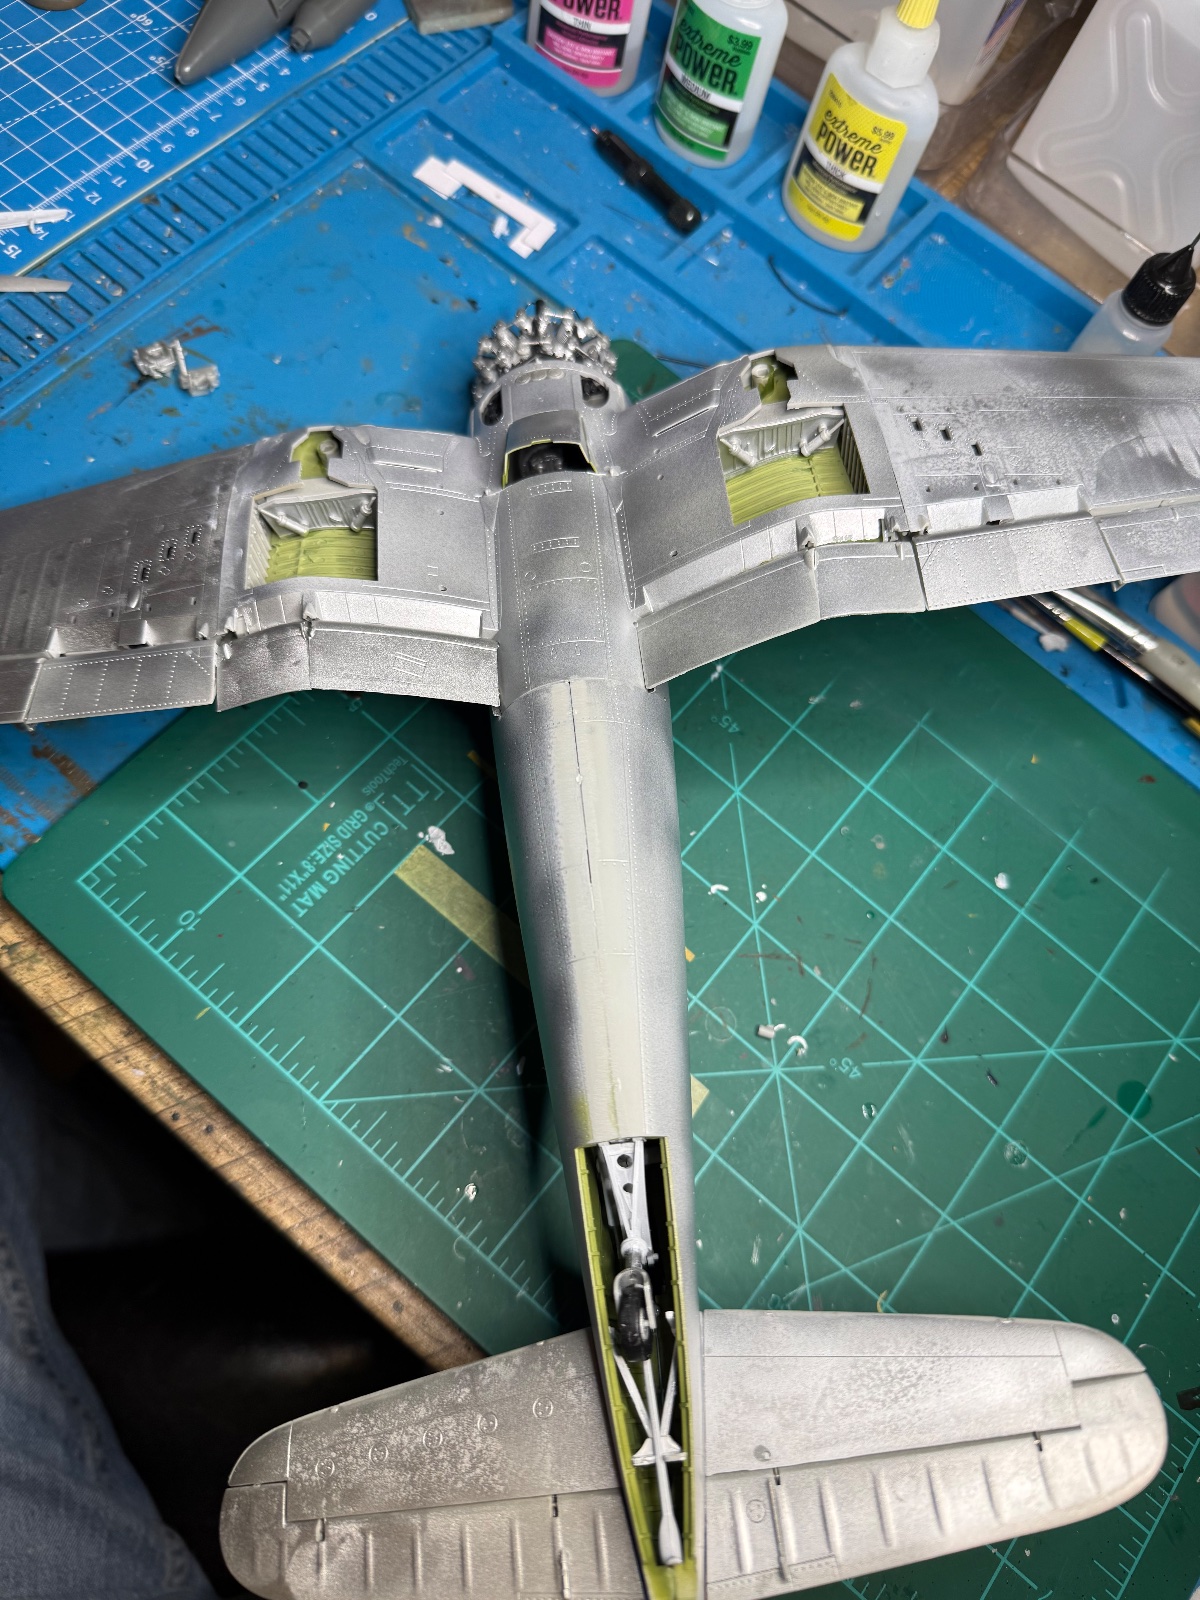
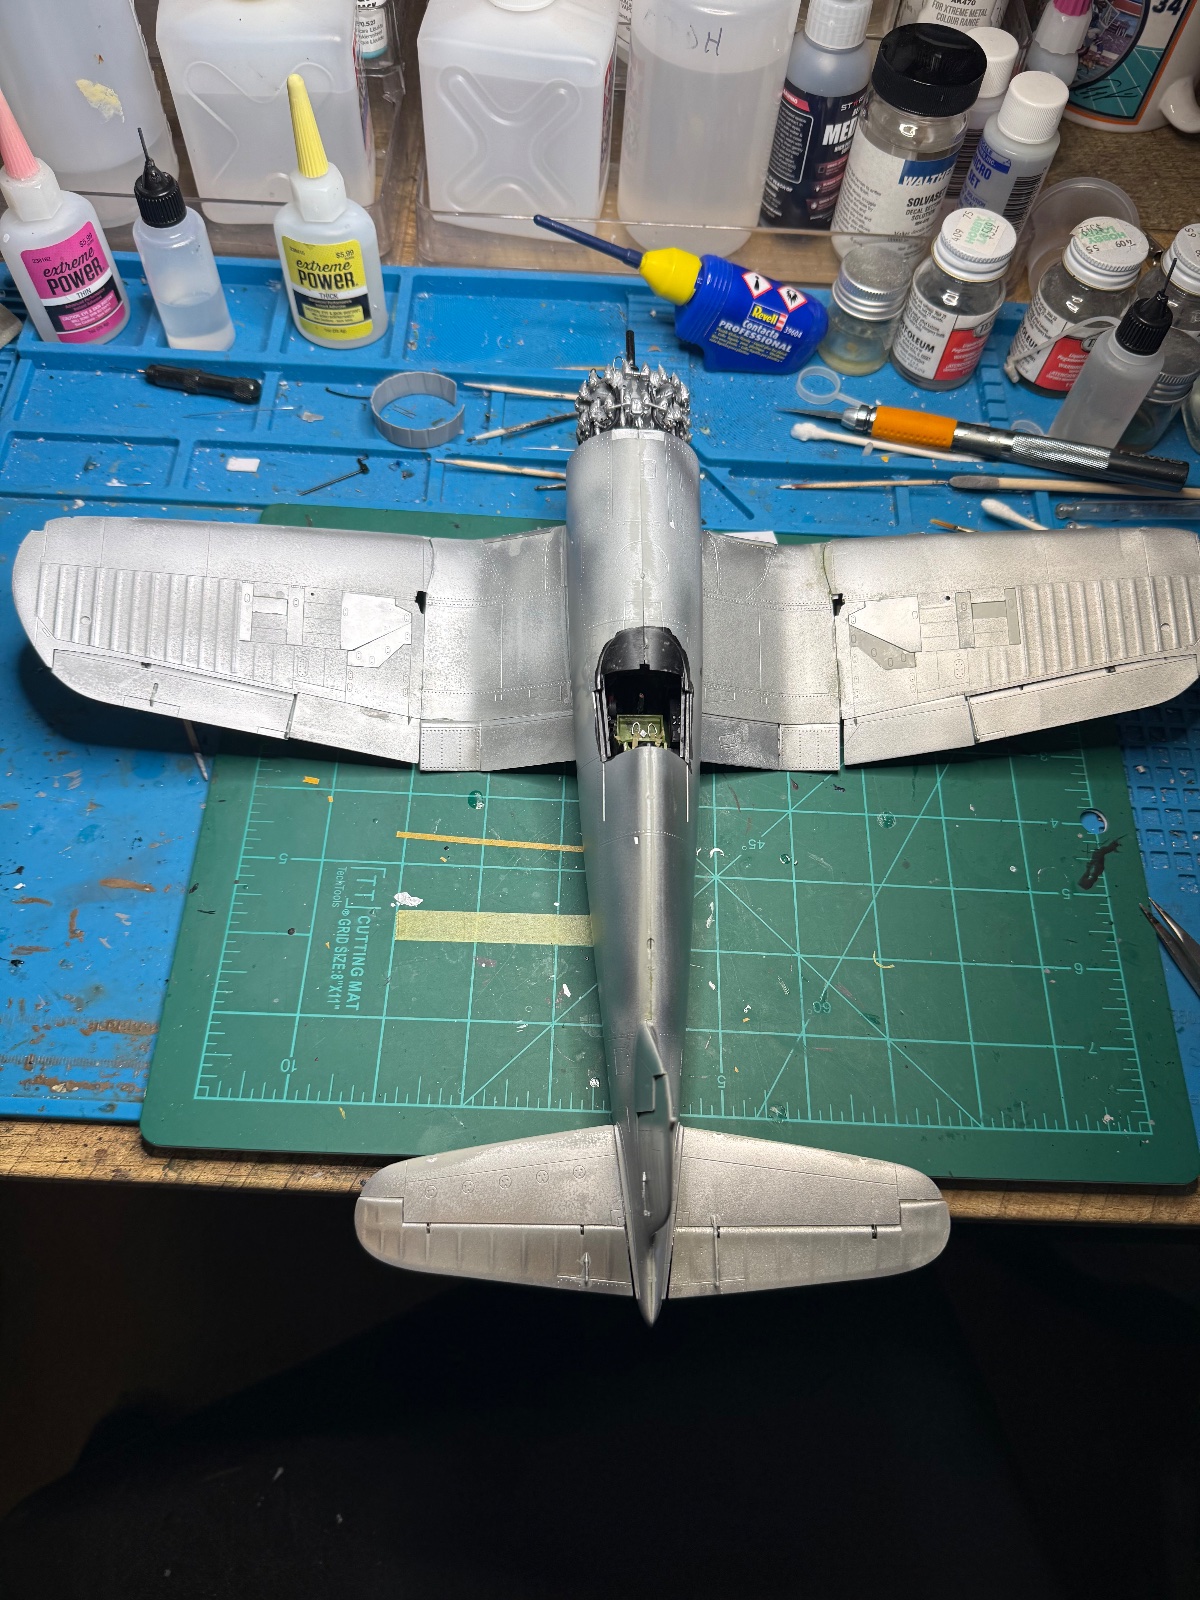
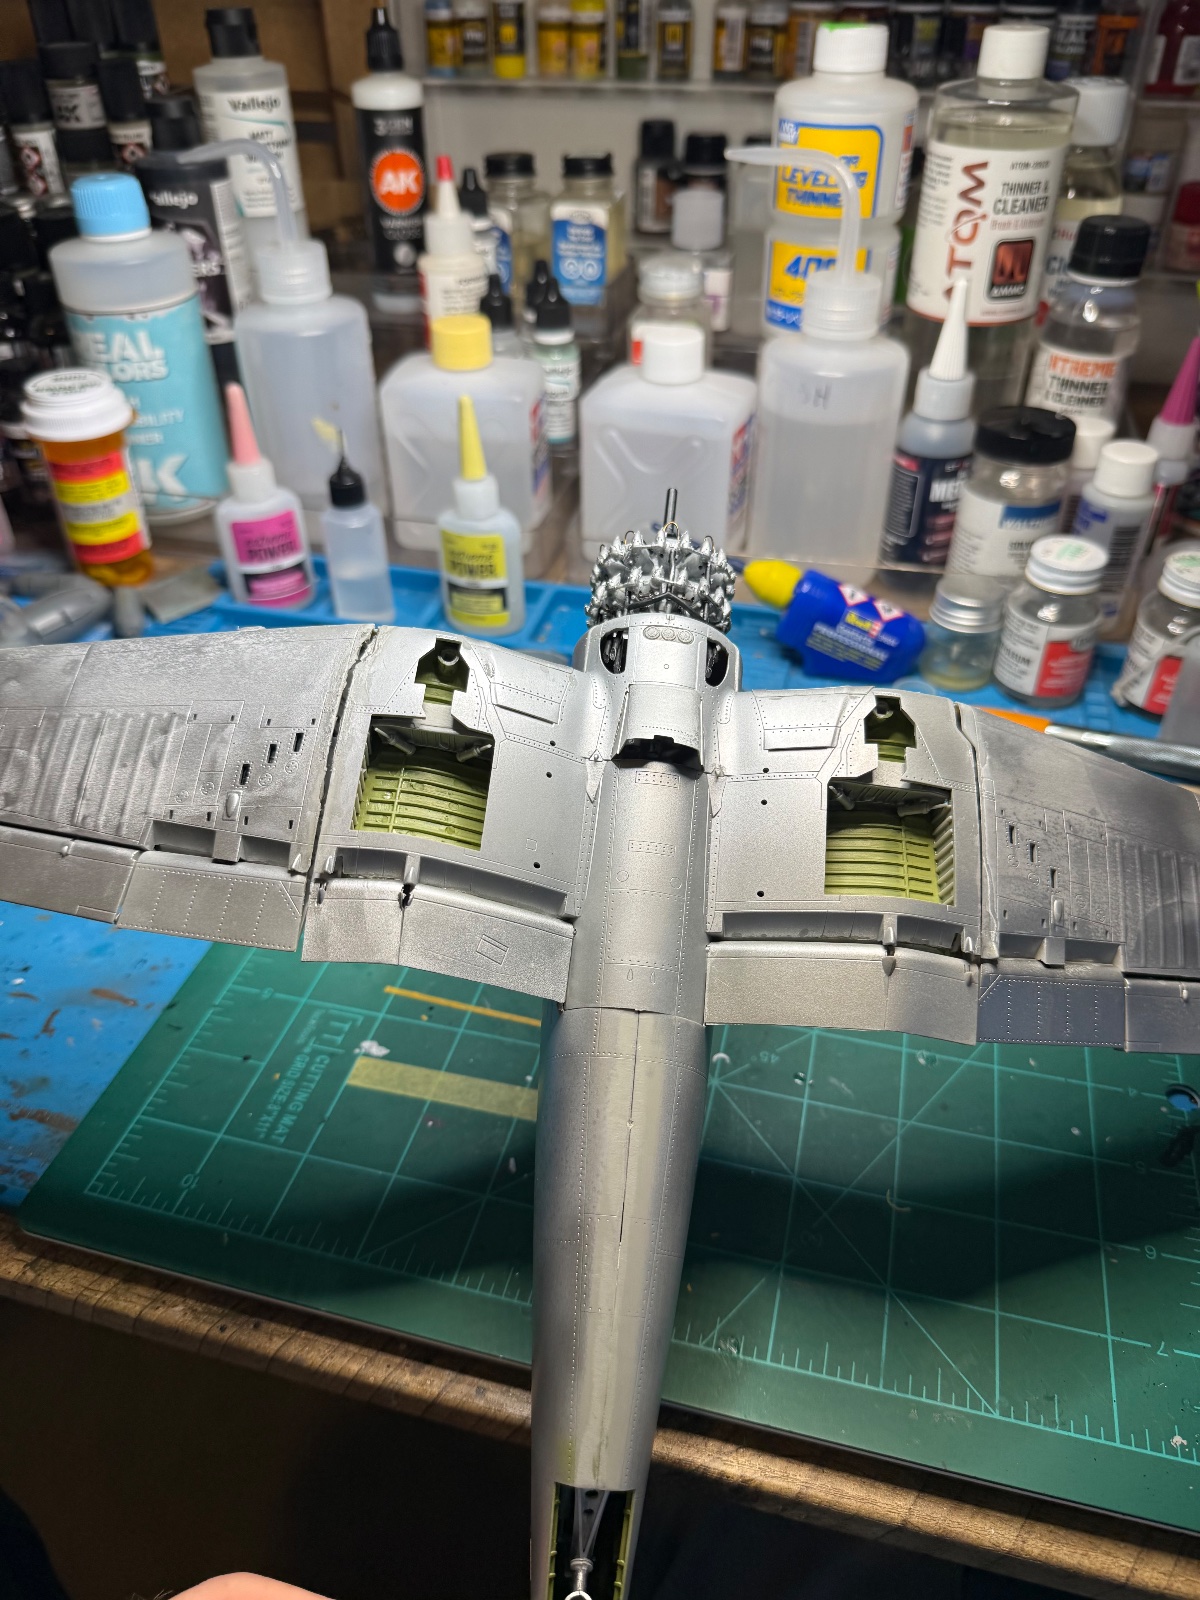
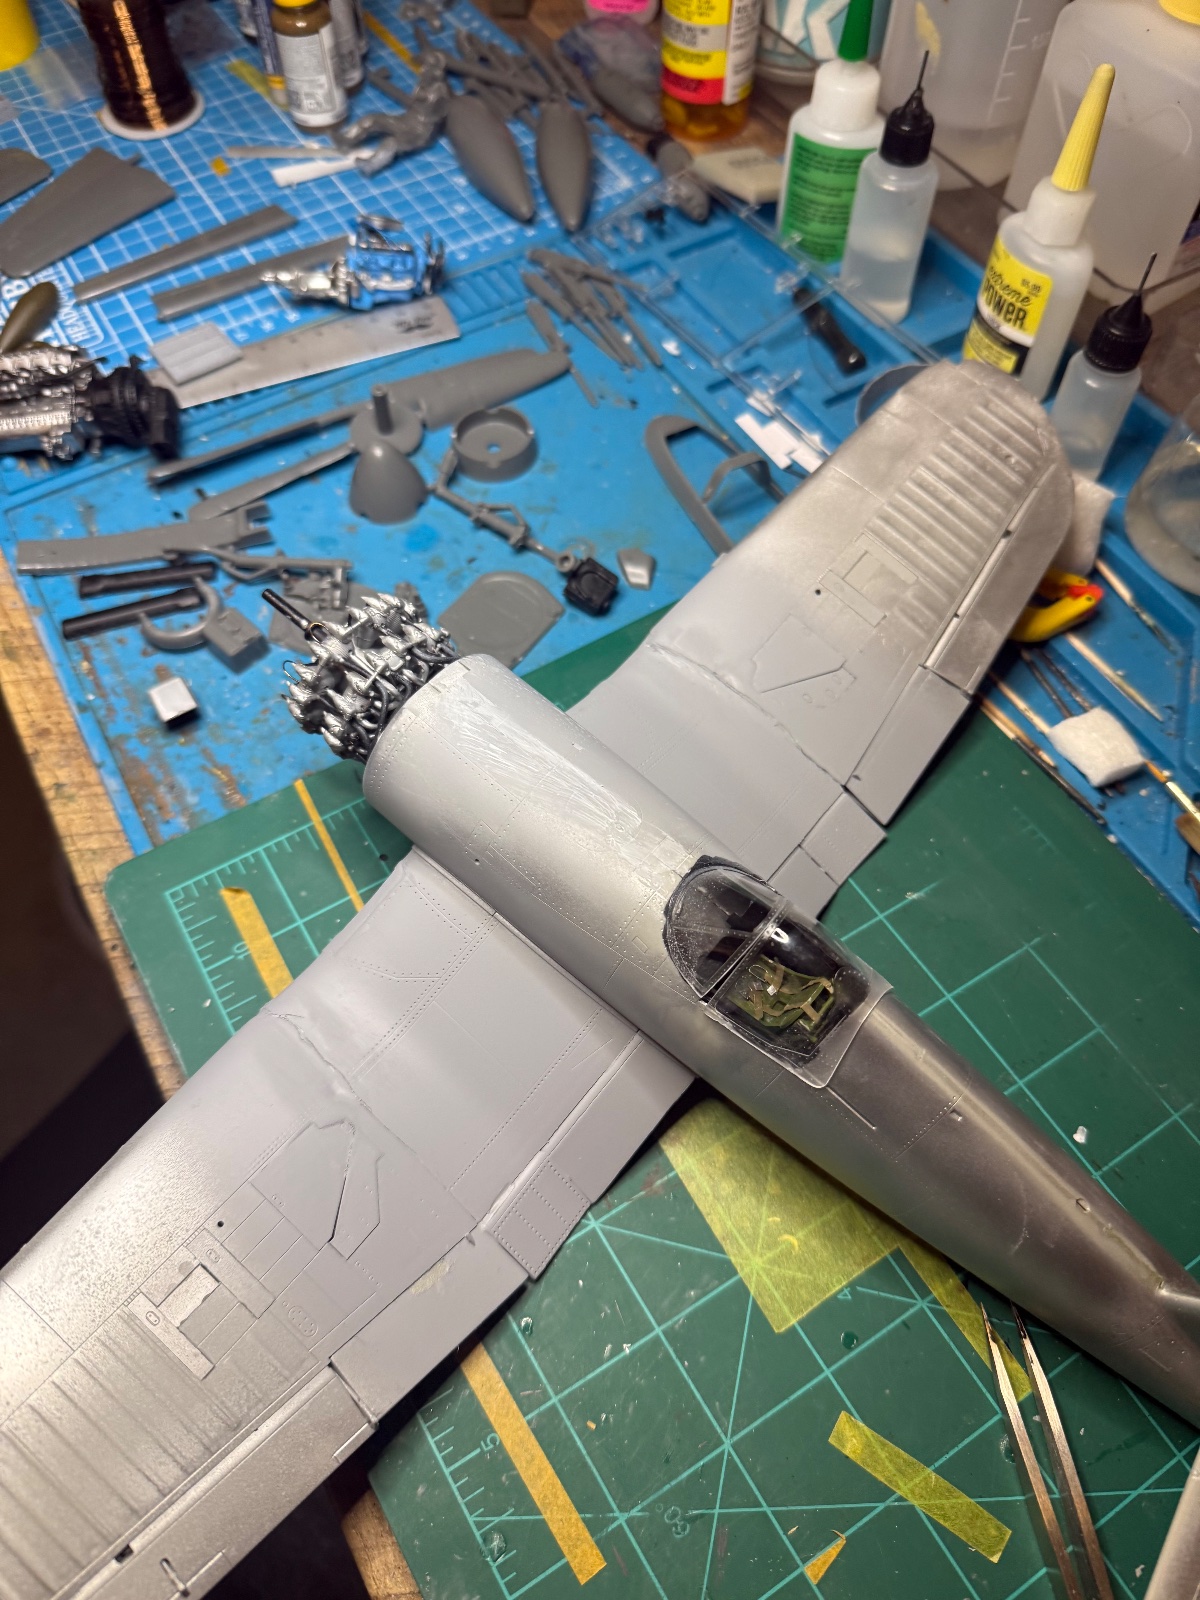
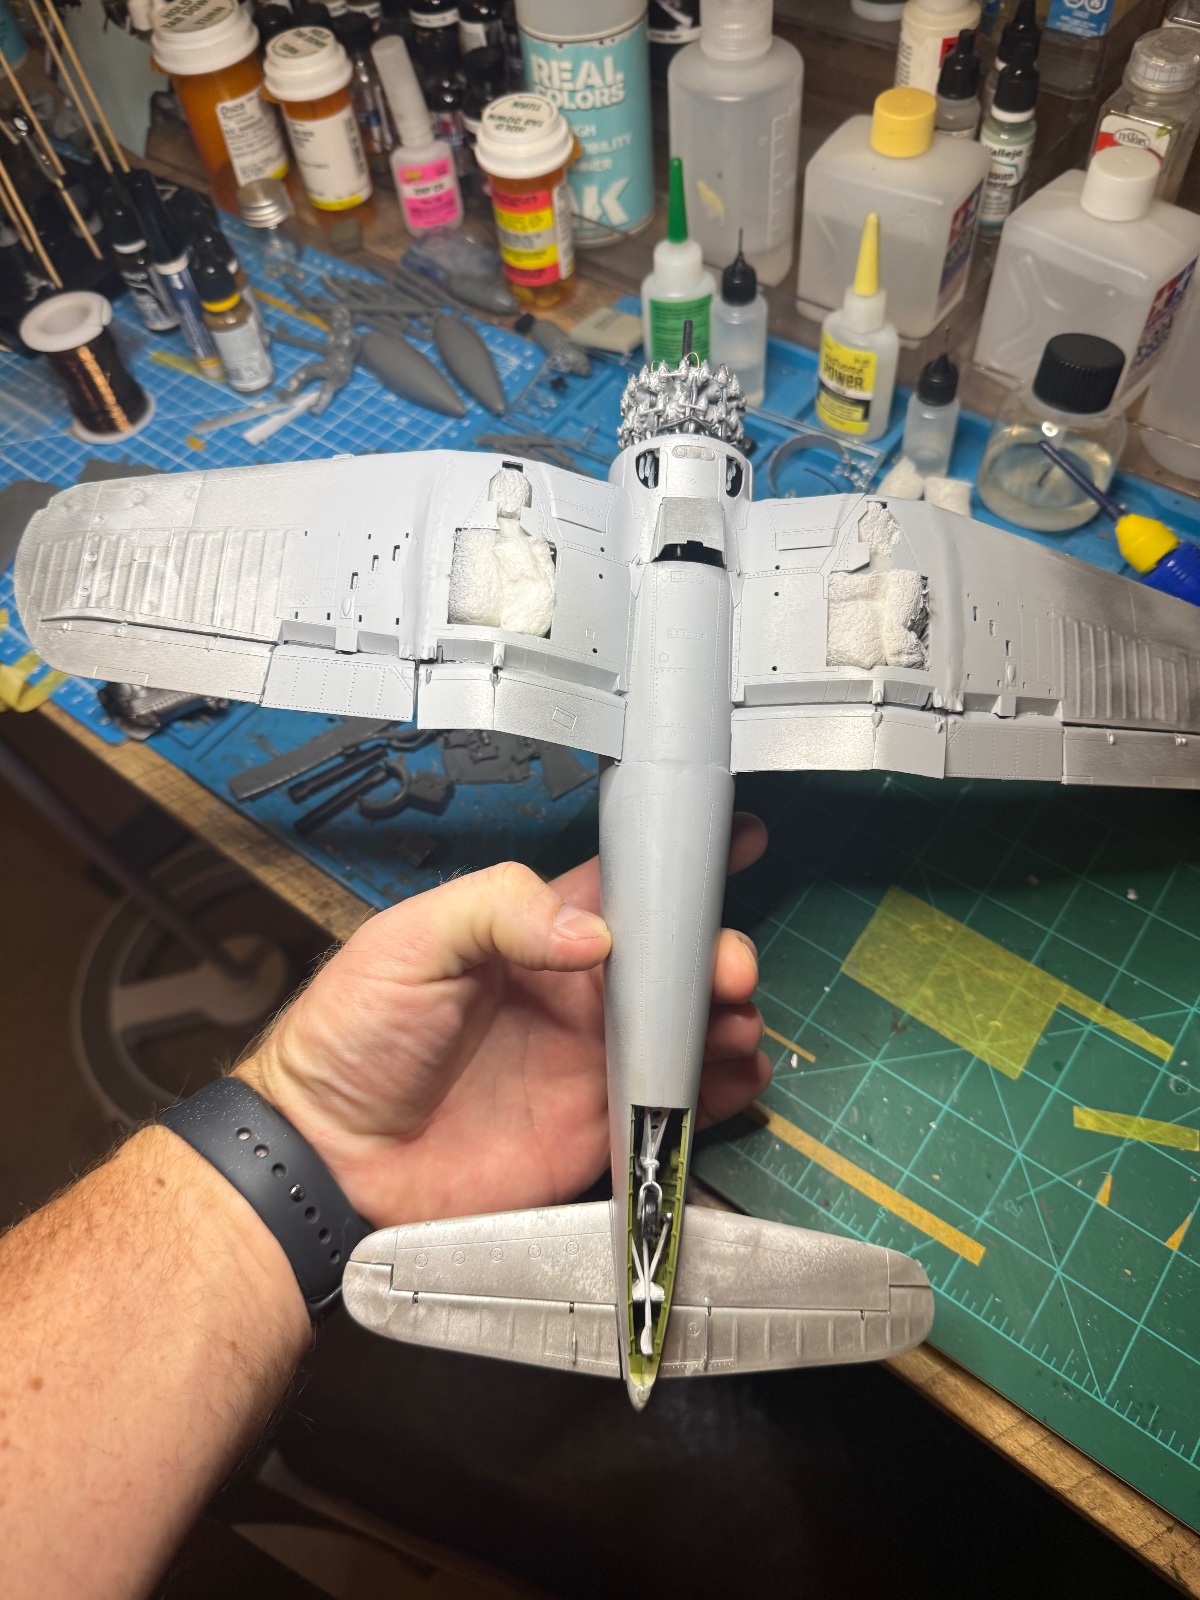
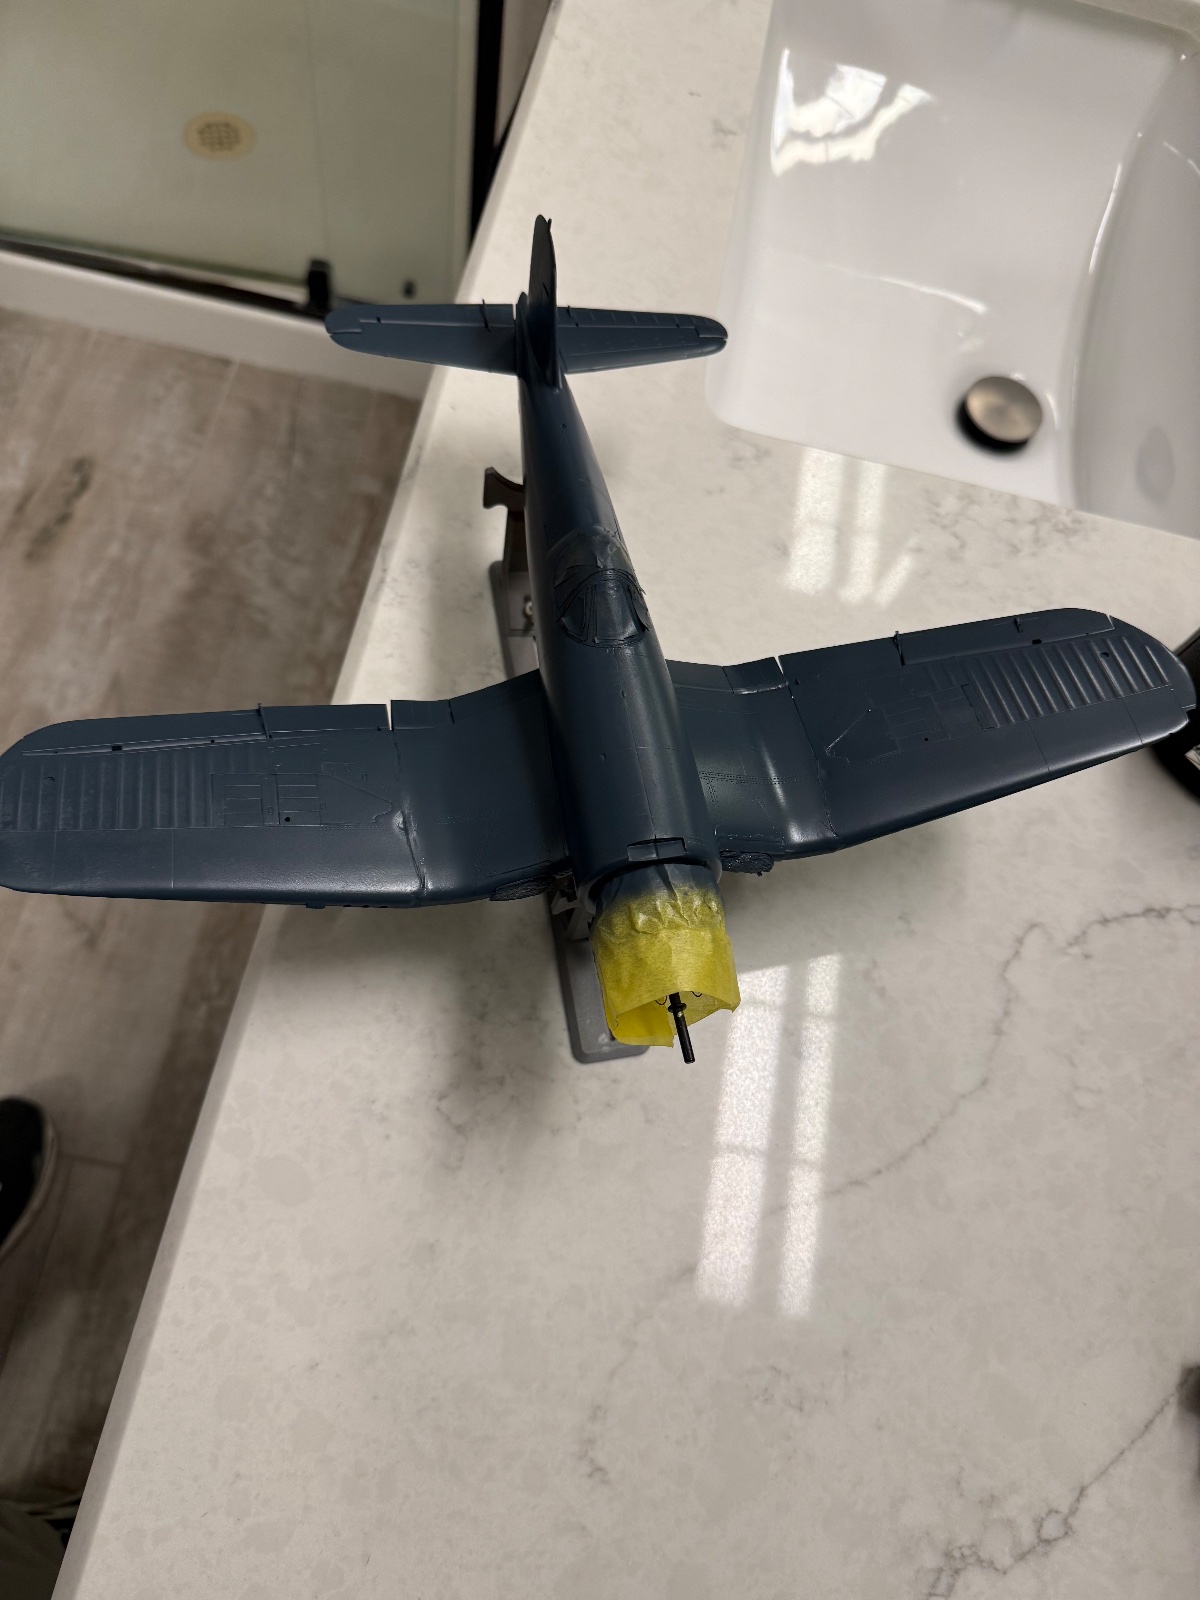
Got a decent amount done today. So glad I gave up on the Pe connectors. The fit needs some tweaking but I read it's designed to be displayed wings up so I'm surprised the gaps aren't even bigger.
 

Attachments

  • IMG_6495.jpeg
    IMG_6495.jpeg
    743.2 KB
  • IMG_6496.jpeg
    IMG_6496.jpeg
    605.3 KB
  • IMG_6497.jpeg
    IMG_6497.jpeg
    720.8 KB
  • IMG_6498.jpeg
    IMG_6498.jpeg
    600.7 KB
  • IMG_6499.jpeg
    IMG_6499.jpeg
    640.2 KB
Yes I've built that a while back. I've had both the wings up so it would fit on the Shelf. The whole build is somewhere around here on this forum. It turned out really nice
 
I'm also curious on the quality control of your kit. I think the inspector had a bad day. Twice the work on stupid mistakes they made
It's mainly been vague directions and pictures that has caused me issues. I could not make sense of what they wanted down for the wing brackets.
 
As an Amazon Associate we earn from qualifying purchases. Product prices and availability are accurate as of the date/time indicated and are subject to change.
I've not built that kit, so I cannot speak with specificity. But I did build the Tamiya 1/32 F4U recently. Wings folded or flat was an option for me, and I chose to fold them to save space and because I seldom see kits built that way.

I was disappointed with the result, it looked fine but was very unstable, the air conditioning caused the wings to wobble. So I broke it apart and superglued them together flat.
 
I've not built that kit, so I cannot speak with specificity. But I did build the Tamiya 1/32 F4U recently. Wings folded or flat was an option for me, and I chose to fold them to save space and because I seldom see kits built that way.

I was disappointed with the result, it looked fine but was very unstable, the air conditioning caused the wings to wobble. So I broke it apart and superglued them together flat.
If I ever attempt another Corsair maybe I'll try that kit.
 
Got a decent amount done today. So glad I gave up on the Pe connectors. The fit needs some tweaking but I read it's designed to be displayed wings up so I'm surprised the gaps aren't even bigger.
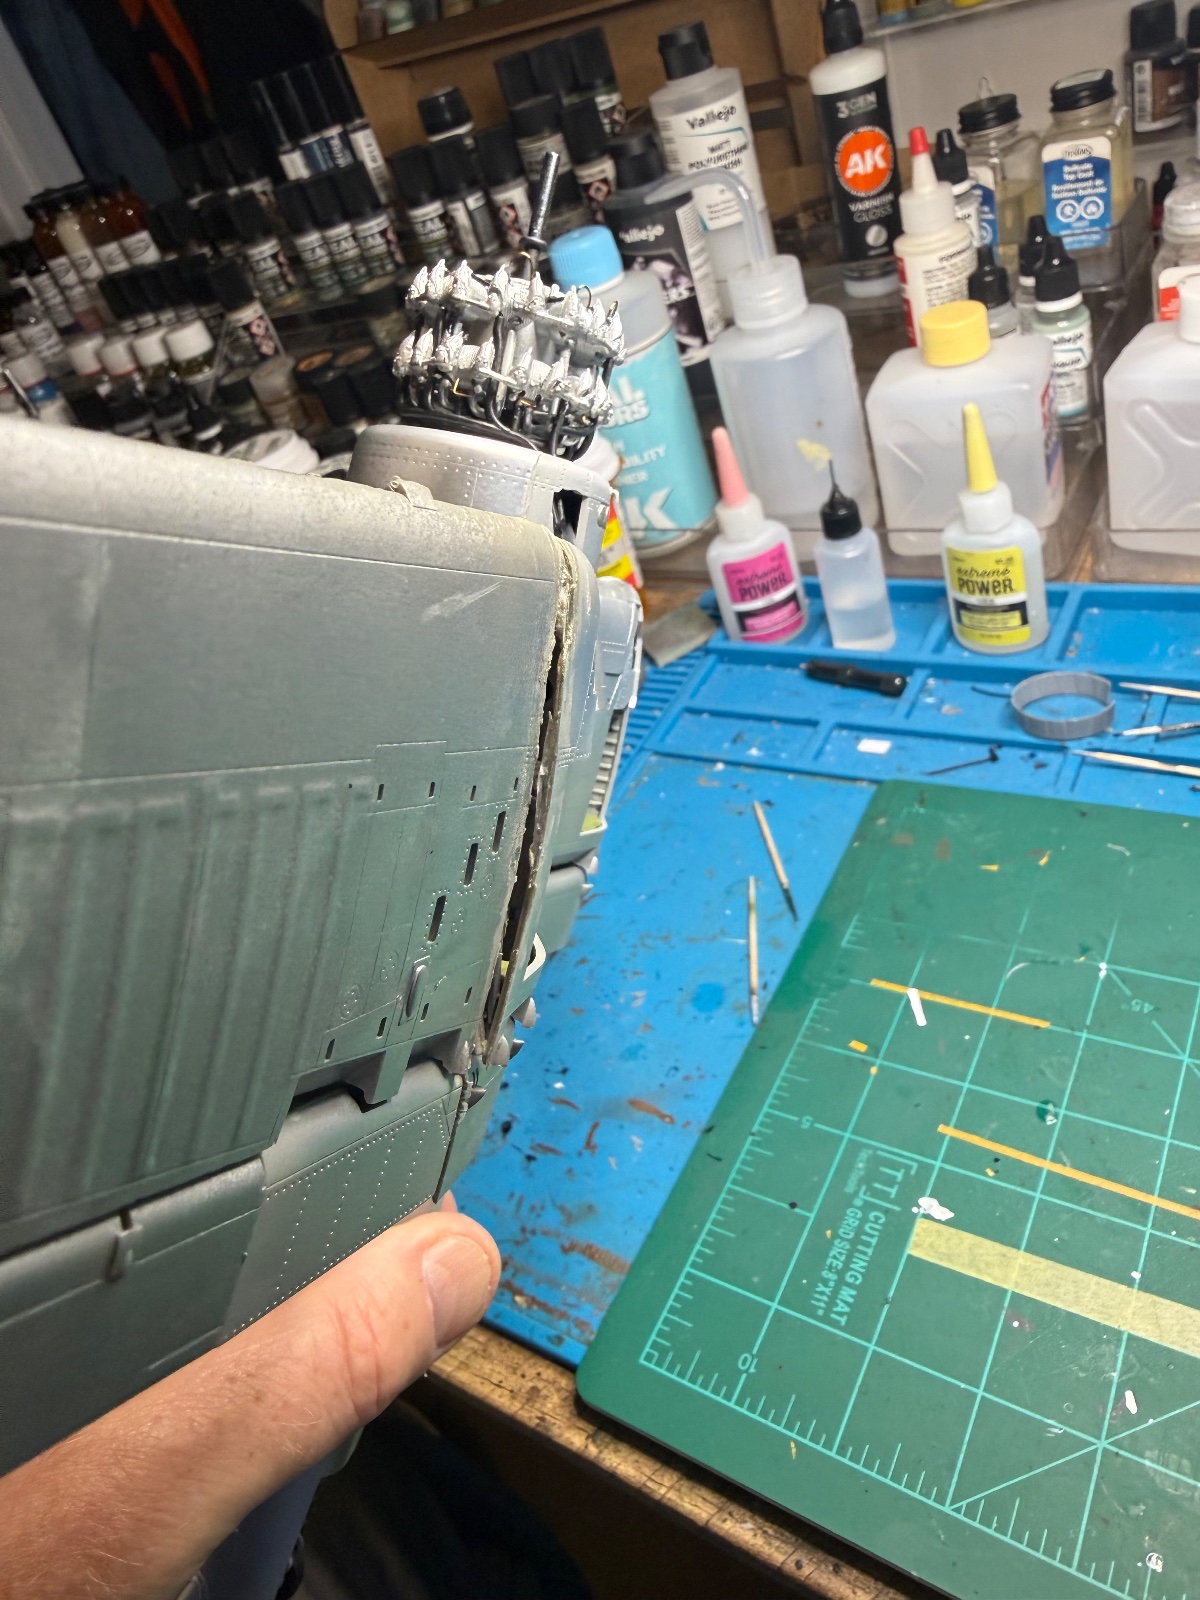
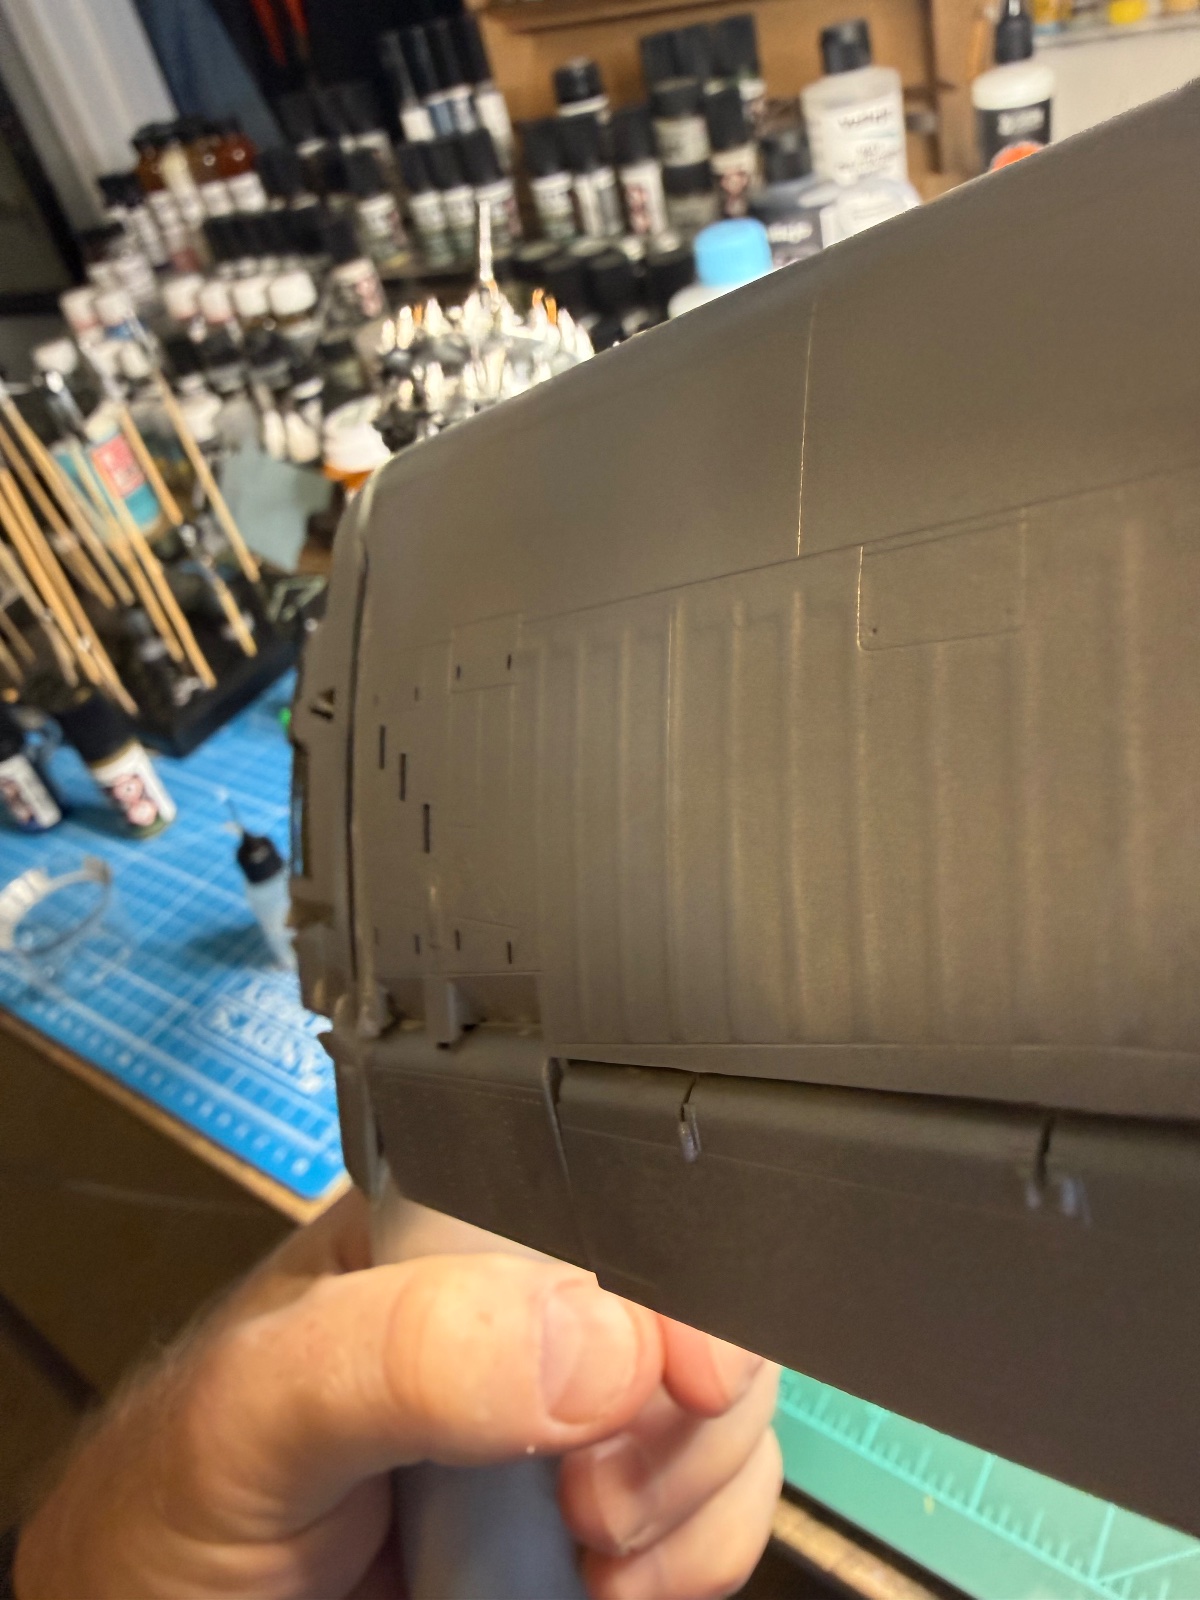
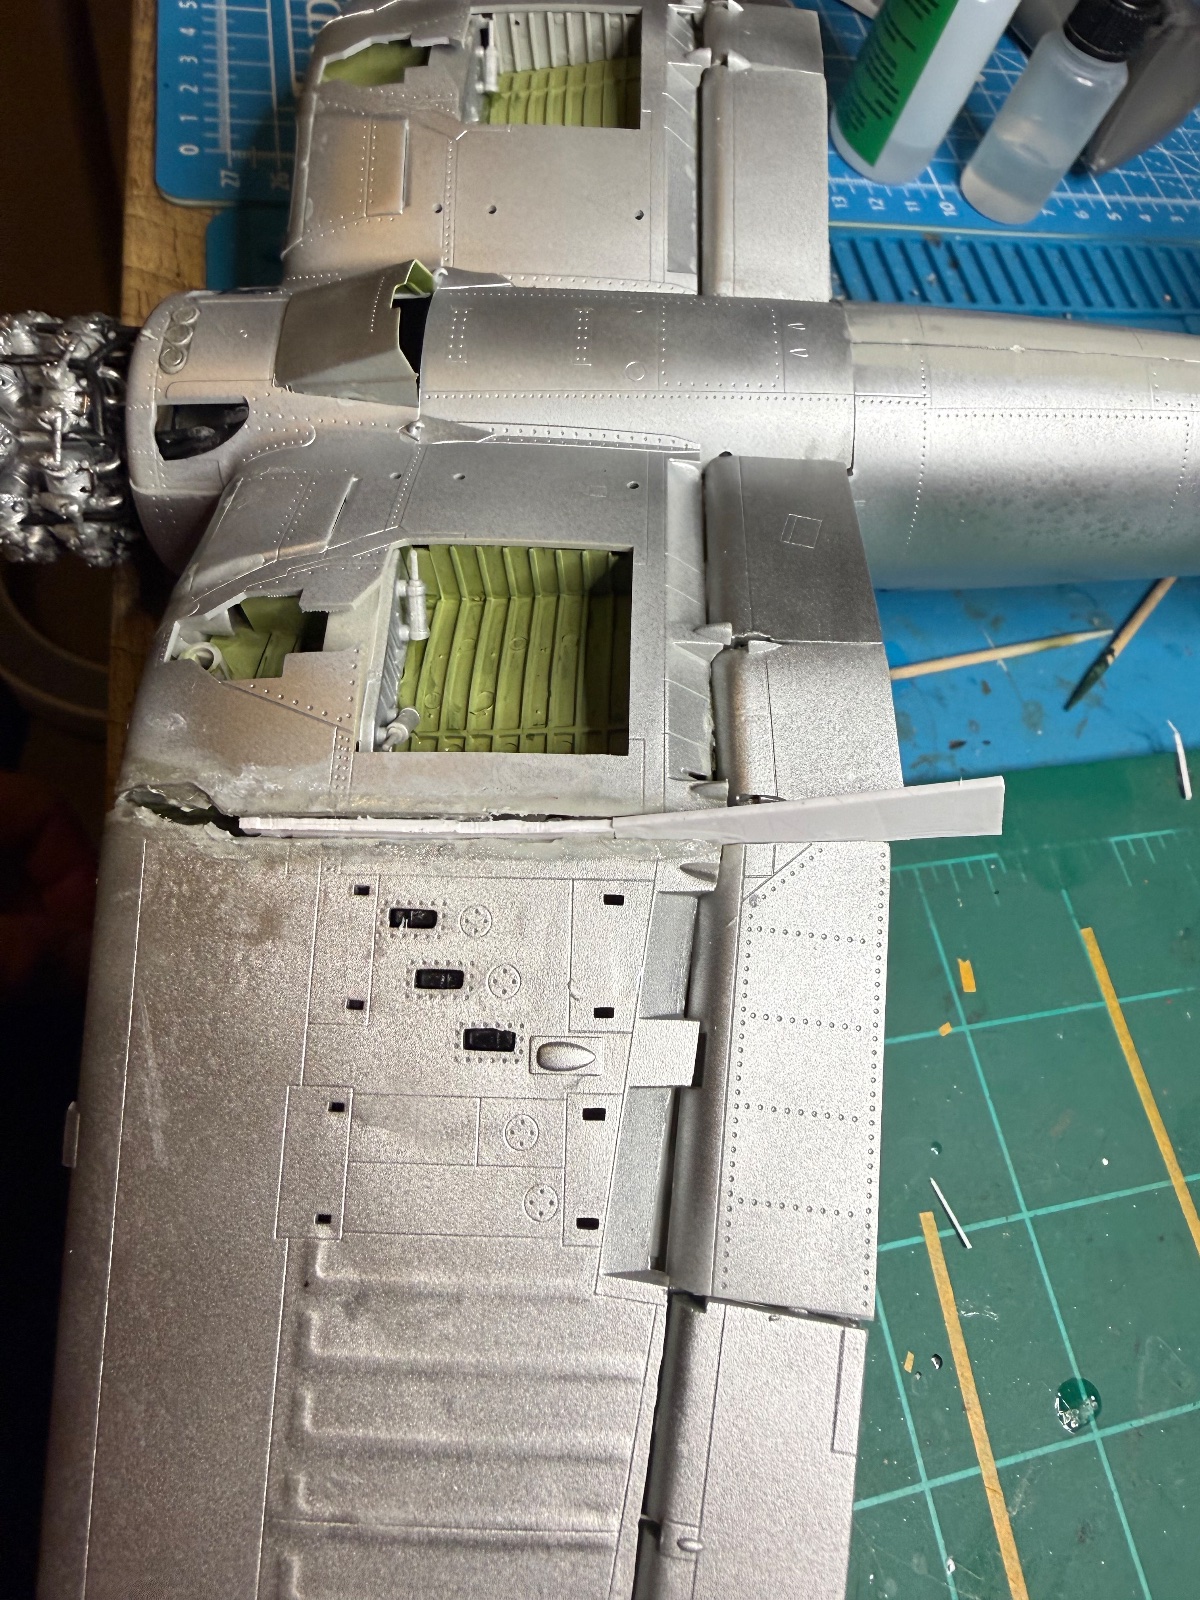
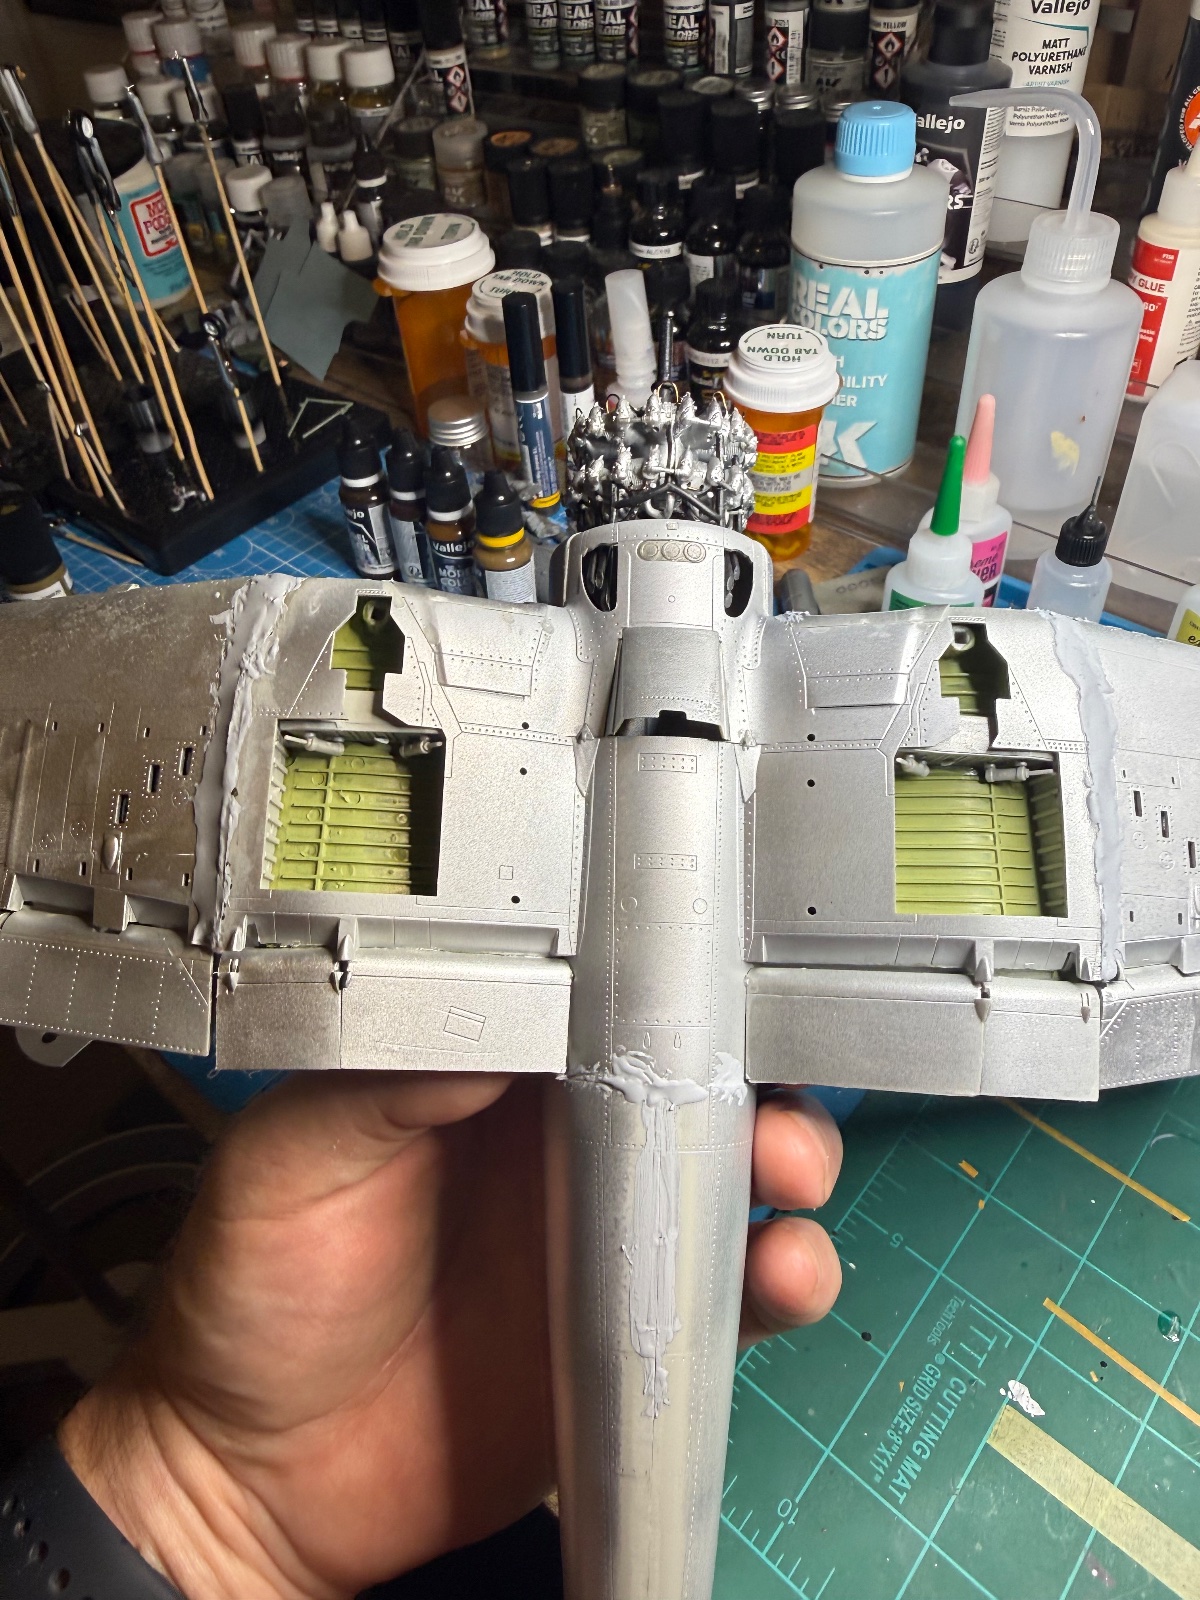
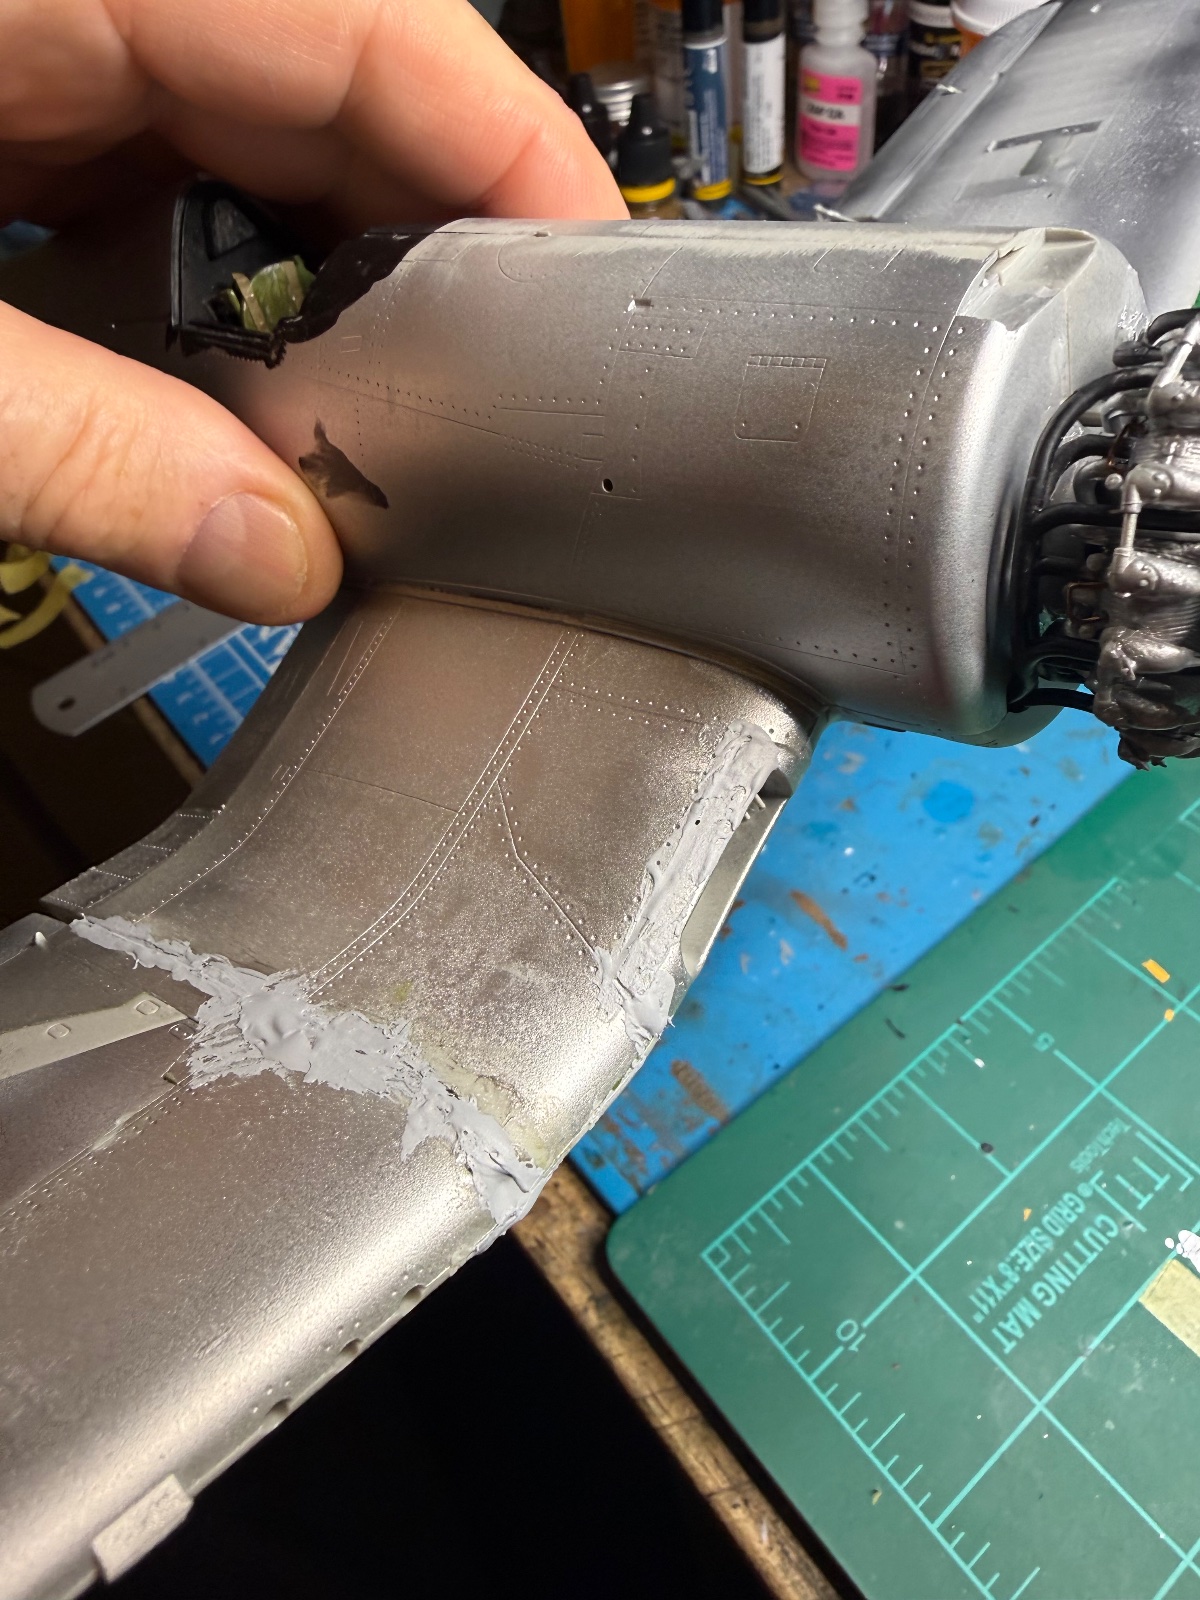
I've said many times I'll never toss a build but I may toss this one. Not sure yet. Looks like absolute ****. This is my second attempt at a Corsair first one I ended up using as a paint mule because I just kept messing up the paint and got tired of stripping and starting again. I also felt like the folding wings made it toy like. I'm disgusted right now. I may fill the gaps with some styrene and just set it aside for awhile. The problem was I was so focused on making sure there were no gaps when I put the second wing on that I failed to notice I had it at a different degree than the first wing. No problem I thought I'll pop it off and reapply. In the process I popped the first wing off too and it's just gone to ****. I think I can fix the topside pretty easily so maybe I'll focus on that and pose it in flight or something. I do this for stress relief??
 

Attachments

  • IMG_6507.jpeg
    IMG_6507.jpeg
    647.8 KB
  • IMG_6508.jpeg
    IMG_6508.jpeg
    573.5 KB
  • IMG_6509.jpeg
    IMG_6509.jpeg
    544.3 KB
  • IMG_6510.jpeg
    IMG_6510.jpeg
    402.5 KB
I do this for stress relief??
Since becoming active Dec '24, I've come across numerous posts, variations of your predicament. And the solutions are just as varied: back in the Stash, closet of delay, shelf of shame, in the bin and the nuclear option, the fearsome flakhammer!
But interspersed with those accounts, are tales of patience, ingenuity and redemption.

Sometimes, it is just walking away, leaving it for another day.
 
I've said many times I'll never toss a build but I may toss this one. Not sure yet. Looks like absolute poop. This is my second attempt at a Corsair first one I ended up using as a paint mule because I just kept messing up the paint and got tired of stripping and starting again. I also felt like the folding wings made it toy like. I'm disgusted right now. I may fill the gaps with some styrene and just set it aside for awhile. The problem was I was so focused on making sure there were no gaps when I put the second wing on that I failed to notice I had it at a different degree than the first wing. No problem I thought I'll pop it off and reapply. In the process I popped the first wing off too and it's just gone to poop. I think I can fix the topside pretty easily so maybe I'll focus on that and pose it in flight or something. I do this for stress relief??
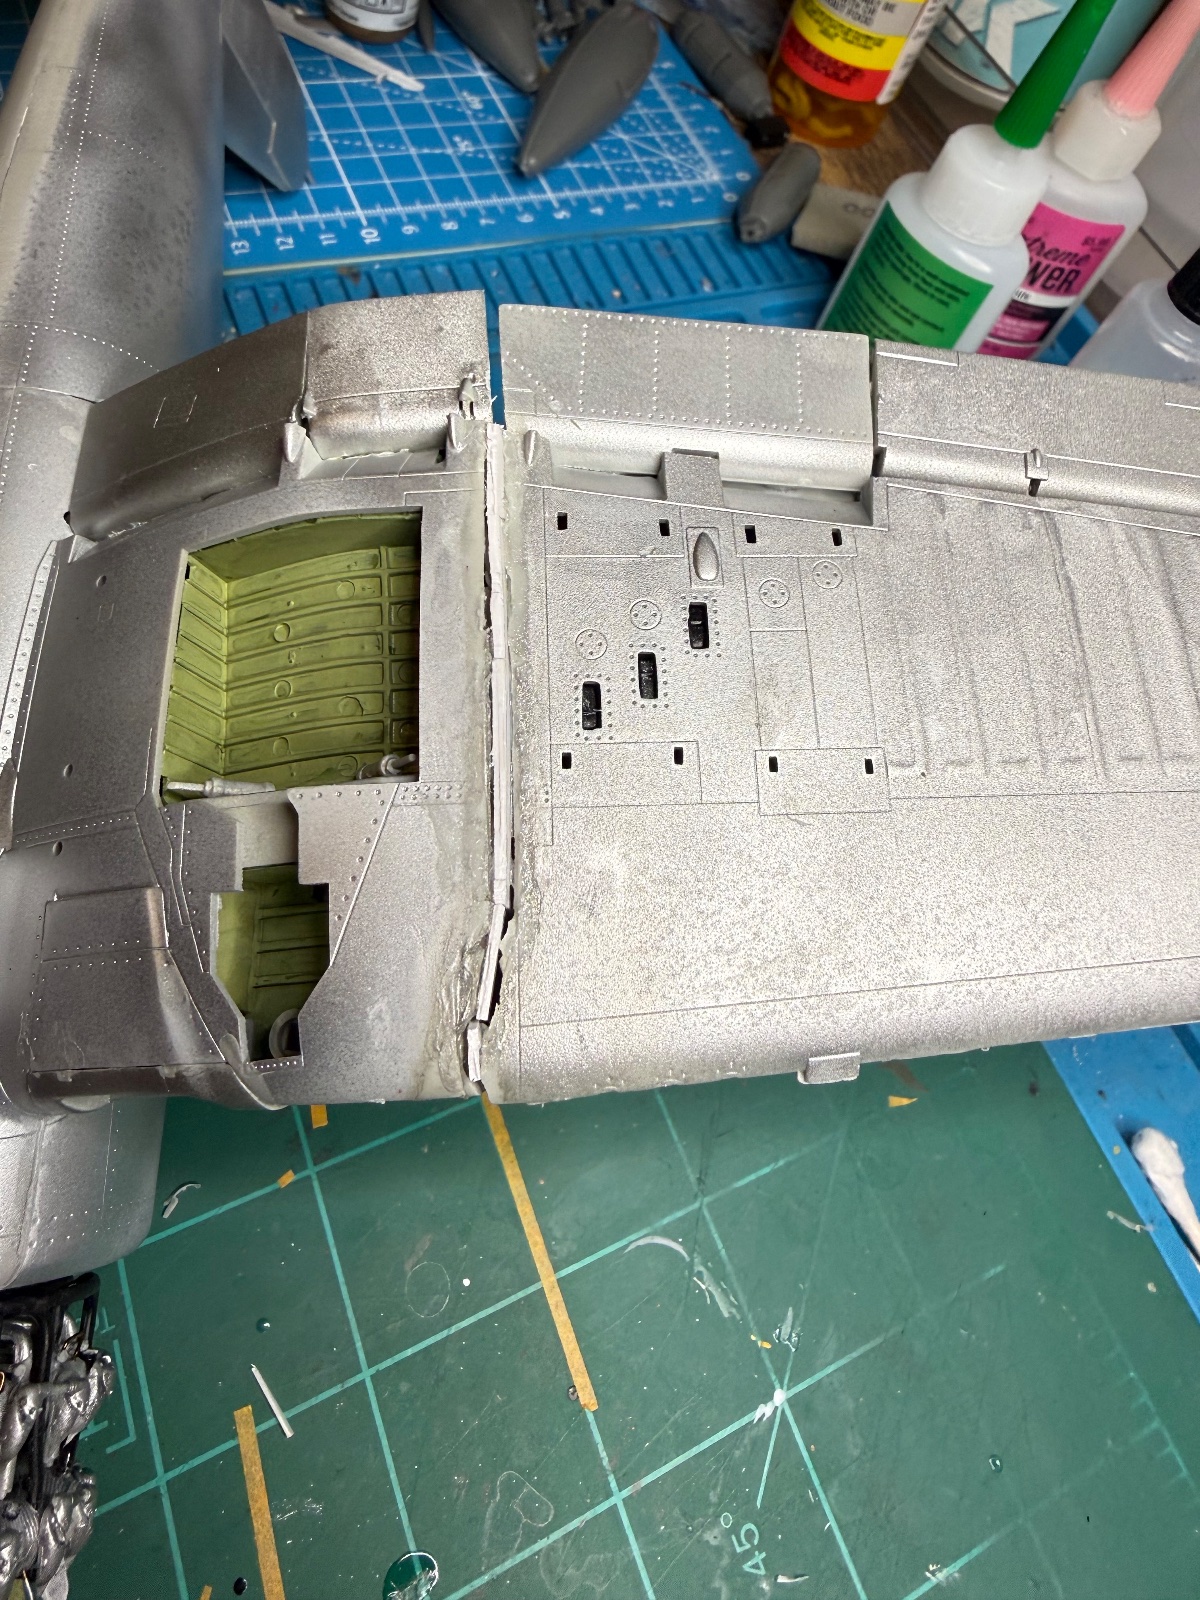
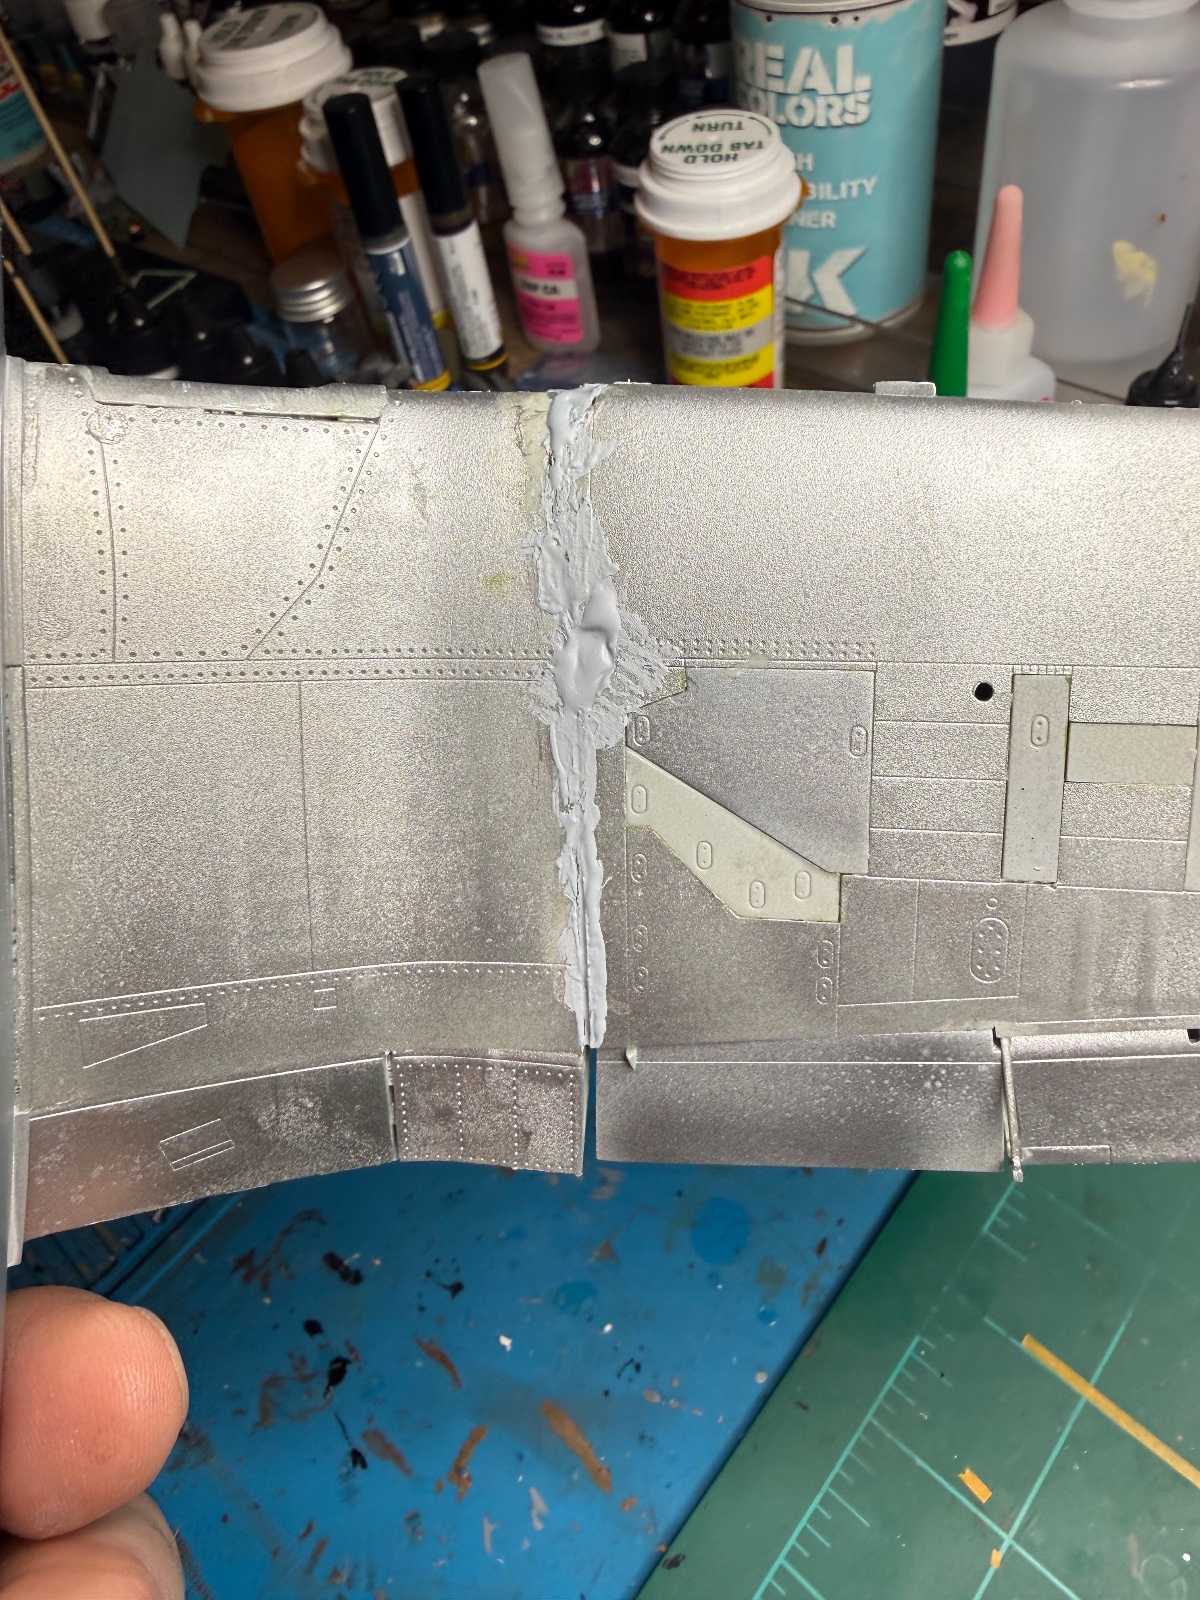
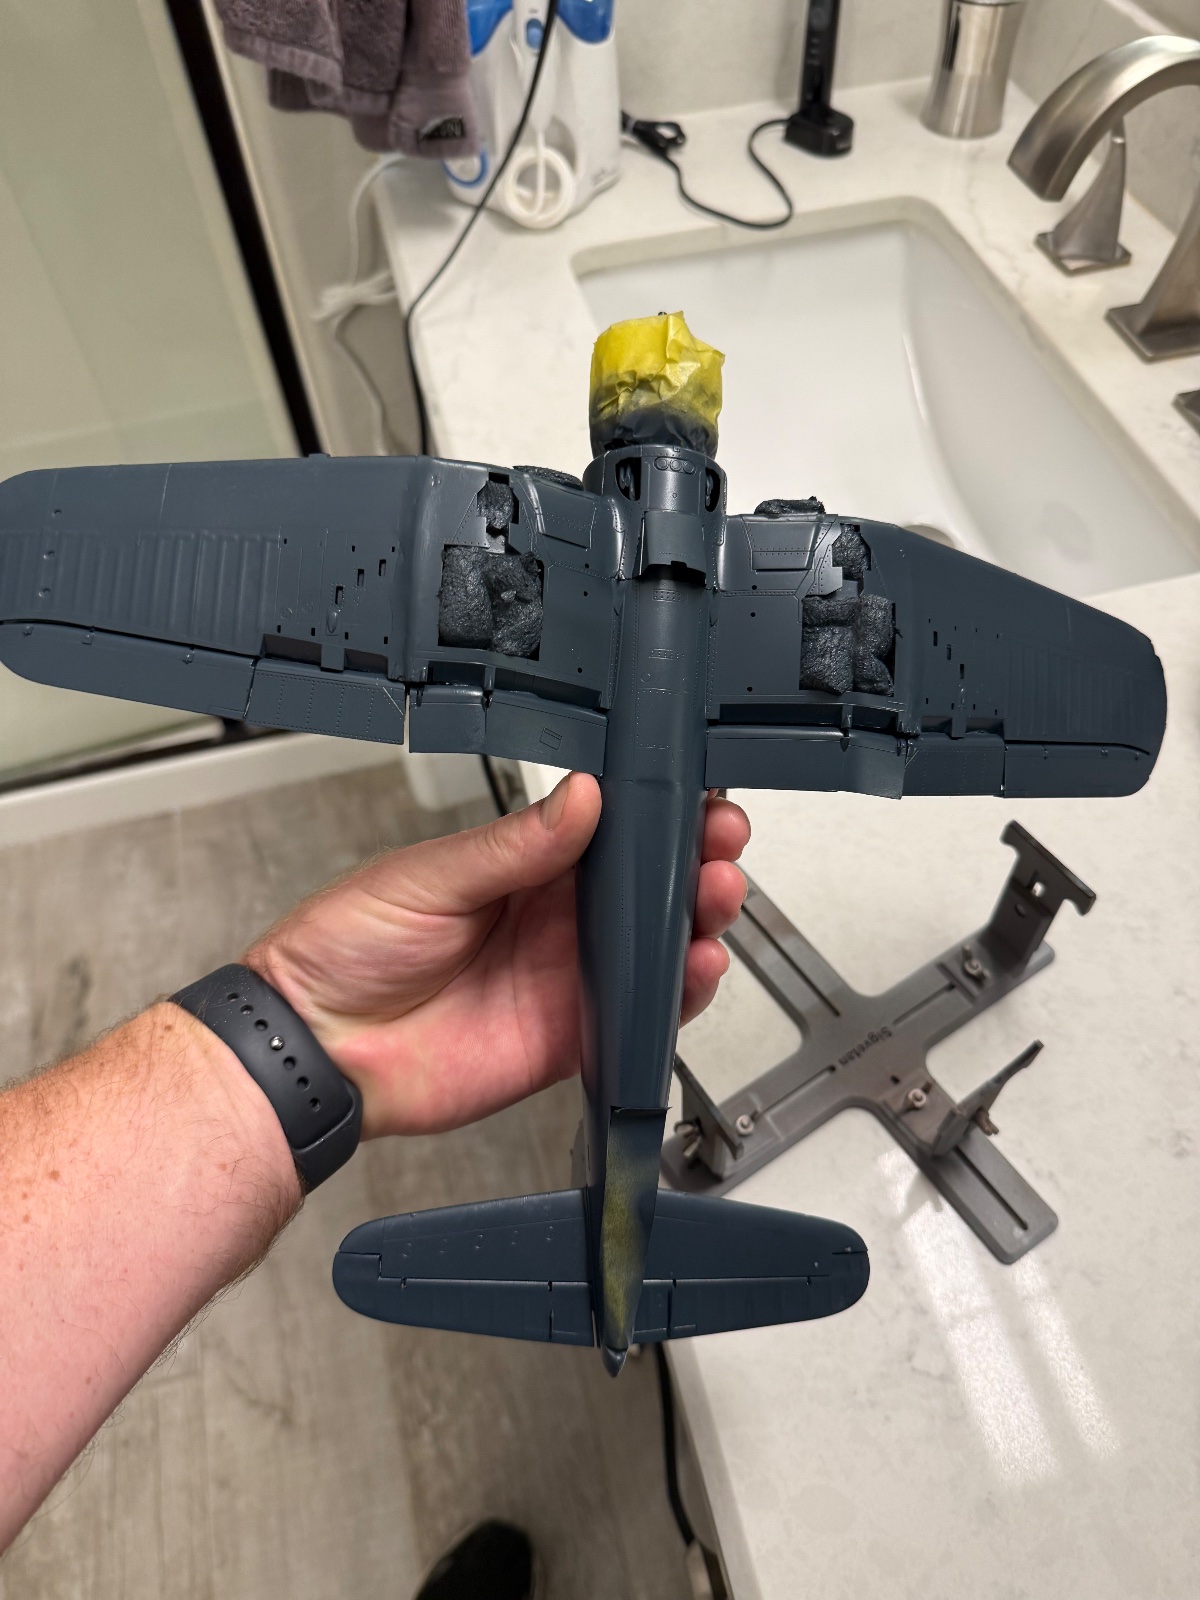
Can't sleep so I did some filling in. Maybe not as bad as I first thought. It definitely won't be a show stopper. The starboard wing- I won't be able to smooth the transition out without destroying the rest of th wing, at least not if I want to finish any other kits in 2026.
 

Attachments

  • IMG_6513.jpeg
    IMG_6513.jpeg
    751.7 KB
  • IMG_6514.jpeg
    IMG_6514.jpeg
    783.9 KB
  • IMG_6516.jpeg
    IMG_6516.jpeg
    770.1 KB
  • IMG_6518.jpeg
    IMG_6518.jpeg
    686.2 KB
  • IMG_6519.jpeg
    IMG_6519.jpeg
    558.2 KB
Can't sleep so I did some filling in. Maybe not as bad as I first thought. It definitely won't be a show stopper. The starboard wing- I won't be able to smooth the transition out without destroying the rest of th wing, at least not if I want to finish any other kits in 2026.
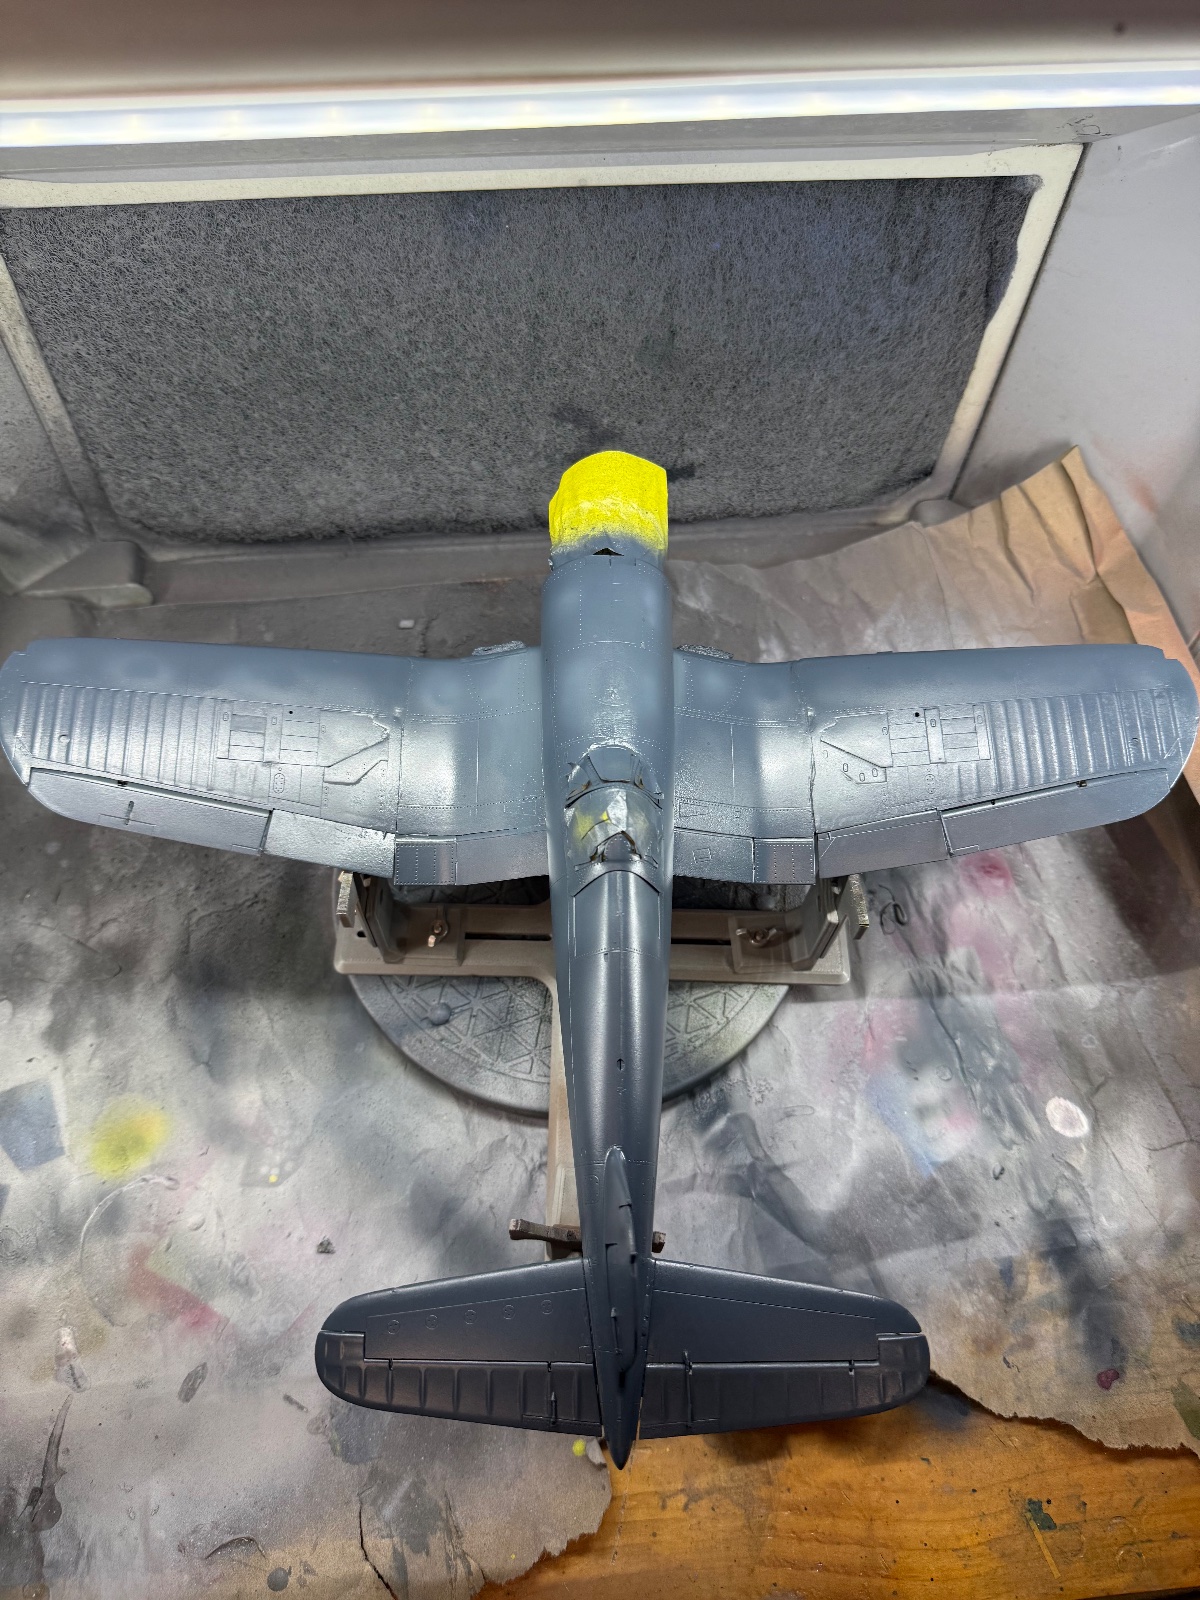
Did some work on this, tried scribing on the top panels. Any tips on how to do it better? I'm calling this good I think. It's about as much time as I want to spend on it, "a man on a fast horse will never tell."
 

Attachments

  • IMG_6549.jpeg
    IMG_6549.jpeg
    583.2 KB
  • IMG_6550.jpeg
    IMG_6550.jpeg
    533.3 KB
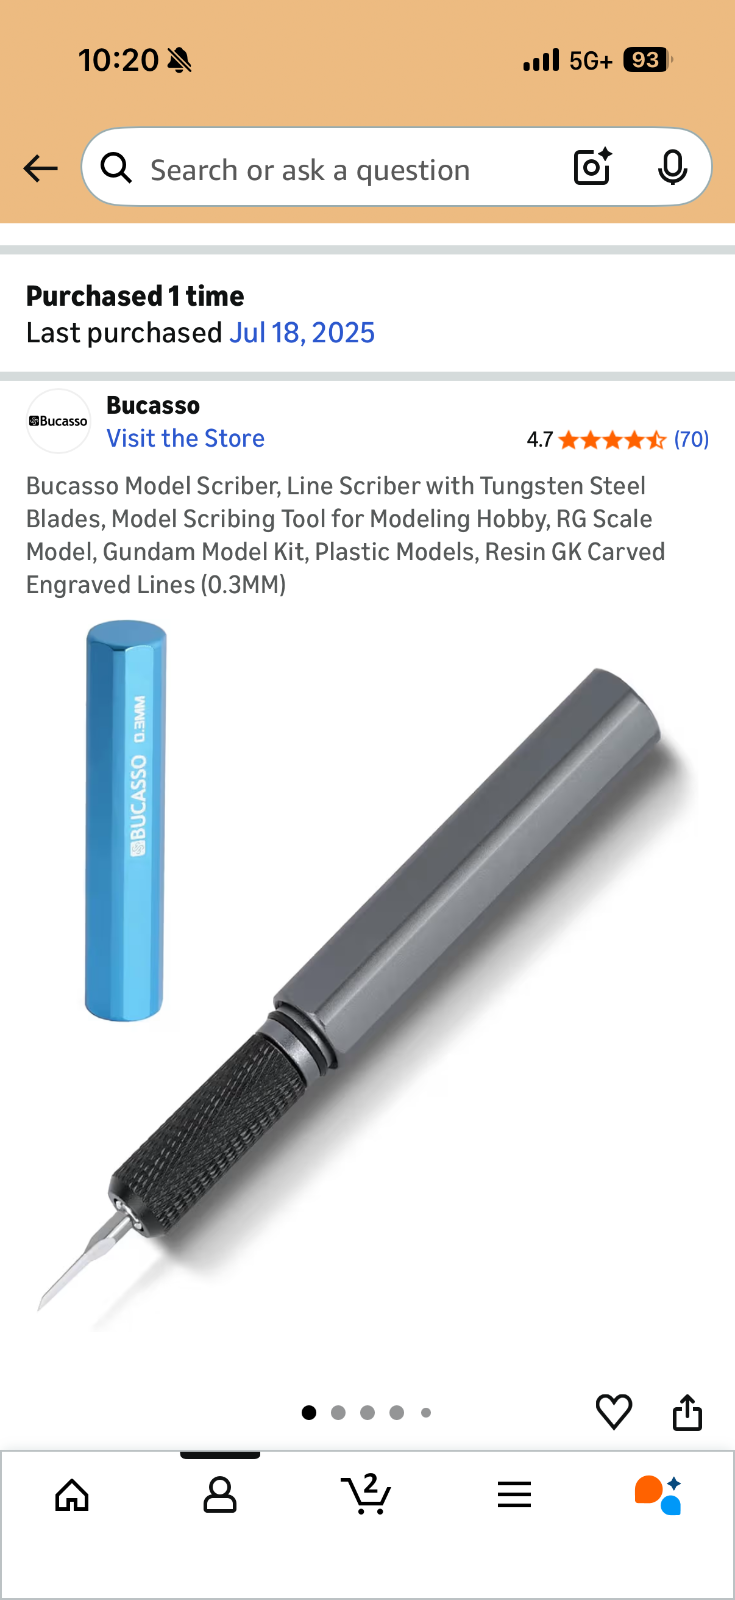
This is what I have. It was difficult to control- very sharp but maybe

my hand is not so steady?
You might want to consider one or more of these: long, medium, short, or set. They are on sale now. One needs only a very light touch and multiple passes with these tools. Practice on scrap. If freehanding is too challenging (ain't old age wunnerful) use Dymo Embossing Label tape for straight lines, and any of various scribing templates for curves.
 
You might want to consider one or more of these: long, medium, short, or set. They are on sale now. One needs only a very light touch and multiple passes with these tools. Practice on scrap. If freehanding is too challenging (ain't old age wunnerful) use Dymo Embossing Label tape for straight lines, and any of various scribing templates for curves.
Thank you!
 
Did some work on this, tried scribing on the top panels. Any tips on how to do it better? I'm calling this good I think. It's about as much time as I want to spend on it, "a man on a fast horse will never tell.l
Two coats on tonight. I just may get this wrapped up by the beginning of next week!
 
If freehanding is too challenging (ain't old age wunnerful) use Dymo Embossing Label tape for straight lines, and any of various scribing templates for curves.
I found that tip somewhere and it was a game changer. I'm jealous of guys who can freehand scribing panel lines. I tried it and the tool would invariably go sliding off across the plastic. Embossing tape made me competent at it. And saved a lot of time lol.
 
Did some work on this, tried scribing on the top panels. Any tips on how to do it better? I'm calling this good I think. It's about as much time as I want to spend on it, "a man on a fast horse will never tell."
Bad day at work, bad week actually and bad eve of modeling. I am never attempting a Corsair again. These stupid folding wings. Worked on adding some fade and am not happy with result. Not happy with my patch job and I just don't like this damn plane. I'm going to finish it but I'm going to hate it while I finish it. Attempted to mask my phantom tonight and managed to break off both rear stabilizers. I don't know why but masking that is kicking my ass. So I ordered a mask set hopefully it's the right one. Anyway I hope everyone else is having a better night. Right now I feel and sound like a five year old who stayed up way past his bedtime. So goodnight!
 

Attachments

  • IMG_6565.jpeg
    IMG_6565.jpeg
    694.3 KB
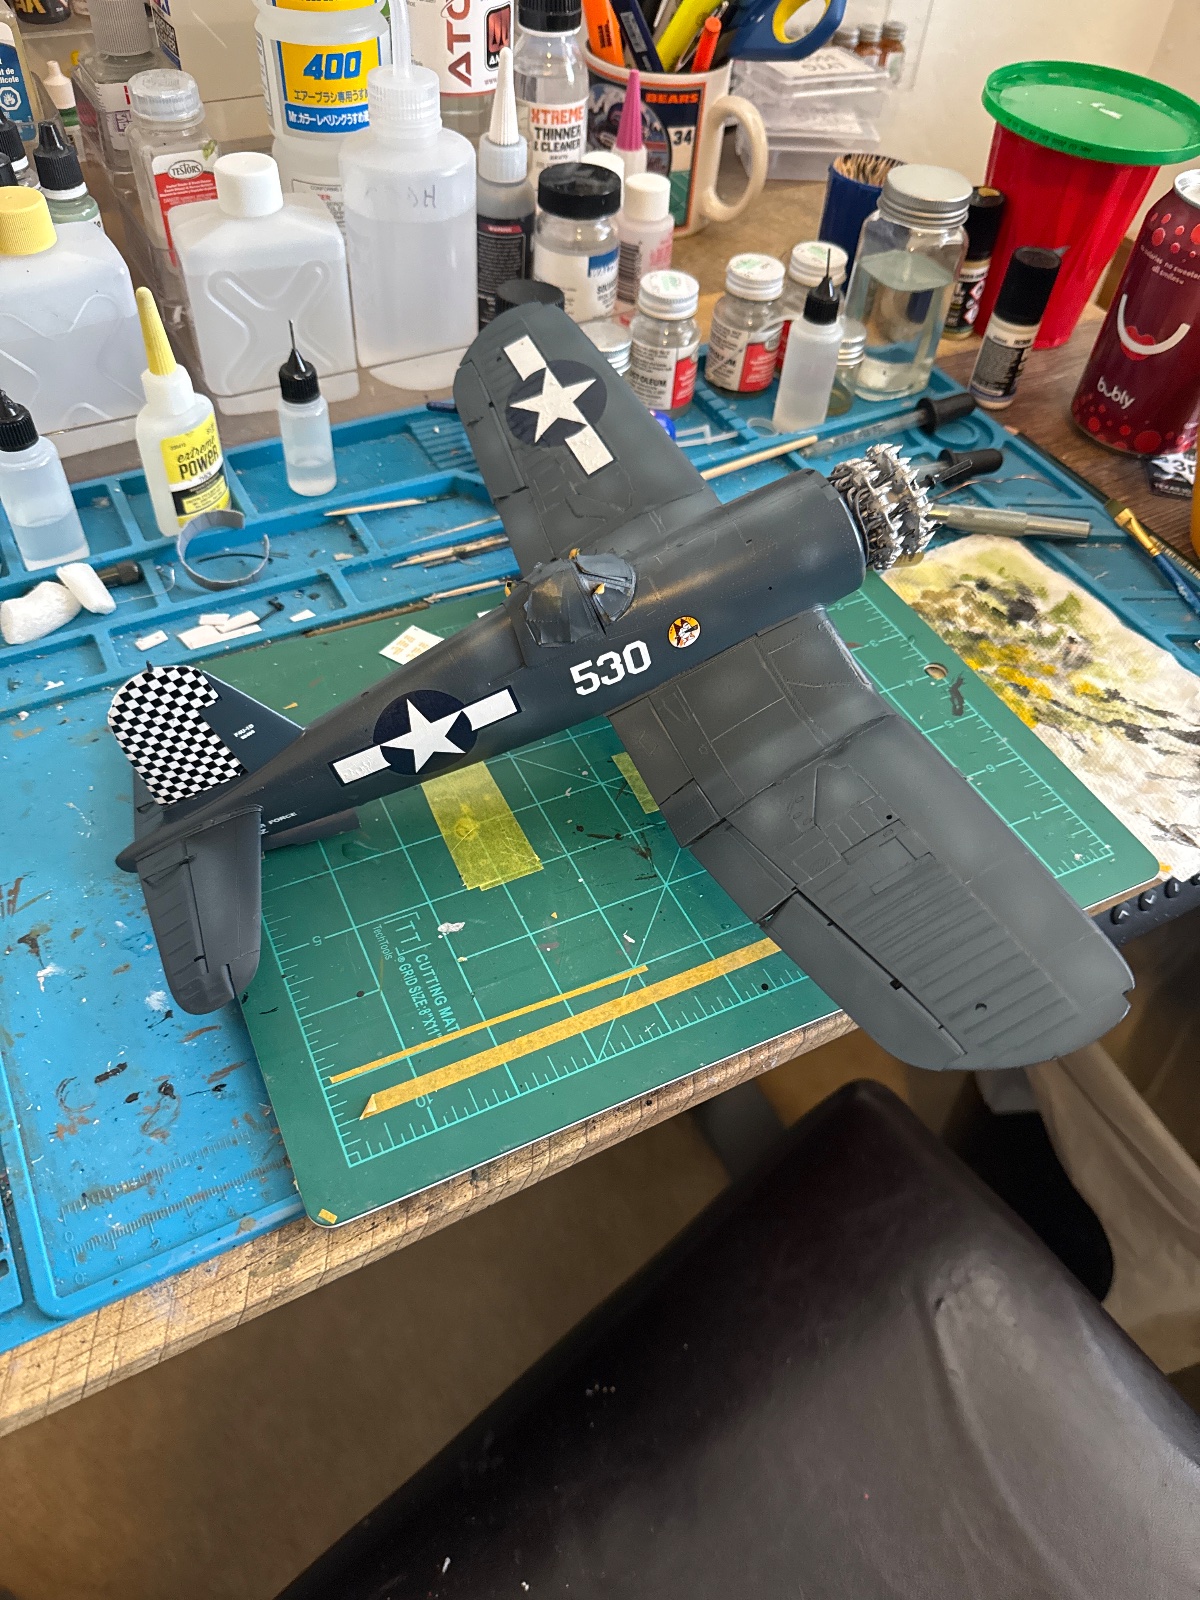
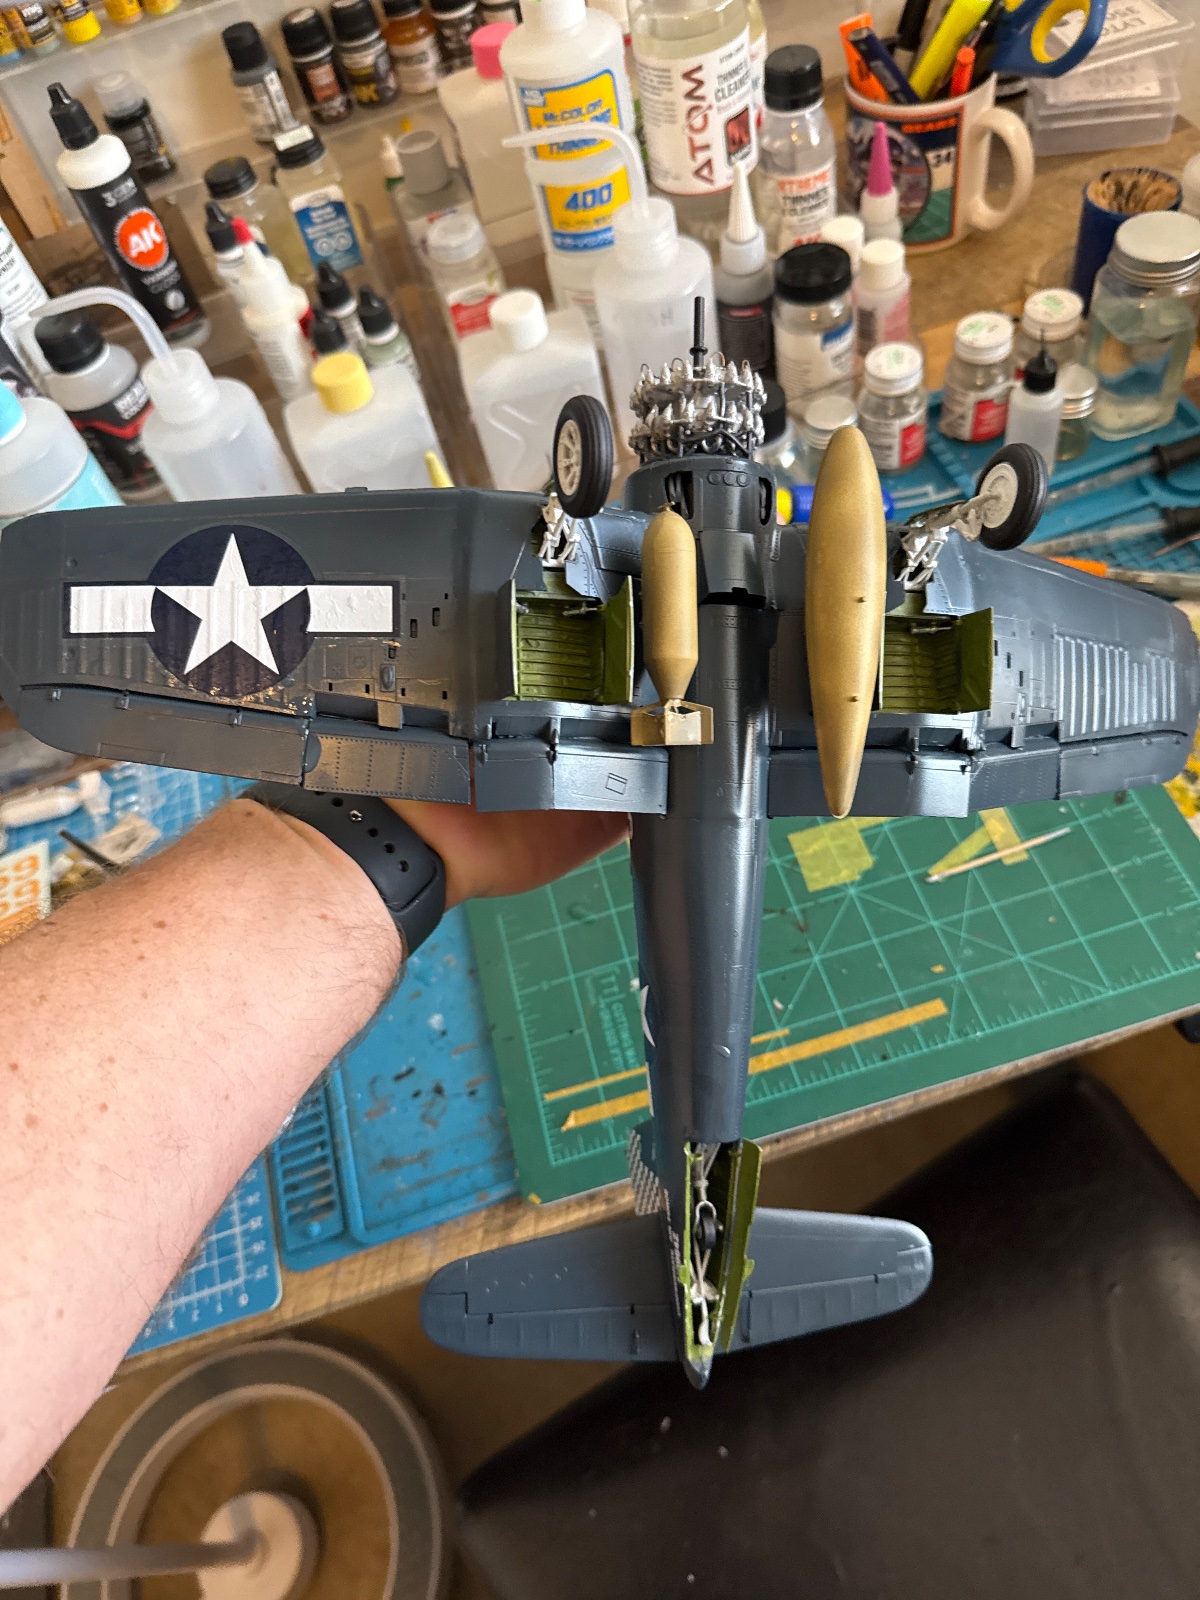
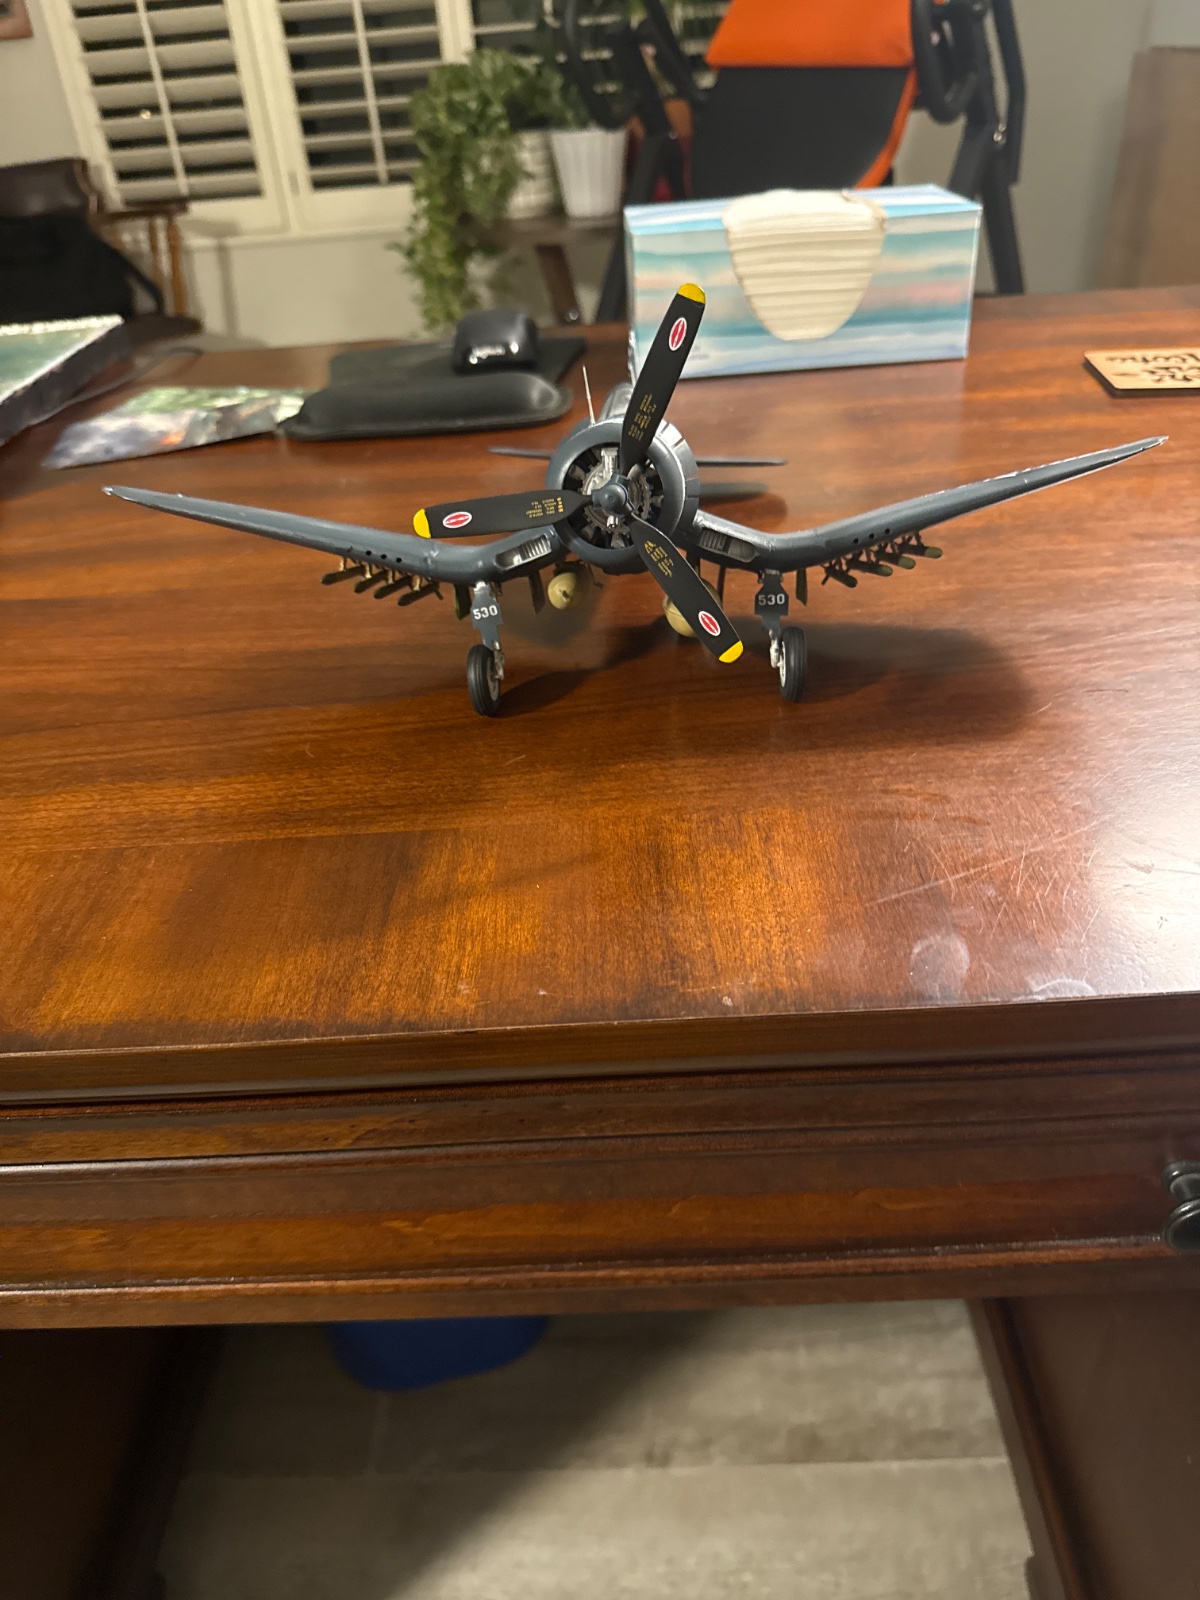
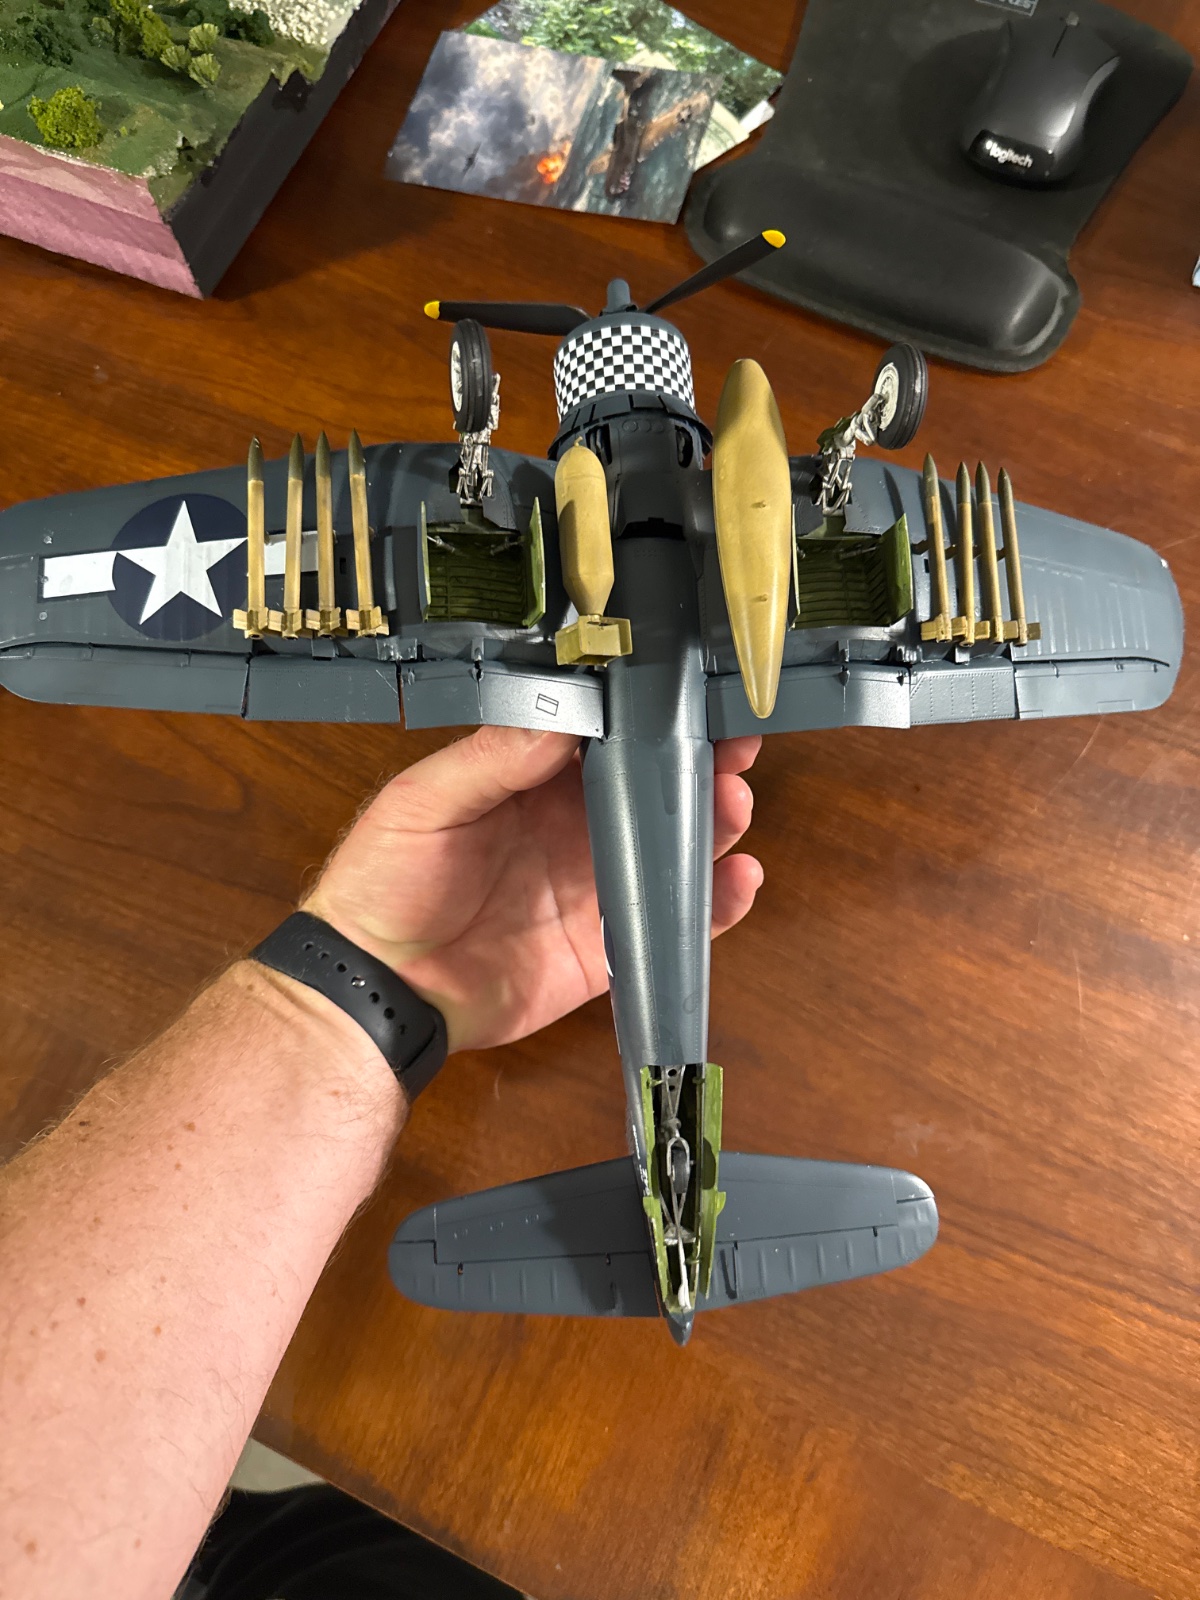
Well this build has lost its luster for me, too many mistakes and frustrations. All me, the kit was very nice. I'll wrap this up but it will probably sit at the back of the shelf and hopefully not get inspected to closely. I've got to install the rockets and have decided to paint the clear cowling, I did some extras on the engine but nothing that makes it glow. Maybe I will try Tamiyas version of this down the road. I do like the weathered paint job I did on the drop tank, bomb and rockets. Will have the canopy open as I also like the cockpit work. The top wing insignia decal was torn, then I put it on upside down and didn't realize it until it had been sitting for a few minutes. Managed to get it off, but created a few more tears and holes and now I've put so much micro sol on it it looks like an 80 year old sunbathers skin. We'll see if it flattens out like her chest.
 

Attachments

  • image.jpg
    image.jpg
    739.2 KB
  • image.jpg
    image.jpg
    669.7 KB
Well this build has lost its luster for me, too many mistakes and frustrations. All me, the kit was very nice. I'll wrap this up but it will probably sit at the back of the shelf and hopefully not get inspected to closely. I've got to install the rockets and have decided to paint the clear cowling, I did some extras on the engine but nothing that makes it glow. Maybe I will try Tamiyas version of this down the road. I do like the weathered paint job I did on the drop tank, bomb and rockets. Will have the canopy open as I also like the cockpit work. The top wing insignia decal was torn, then I put it on upside down and didn't realize it until it had been sitting for a few minutes. Managed to get it off, but created a few more tears and holes and now I've put so much micro sol on it it looks like an 80 year old sunbathers skin. We'll see if it flattens out like her chest.
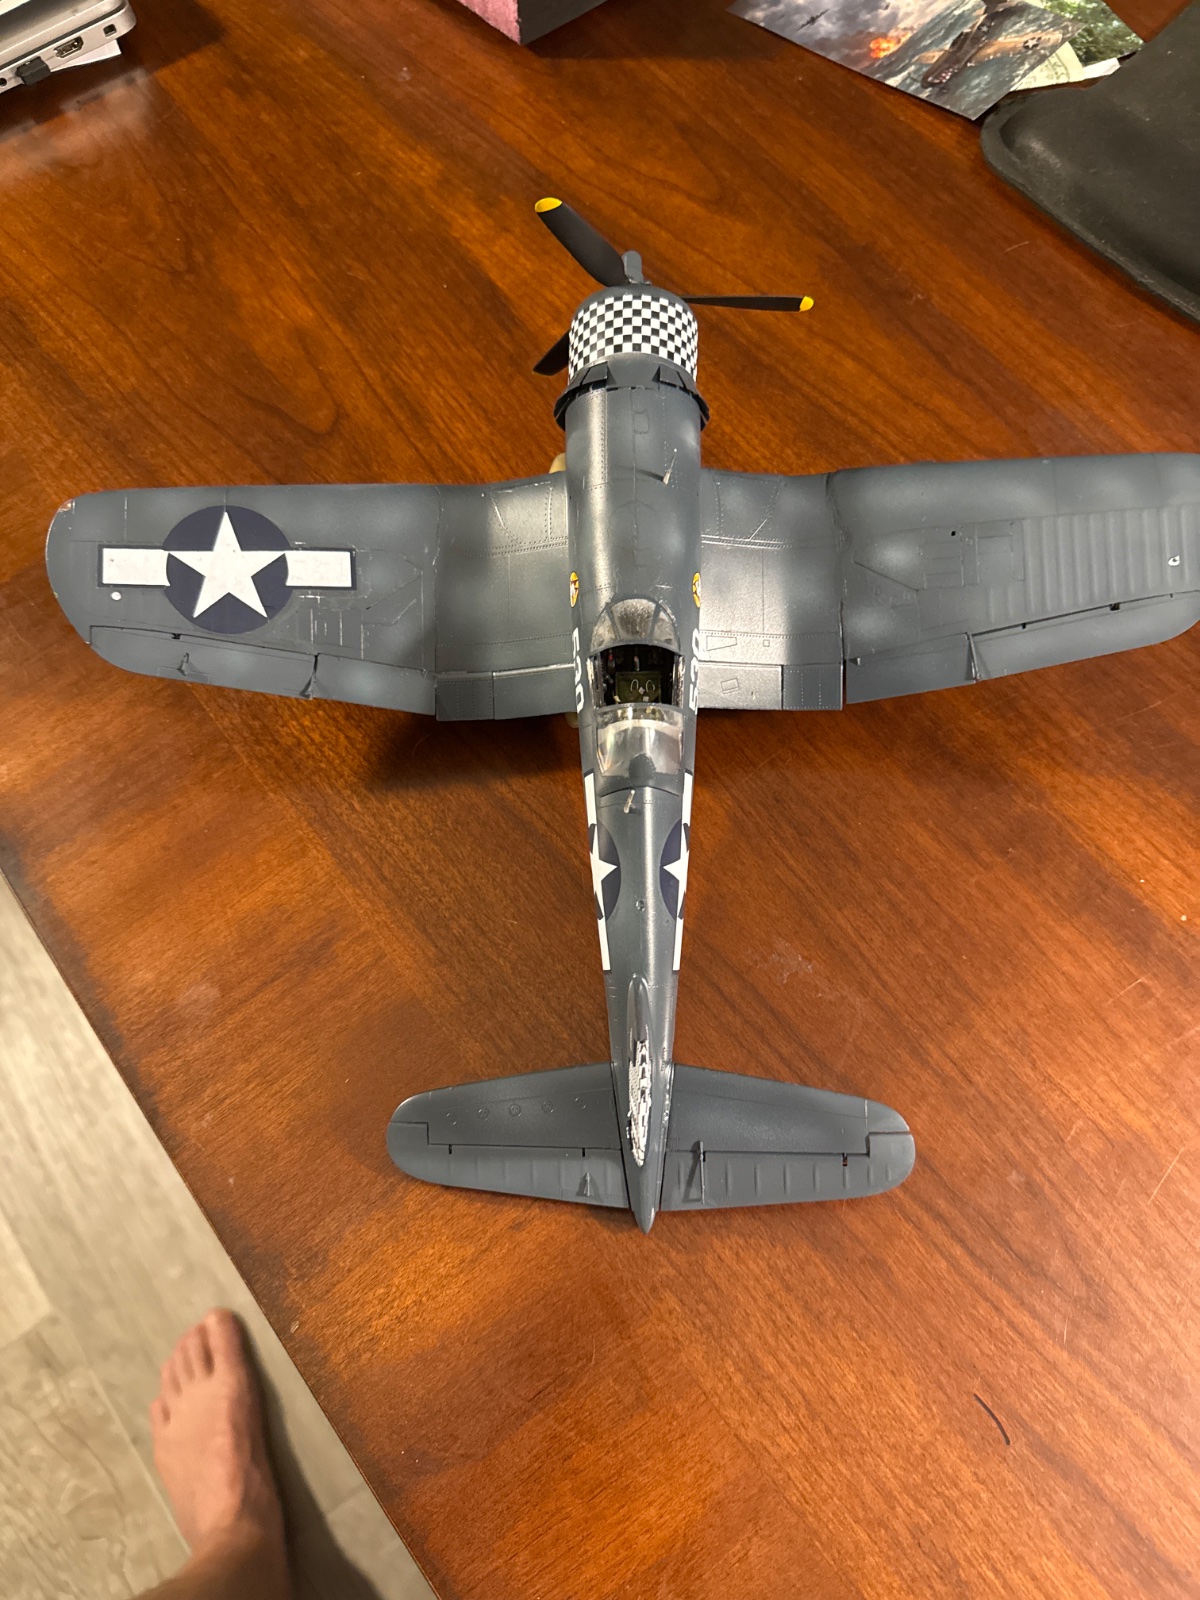
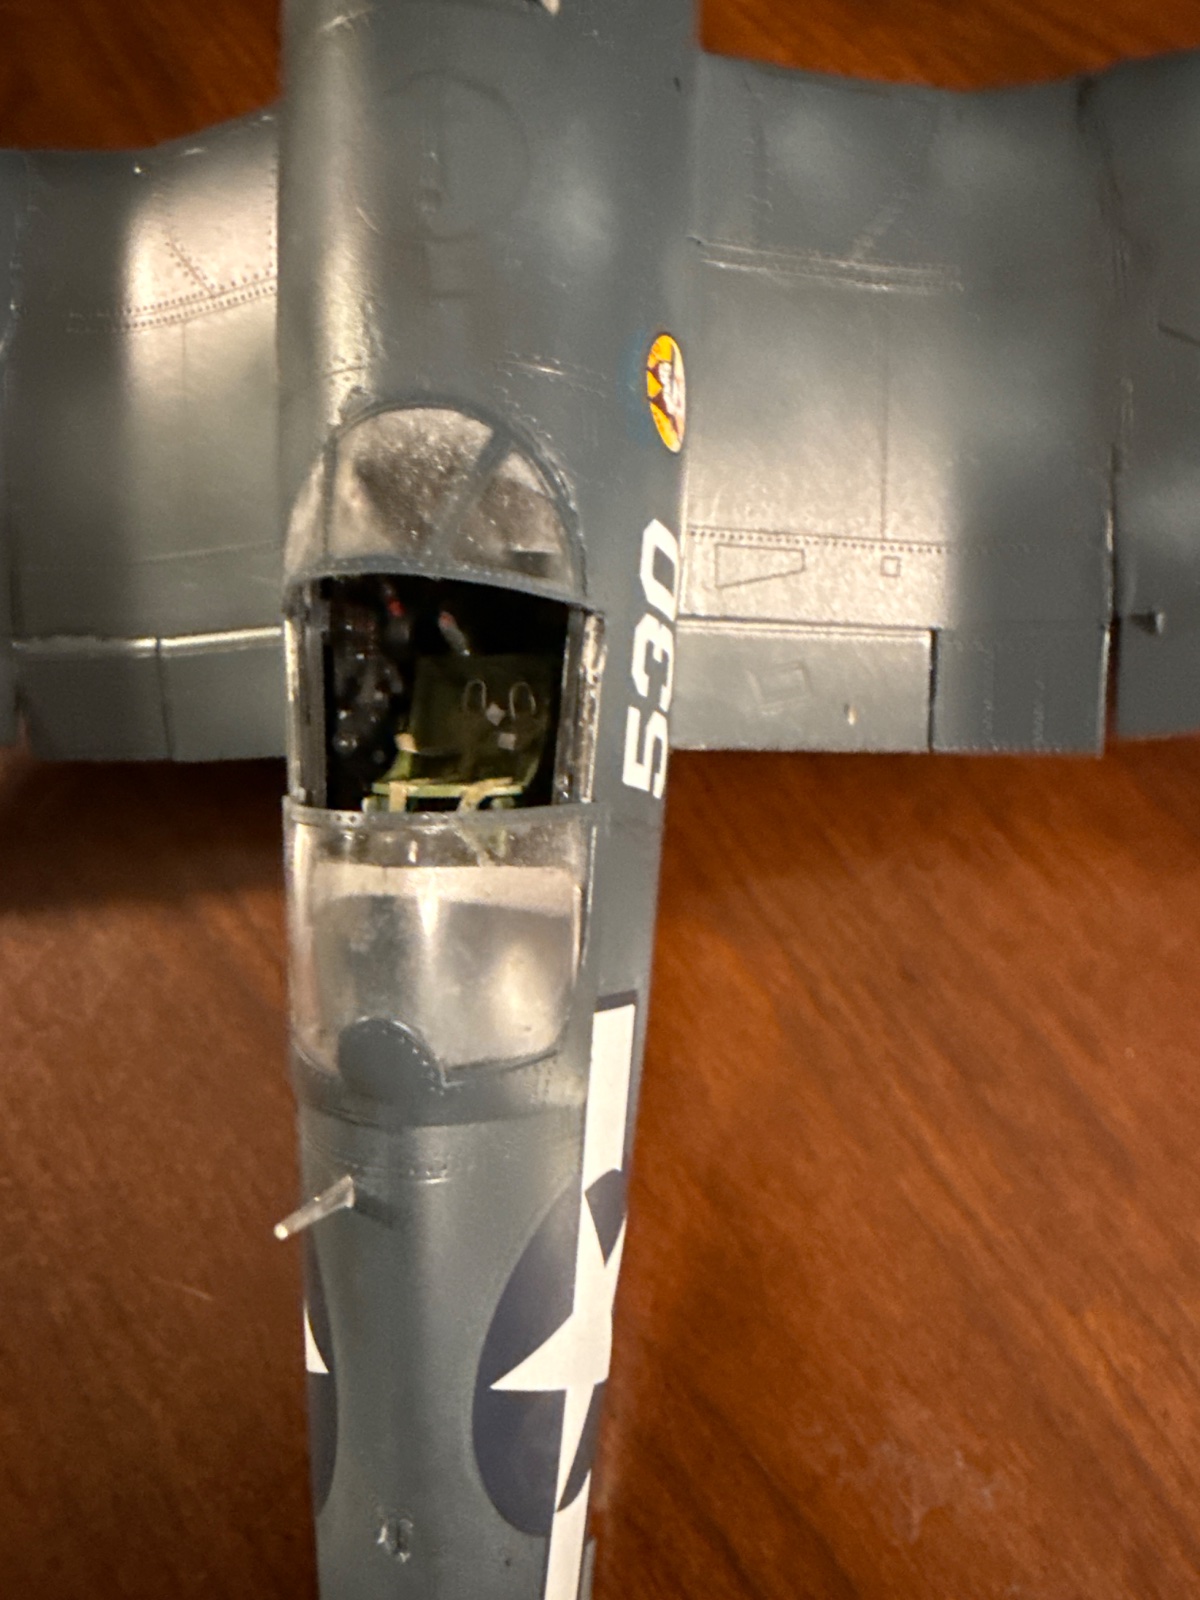
Winding down on this project. I've got some muck ups but overall I'm pretty pleased with it. Did some post shading, I think I prefer preshading. Also experimented with mixing satin and matte finish- used matte for cloth covered areas. Not sure how I got overspray on the canopy. Any tips for cleaning that up? I'm busy this weekend so will add finishing touches next week.
 

Attachments

  • image.jpg
    image.jpg
    608.4 KB
  • image.jpg
    image.jpg
    386.3 KB
  • image.jpg
    image.jpg
    487 KB
  • image.jpg
    image.jpg
    519.5 KB
Back
Top